


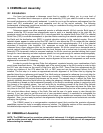


20
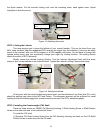
(a) (b)
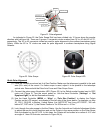
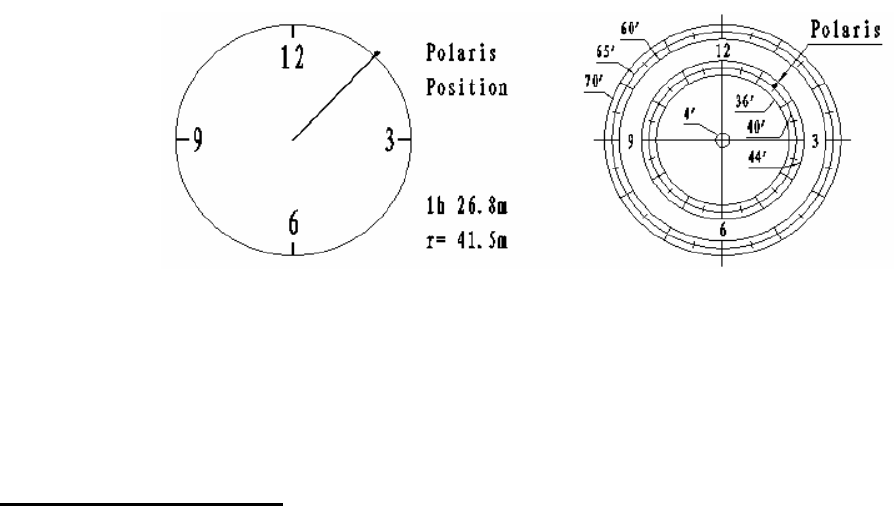
Figure 24. Polaris Position shown on HC (a) and where to put on polar scope dial (b)
NOTE: If you are located in the southern hemisphere, Sigma Octantis will be chosen for Polar
Alignment. For example, on May 20, 2010, 20:00:00 in Sydney, Australia (LatS33º51’36” and Long
E151º12’40”), 600 min ahead of UT, the Sigma Octantis Position is 1hr21.8m and 64.4m.
BrightStar Polar Alignment
When the pole star is not in sight:
(1) Level the mount and set it at Zero Position. Align the telescope to the R.A. axis of the mount. If a
finder scope is used, adjust it to be parallel to the telescope optical axis.
(2) Use the HC (MENU => “Align” => “Polar Align”) to display the azimuth and altitude position of
several bright stars near the meridian. Select one that is visible with high altitude as the
Alignment Star A. Follow the HC instruction to move the Star A to the center of the eyepiece with
the combination of using the Latitude Adjustment Knob and the “◄” or “►” button. Press ENTER
to confirm the centering. Next, select a bright star that is close to the horizon as the Alignment
Star B. Center it using the Azimuth Adjustment Knob and the “◄” or “►” button (The “▲” and
“▼” buttons are not used here). Press ENTER to confirm the settings.
(3) The telescope will now slew back to Star A to repeat the above steps. The iteration can be
stopped when it is determined that the alignment error has been minimized. Press the BACK
button to exit the alignment procedure.
NOTE: It is highly recommended to use an eyepiece with illuminated crosshair for accurate
centering.
NOTE: The movement of the alignment star in your eyepiece may not be perpendicular but crossed,
depends on its location in the sky.
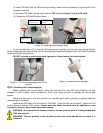
STEP 10. Returning Mount to Zero Position
After polar alignment and balancing OTA, return the mount to Zero Position, as shown in Figure 25.
The Zero Position is the position with the CW shaft pointing towards the ground, OTA/Dovetail is at the
highest position with its axis parallel to the polar axis and the OTA pointing to the CP. Loosen the DEC and
R.A. Gear Switches to adjust the mount to the Zero Position. Engage the clutches after each adjustment.
Remember, the hand controller needs to be at the Zero Position as well! The simplest way is turn the
mount power OFF and ON again to reset the hand controller. Alternatively you can use the hand controller
(MENU => “Goto Zero Position”) to set the mount to the Zero Position.