


78
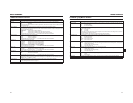
MENU SCREENS
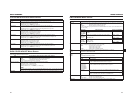
OTHERS [2/2] Menu Screen
*This is not displayed in VTR mode.
Item Function/Setting (bold characters indicate initial settings)
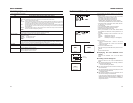
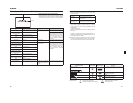
1394 REC TRIGGER* Sets how to control the REC trigger command output from the IEEE1394 connector. (Can be displayed and set in
camera mode)
Set this when recording a backup of the DV signal from this camcorder onto another device.
OFF :Does not control the backup device.
SYNCRO : Controls the backup device in conjunction with the recording start/stop mode status on the camcorder,
and if there is no videocassette or if no tape remains for recording, controls the backup device in con-
junction with the REC trigger button and the lens VTR button on the camcorder.
SPLIT : The REC trigger button on the right panel of the camcorder controls the backup device recording start/
stop. Set this when you want to control the timing of the recording on the camcorder and the backup
device separately.
SERIES : Automatically starts recording on a backup device that is on Pause when the tape on the camcorder has
less than 3 minutes remaining during shooting.
MEMO
• If you use the backup recording function on the BR-HD50, set this item to OFF.
•The cursor (K) does not move to this item when the camcorder is recording.
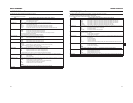
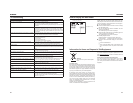
MENU ALL RESET Selects whether to reset the menu screen settings to initial settings.
The camera mode and VTR mode menu settings are reset. (The TC PRESET, UB PRESET, and CLOCK ADJUST
settings are not reset.)
CANCEL :The settings are not reset.
EXECUTE : The settings are reset.
MEMO
•The cursor (K) does not move to this item when the camcorder is in VTR mode or is ejecting a tape.
• If the current menu settings and the factory settings have different FRAME RATE settings, “REBOOT!” is dis-
played for 3 seconds, the camcorder automatically turns off and then turns on.
PAGE BACK When the cursor is in this position, press the SHUTTER dial once to return to the OTHERS [1/2] menu screen.
DRUM HOUR Displays the drum usage time.
Use as an estimate for regular maintenance.
The cursor (K) does not move to this item.
FAN HOUR Displays the fan motor usage time.
Use as an estimate for regular maintenance.
The cursor (K) does not move to this item.
79
MENU SCREENS
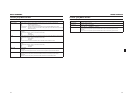
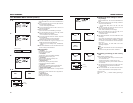
FILE MANAGE Menu Screen
You can perform the following operations in the FILE MAN-
AGE menu screen.
•Settings corresponding to shooting conditions can be read
immediately with the following read-only files.
LIVE HD30P: Ideal setting for HD30P format
LIVE HD25P: Ideal setting for HD25P format
CINEMA HD24P: Ideal setting for movie film shooting
* The read-only files listed above cannot be saved or reset.
•Save menu settings (Camcorder: CAM1, CAM2; SD mem-
ory card: EXT1, 2, 3, 4) to files.
•Load saved files.
•You can set a SUB NAME for the file to be saved.
•Reset the menu settings to the factory settings.
•Initialize (format) an SD memory card.
•When you set CANCEL for the LOAD, STORE, RESET
and FORMAT SD CARD items, these operations are not
executed.
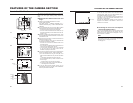
•A message is displayed in the LCD monitor or the view-
finder.
Execute : Displayed for 3 seconds
Complete : Displayed for 3 seconds
Error : Flashes (Error displays X See page 80.)
If there is an error:
•Press the STATUS button o Return to the normal
screen.
•Press the SHUTTER dial o Return to the FILE MAN-
AGE menu screen.
•To exit the FILE MANAGE screen:
Move the cursor (K) to PAGE BACK and press the SHUT-
TER dial
or
press the STATUS button.
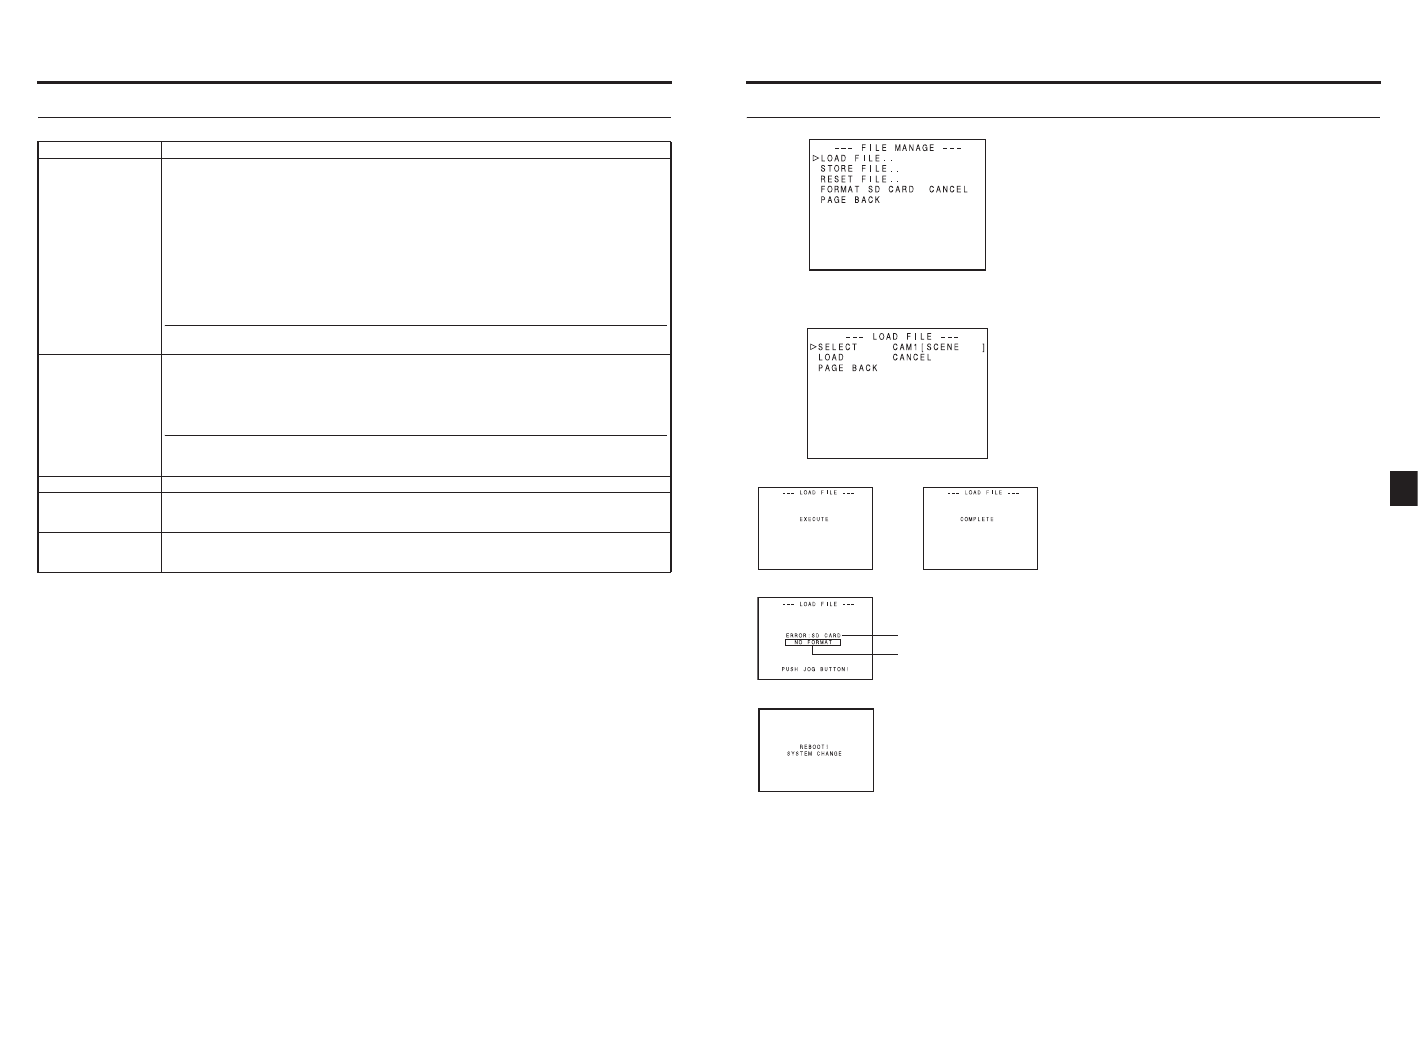
Displaying the FILE MANAGE menu
screen
Select the FILE MANAGE.. item on the TOP MENU
screen.
Loading a menu settings file
Select the LOAD FILE.. item on the FILE MANAGE menu
screen.
1.Turn the SHUTTER dial, bring the cursor (K) to SELECT
and press the SHUTTER dial.
•The file name setting area flashes.
2.Turn the SHUTTER dial, select the file to load and press
the SHUTTER dial.
3.Turn the SHUTTER dial, bring the cursor (K ) to the LOAD
item and press the SHUTTER dial.
• EXECUTE flashes.
4.With EXECUTE selected, press the SHUTTER dial to
read the menu settings in the selected file.
If the current menu settings and the menu settings to be
loaded have different video format settings, “REBOOT!” is
displayed for 3 seconds, the camcorder turns off automat-
ically and then turns on.
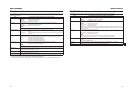
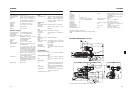
FILE MANAGE menu screen
Execute Complete
Error
Reboot display
Flashing
Error display