


Taking Videos in Intelligent Auto
Mode
You can record without worrying about the setting details by
using the Intelligent Auto mode.
0
Before recording an important scene, it is recommended
to conduct a trial recording.
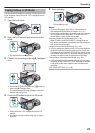
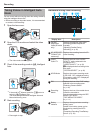
1
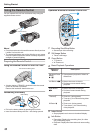
Open the lens cover.
.
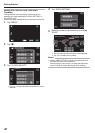
2
Open the LCD monitor and select the video
mode.
.
0
The video mode icon A appears.
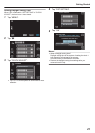
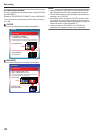
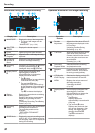
3
Check if the recording mode is P Intelligent
Auto.
.
0
If the mode is H Manual, press the H/T button to
switch to P Intelligent Auto.
The mode changes between Intelligent Auto and
Manual with every press.
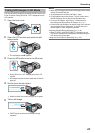
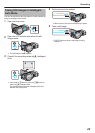
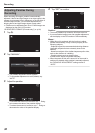
4
Start recording.
.
0
Press again to stop.
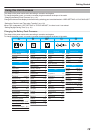
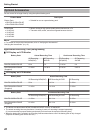
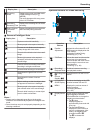
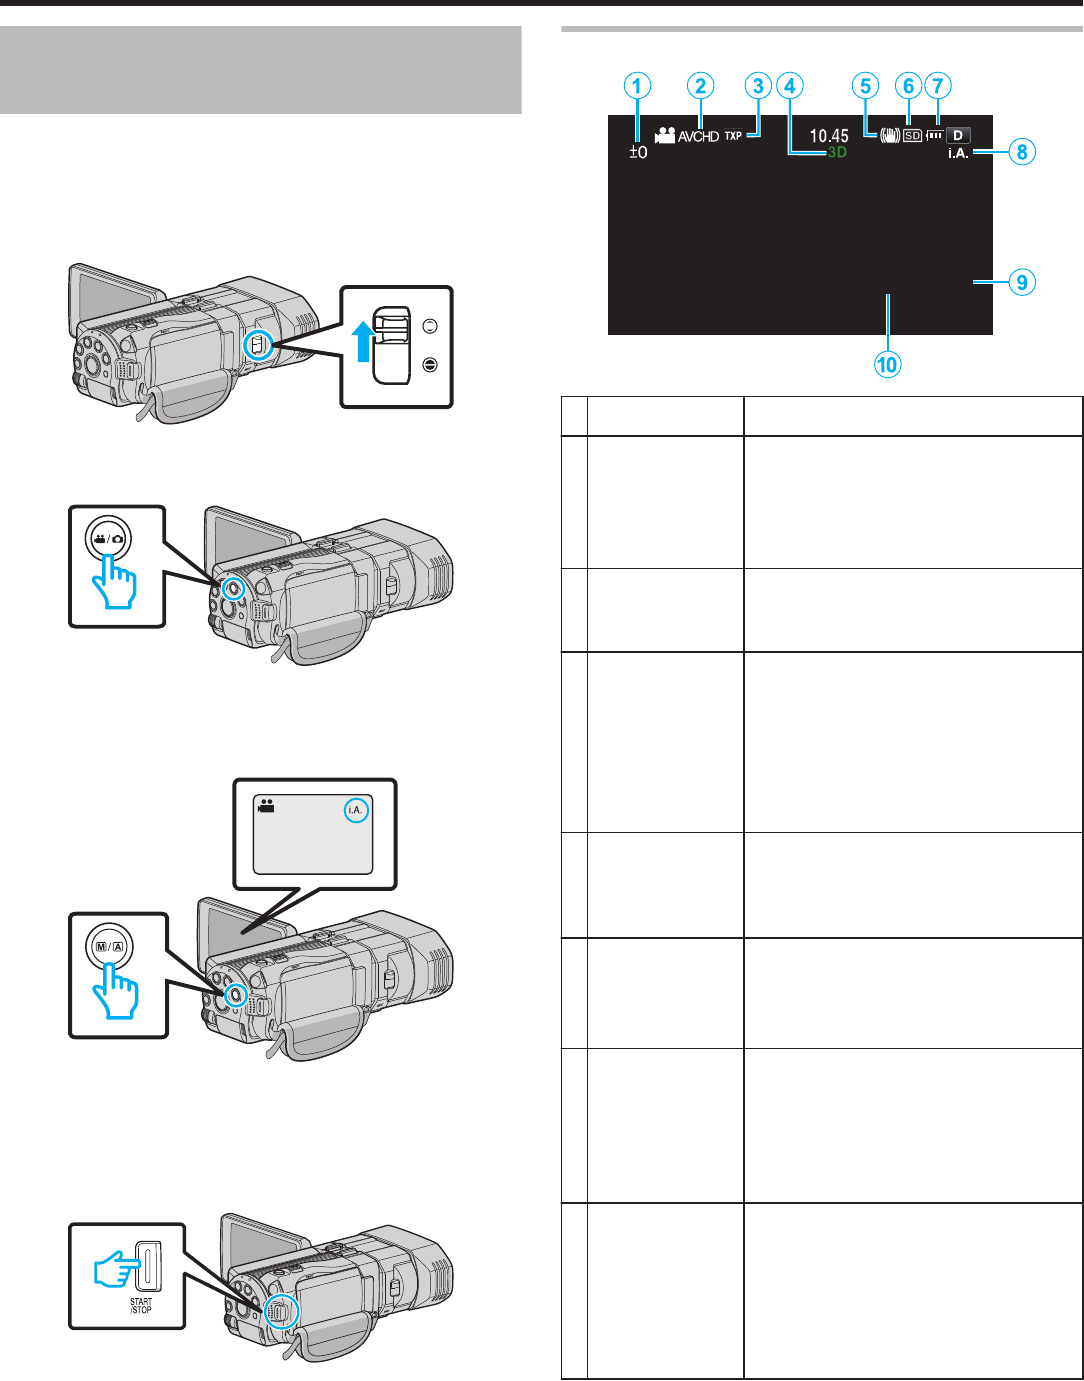
Indications During Video Recording
.
0:00:00 [2:04]
Display Icon Description
1
Parallax
Adjustment
Value (3D mode
only)
Displays the adjusted value when
performing parallax adjustment
manually.
“Adjusting Parallax During
Recording” (A p. 32)
2
3D VIDEO REC
FORMAT (3D
mode only)
Displays the recording format for 3D
video recording.
3
VIDEO
QUALITY
Displays the icon of the “VIDEO
QUALITY” setting selected in the
recording menu.
“ VIDEO QUALITY ” (A p. 93)
0 is displayed when recording in the
24p mode.
“ SYSTEM SELECT ” (A p. 92)
4
3D/2D Mode Displays the current recording mode
of 3D or 2D. “3D” is displayed during
3D recording, while “2D” is displayed
during 2D recording.
5
DIS Displays the icon of the “DIS” setting
selected in the recording menu.
“Reducing Camera Shake”
(A p. 46)
6
Recording
Media
Displays the icon of the media where
videos are recorded to.
You can change the setting with REC
MEDIA FOR VIDEO.
“ REC MEDIA FOR VIDEO ”
(A p. 111)
7
Battery
Indicator
Displays the approximate remaining
battery power.
Details of the battery power can be
displayed by pressing the INFO
button.
“Remaining Recording Time/Battery
Power” (A p. 54)
Recording
26