


Copying to Computer
You can read and copy the files on the built-in memory or SD
card by connecting this unit to a computer using a USB cable.
1
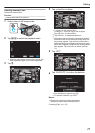
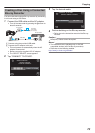
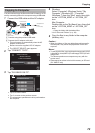
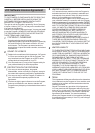
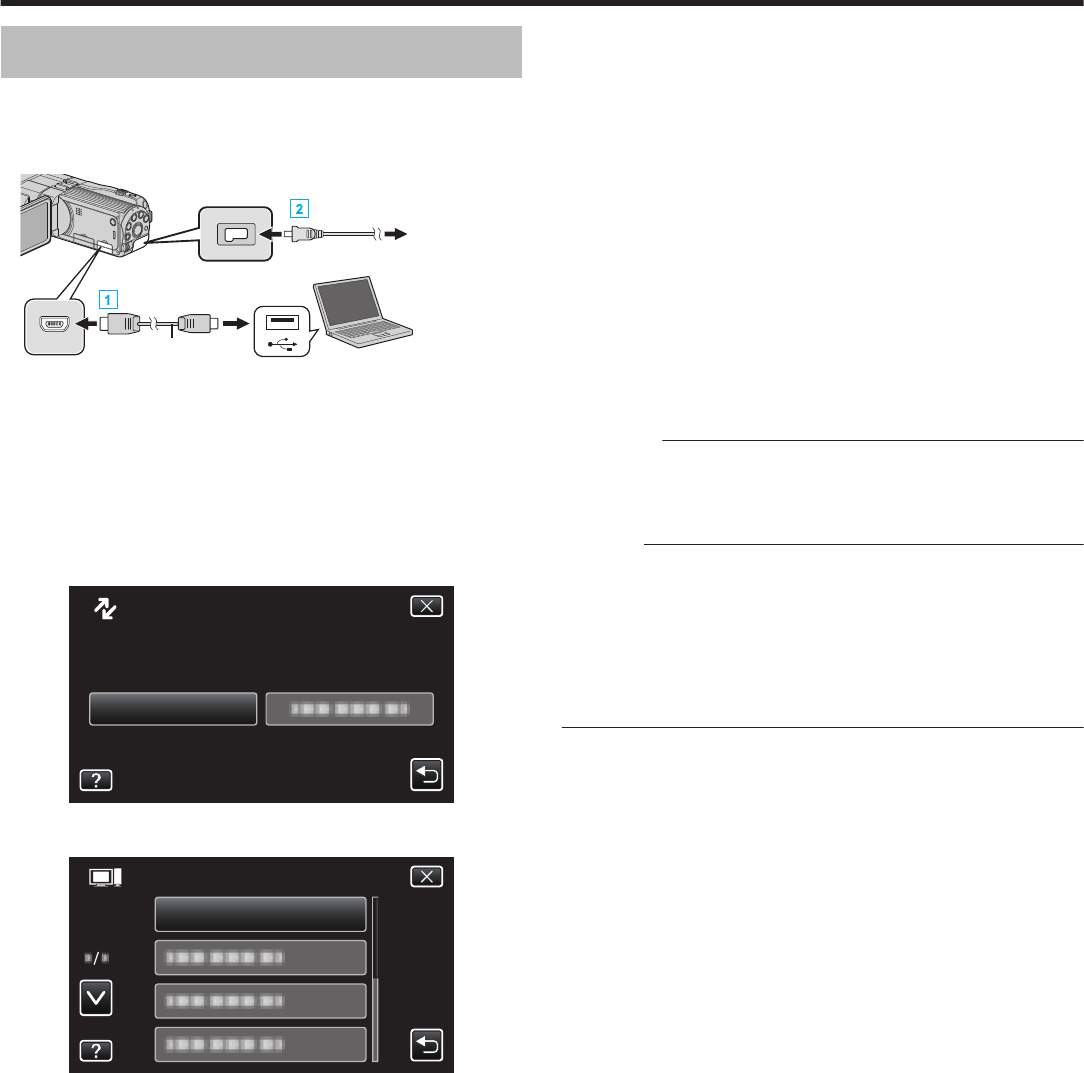
Connect the USB cable and the AC adapter.
.
To USB Connector
AC Adapter To AC
Outlet
(110 V to 240 V)
USB Cable
(Provided)
To DC Connector
To USB Connector
A Connect using the provided USB cable.
B Connect the AC adapter to this unit.
0
This unit powers on automatically when the AC
adapter is connected.
0
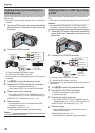
Be sure to use the supplied JVC AC adapter.
0
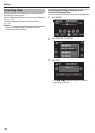
The “SELECT DEVICE” menu appears.
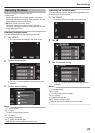
2
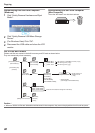
Tap “CONNECT TO PC”.
.
CONNECT TO PC
TYPE TO CONNECT
SELECT DEVICE
SELECT DEVICE
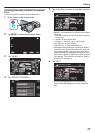
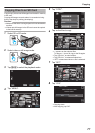
3
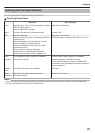
Tap “PLAYBACK ON PC”.
.
PLAYBACK ON PC
CONNECT TO PC
0
Tap L to exit the menu.
0
Tap J to return to the previous screen.
0
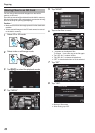
The subsequent operations are to be performed on
the computer.
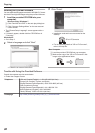
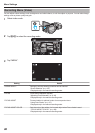
4
Windows
Select “Computer” (Windows Vista) / “My
Computer” (Windows XP) / “Computer”
(Windows 7) from the “Start” menu, then click
on the “JVCCAM_MEM” or “JVCCAM_SD”
icon.
Mac Computer
Double-click on the “No Name” icon, then click
on the “JVCCAM_MEM” or “JVCCAM_SD”
icon.
0
Open the folder with the desired files.
“List of Files and Folders” (A p. 80)
5
Copy the files to any folder in the computer
(desktop, etc).
Caution :
0
When the folders or files are deleted/moved/renamed in
the computer, they cannot be played back on this unit
anymore.
Memo :
0
To edit/view the files, use a software that supports AVCHD
(video)/MP4 (video)/MPO (3D still image)/JPEG (2D still
image) files.
0
The above operations on computer may vary with the
system used.
0
Data cannot be written to the built-in memory or SD card.
(GY-HMZ1E only)
Copying
79