


EN 23
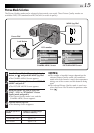
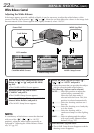
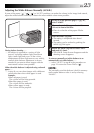
Adjusting the White Balance Manually (M.W.B.)
If none of the preset “ ”, “ ”, “ ” or “AUTO” positions can make the colours in the image look natural,
adjust the white balance manually to obtain the most suitable colour tones possible.
1
In step 4 on the previous page (੬ pg. 22),
select “MWB”.
2
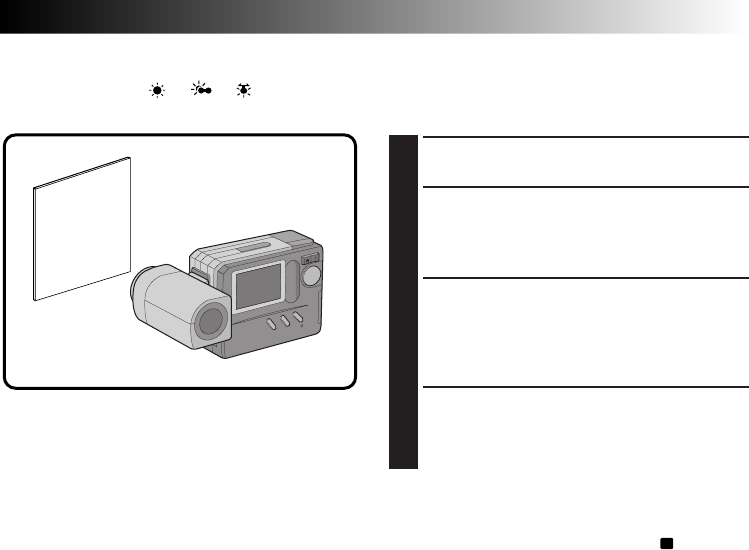
Place a sheet of white paper about 1 ft.
(30 cm) in front of the lens.
•Place it so that the white paper fills the
screen.
3
Push the MENU Jog Dial.
•The setting is completed after about 1
second.
•The setting can be redone by pushing the
MENU Jog Dial again.
4
Rotate the MENU Jog Dial to select “EXIT”
and push it 3 times.
•The M.W.B. Setup Screen disappears and the
shooting screen reappears.
To return a manually-set white balance to an
automatically-set white balance . . .
.... select “AUTO” in step 4 in the procedure on
page 22 or turn the Power Dial to “
A
”.
NOTE:
The manually-set white balance is held in memory
until another balance value is set by selecting
“M.W.B.”.
During indoor shooting . . .
.... the subject is exposed to a variety of light
sources, including outdoor light, fluorescent
light, candle light and so on. As the colour
temperatures of these light sources vary widely,
manual white balance adjustment is recom-
mended if you want to shoot images with the
most natural colour tones possible.
When the white balance is adjusted using coloured
paper . . .
.... in step 2, you can shoot images with a different
colour tone than when white paper is used.
Example:
When red paper is used:
The colours will be blue-greenish.
When blue paper is used:
The colours will be amberish.
When yellow paper is used:
The colours will be purplish.