


EN 53
PC Connection Operation
Picture Navigator Software (Provided)
Image data in the camera can be sent to the RS-232C port of a Windows
®
PC or to the modem port of a
Macintosh
®
or Mac OS-compatible computer.
NOTE:
Also read the instruction manuals of the provided “Picture Navigator” software.
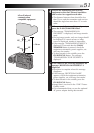
5
Rotate the MENU Jog Dial to select “PC
MODE” and push it twice.
•The normal playback screen reappears.
6
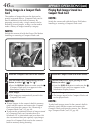
On the computer, capture the desired images
and process them.
•The message “PC MODE” appears during
image transfer.
•We recommend turning the camera off after
transferring images.
NOTES:
●
During image transfer to the computer, only one
image should be displayed. If a menu screen or
index screen is displayed, transfer is impossible.
●
Before transferring image data from the computer
to this camera, be sure to select the “FINE”
Picture Quality mode, referring to “Picture Mode
Selection” (
੬
pg. 15).
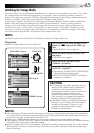
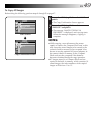
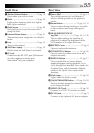
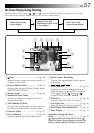
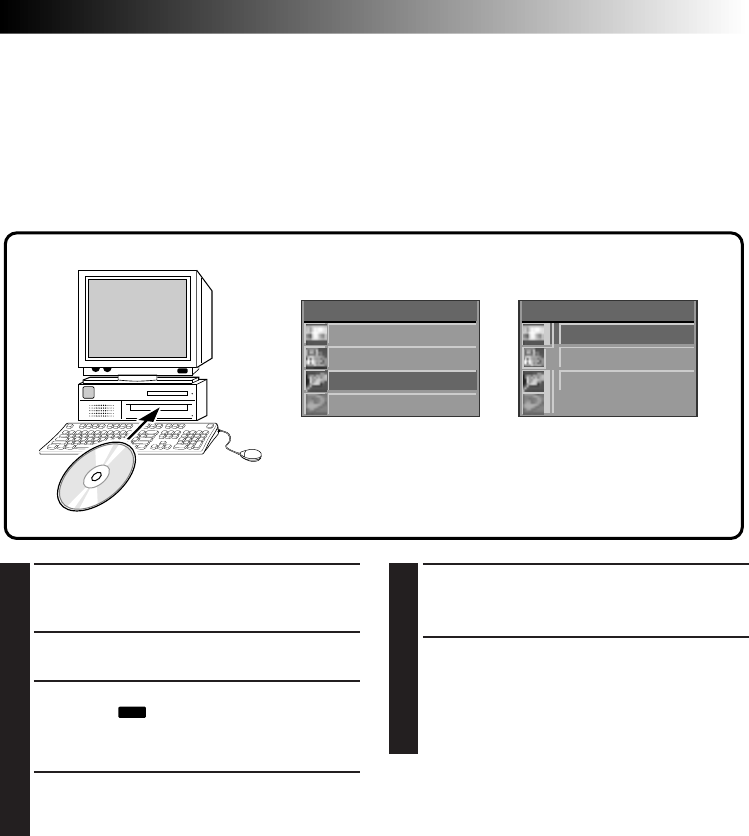
PLAY MENU
PLAY MODE
F I LE
CO
MM
. MODE
EX I T
CO
MM
. MODE
PC MODE
I R MODE
EX I T
PLAY MENU Screen COMM. MODE Setup Screen
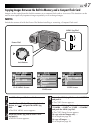
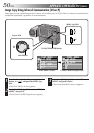
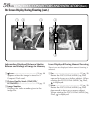
1
Connect the PC jack of the camera to the
computer’s RS-232C port (Windows
®
), or to
its modem or printer port (Macintosh
®
).
2
Install the Picture Navigator software on your
computer.
3
Turn the Power Dial, while pressing its Lock
Button, to “
PLAY
” and push the MENU Jog
Dial.
•The PLAY MENU Screen appears.
4
Rotate the MENU Jog Dial to select “COMM.
MODE” and push the MENU Jog Dial.
•The COMM. MODE Setup Screen appears.