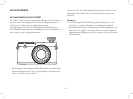
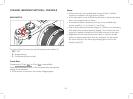
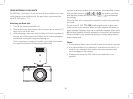
142
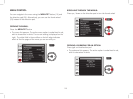
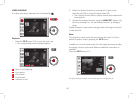
SHUTTER SPEED PRIORITY - T
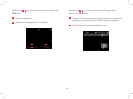
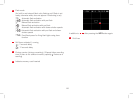
Shutter speed priority mode sets the exposure automatically
according to the manually selected shutter speed. Therefore, it is
particularly suitable for pictures of moving subjects, where the
sharpness of the movement depicted is the critical compositional
element.
For example, with a correspondingly fast shutter speed you can avoid
undesirable blurring of the movement, i.e. "freeze" your subject or,
conversely, you can use a slower shutter speed to express the
dynamic nature of the movement with a deliberate "wiping effect".
Taking a picture in this mode:
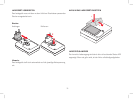
1.
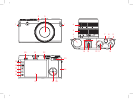
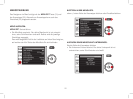
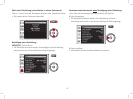
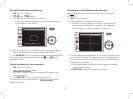
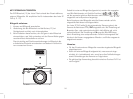
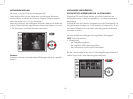
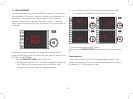
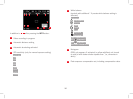
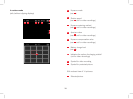
Turn the aperture setting dial (10) to the A position
• The set shutter speed is displayed in white.
2.
Set the desired shutter speed with the corresponding dial (11)
3.
Press the shutter button (8) to the pressure point
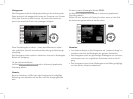
• The automatically calculated aperture value is displayed in
white. If even the lowest or highest aperture value combined
with the set shutter speed results in under or overexposure,
both values are displayed in red.
If the automatically set aperture value appears to be appropriate for
the intended composition:
4.
Push the shutter button all the way down to take the photo
If not, you can change the shutter speed before taking the picture.
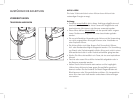
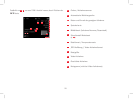
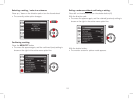
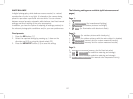
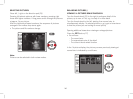
MANUAL SETTING - M
If, for example, you want to achieve a particular eect, which is only
possible with a quite specic exposure, or if you want to ensure that
several pictures with different trimming have an absolutely identical
exposure, then you can set the shutter speed and aperture manually.
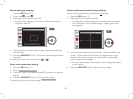
Taking a picture in this mode:
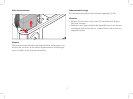
1.
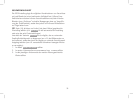
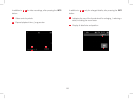
Set the desired shutter speed / aperture values using the
corresponding dials (10/11)
2.
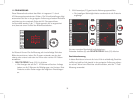
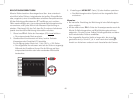
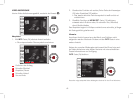
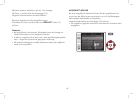
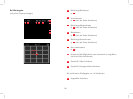
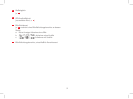
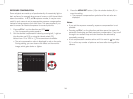
Press the shutter button (8) to the pressure point
• The shutter speed and aperture are displayed in white. The
light balance scale also appears. This covers a range of ±3EV
(exposure value) in
1
/
3
EV increments. Settings within ±3EV
are indicated by red lines on the scale, outside ±3EV by red
- or + symbols at the ends of the scale.
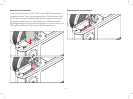
3.
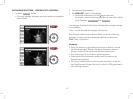
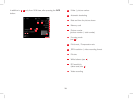
If necessary, adjust the settings for a correct exposure so that
the central marking is displayed in red
If the set values and/or the exposure appears to be appropriate for
the intended composition:
4.
Push the shutter button all the way down to take the photo