149
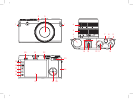
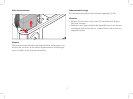
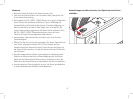
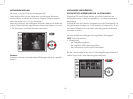
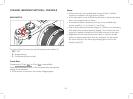
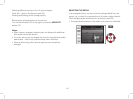
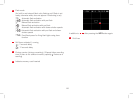
SYNCHRONIZATION POINT
Flash photographs are illuminated by two light sources, the available
ambient light and the light from the flash. The time at which the flash
is fired normally determines where the parts of the subject illumi-
nated exclusively or predominantly by the ash are shown in the
image field.
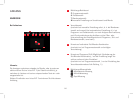
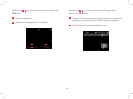
The conventional ash ring point at the beginning of the exposure
can lead to apparent contradictions, e.g. a vehicle being "overtaken"
by the light trail from its own tail lights.
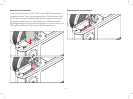
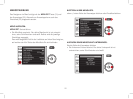
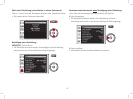
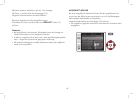
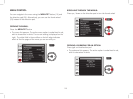
The Leica X Vario allows you to choose between this conventional
ash ring point and the end of the exposure:
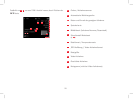
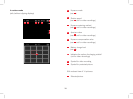
Select
Flash Sync
in the menu, and the desired setting in the
submenu
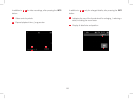
In the example cited, the light trail from the tail lights then follows the
vehicle as expected. This ash technique gives a more natural im–
pression of movement and dynamics.
Note:
When using the flash with faster shutter speeds, in terms of the image
there is no difference, or only for rapid movements, between the two
flash firing points.
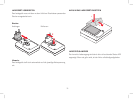
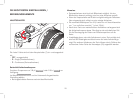
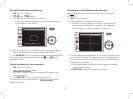
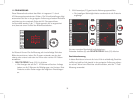
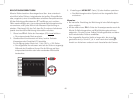
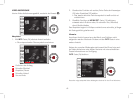
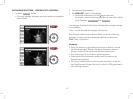
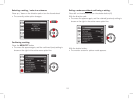
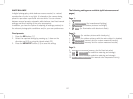
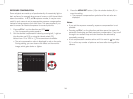
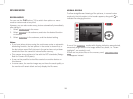
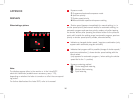
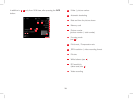
FLASH EXPOSURE COMPENSATION
This function can be used to selectively reduce or strengthen the
ash exposure regardless of the exposure of the available light, e.g. in
a picture taken outside in the evening, to lighten the face of a person
in the foreground while retaining the lighting atmosphere.
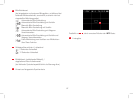
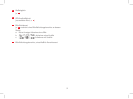
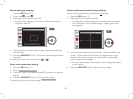
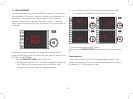
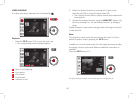
1.
Press up /
EV+/-
on the direction pad (25) three times
• The corresponding scale appears.
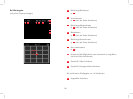
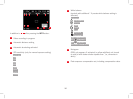
2.
Set the desired compensation value by pressing left / right on
the direction pad or using the direction pad
Values from +3 to -3EV in
1
/
3
EV increments are available.
• The set compensation value is displayed in red on the scale.
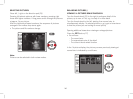
3.
Press the
MENU/SET
button (15)or the shutter button (8) to
save the setting
• The set compensation value appears.
Notes:
• Brighter flash illumination selected using a positive compensation
requires a higher flash power, and vice versa. Therefore, flash
exposure compensation has a more or less signicant impact on
the flash range. A positive compensation reduces the range, while
a negative compensation increases it.
• Pressing up
EV+/- on the direction pad also opens the menus for
automatic bracketing and exposure compensation. They scroll
through in an endless loop and can therefore be selected by re–
peatedly pressing.
• A set compensation remains active until it is reset to
±0 (see step
2), i.e. after any number of pictures and even after turning off the
camera.