147
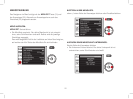
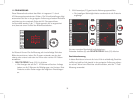
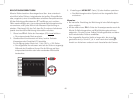
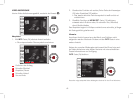
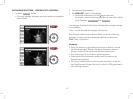
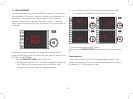
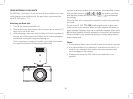
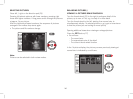
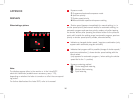
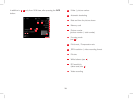
FLASH MODES
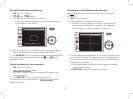
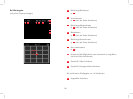
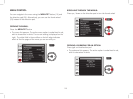
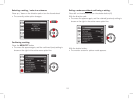
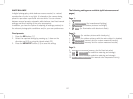
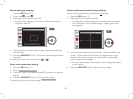
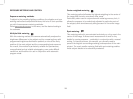
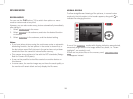
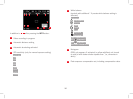
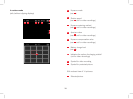
Selecting the mode:
1.
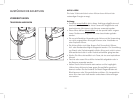
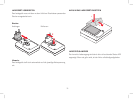
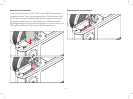
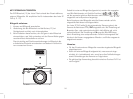
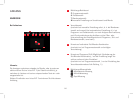
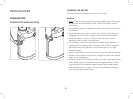
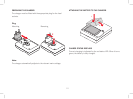
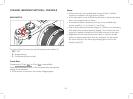
Extend the ash unit
2.
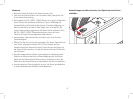
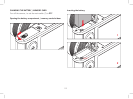
Press right / on the direction pad (25)
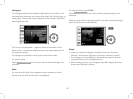
3.
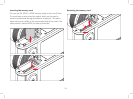
In the submenu, select the desired setting by pressing up / down
/ right on the direction pad or using the thumb wheel (23)
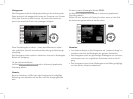
4.
Press the
MENU/SET
button (15)or the shutter button (8) to
save the setting
• The flash mode display changes accordingly.
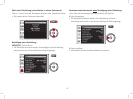
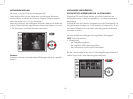
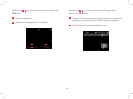
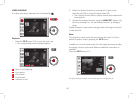
Automatic flash activation -
This is the default mode. The flash is activated automatically when–
ever longer exposure times could lead to blurred pictures in poor
lighting conditions.
Automatic flash and pre-flash activation -
This function reduces the "red eye" effect when using the flash to take
pictures of people. If possible, the people should not look directly at
the camera. As the effect is worsened when the pupils are wide open
in conditions of low lighting, when taking photographs indoors for
example, you should turn on as much room lighting as possible.
The pre-flash, which is fired shortly before the main flash when you
press the shutter button, narrows the pupils of people looking at the
camera thereby reducing the effect.
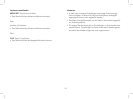
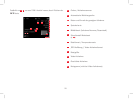
Manual flash activation -
For backlit pictures, where your main subject does not fill the entire
frame and is in shadow, or situations where you want to mitigate high
contrasts (e. g. due to direct sunlight).
As long as this mode is activated, the flash unit will be activated for
every whatever the prevailing lighting conditions.
The ash power is controlled according to the metered external
brightness: in poor light, as in automatic flash mode, with increasing
brightness at a lower power (up to a maximum of -1
2
/
3
EV). The flash
then works as a fill-in light, e.g. to light up dark shadows in the
foreground or backlit subjects, in order to create more balanced
overall lighting.
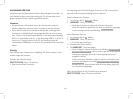
Manual flash and pre-flash activation -
For a combination of the situations and functions described above.