19
USB Mode
The DV camera will automatically switch to USB mode
when it is connected to a USB port using the cable
provided. See Connecting on page 37 for details on
how to connect your DV camera to a computer.
Note: When the camera is connected to a computer with a
USB cable, it automatically goes into USB mode. Other
modes cannot be selected using the Mode button until the
USB cable has been disconnected.
Downloading files
In USB mode you can download images, movies, or
audio recordings to your hard disk. The DV camera
appears as a removable disk on your Windows PC. To
access the images on your DV camera:
1. Turn on your DV camera and make sure that it is
not set to behave as a webcam. See USB Switch
on page 35.
2. Connect your DV camera to your computer USB
port using the cable provided. See Connecting to a
computer on page 37.
The first time you connect your DV camera to your
computer, the operating system will attempt to load
driver software. Windows ME, 2000 and XP will do this
automatically but if your computer uses Windows 98
SE, you will have to insert the CD provided and follow
the on-screen instructions. See Installing Software on
page 38.
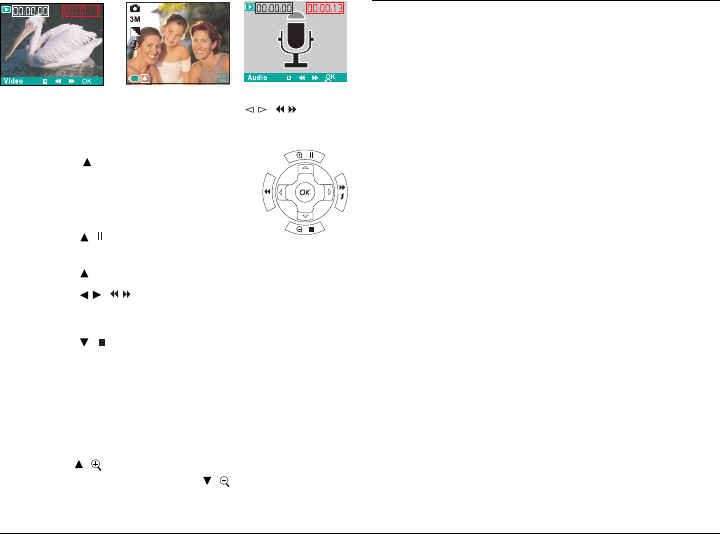
In this display mode, you can use the / ( / ) button
to toggle forwards/backwards through all the
recordings.
4. Press the button to start the
movie/audio playback.
During the playback, do the following
if required:
• Press ( ) to pause movie/audio
playback.
• Press to continue the movie/audio playback.
• Press / ( / ) to advance or rewind the movie
playback with a speed. The speed adjustment are
made from -4 to +4 in 2-step increments.
• Press ( ) to stop the movie/audio playback.
5. Press the OK button to return to nine-image display.
Playback Zoom
The zoom feature allows you to magnify a captured still
image at up to four times the original viewing size.
• Press the
( ) button repeatedly to magnify the
captured still image; press the ( ) button repeatedly
to return to the original viewing size.


