155
Q
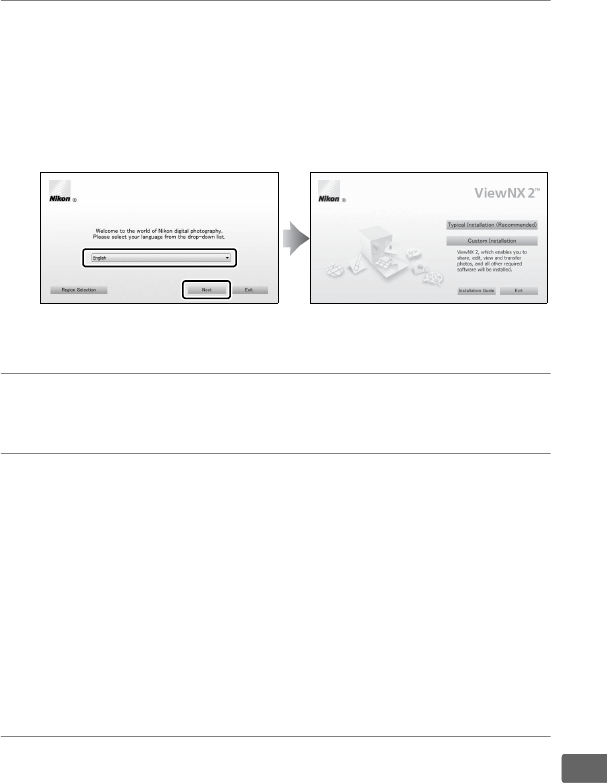
2 Select a language.
If the desired language is not available, click Region
Selection to choose a different region and then choose the
desired language (region selection is not available in the
European release).
After choosing a language, click Next. The
dialog shown below at right will be displayed.
To view detailed installation instructions, click Installation
Guide before proceeding.
3 Start the installer.
Click Install and follow the on-screen instructions.
4 Exit the installer.
Click Ye s (Windows) or OK (Mac OS) when installation is
complete. The following software is installed:
• ViewNX 2 (includes the following three modules:
Nikon Transfer 2, used to copy pictures to the computer,
ViewNX 2, used to view, retouch, and print pictures, and
Nikon Movie Editor, used for simple movie editing)
• Panorama Maker (join pictures together to create a
panorama)
• Apple QuickTime (Windows only)
5 Remove the installer CD from the CD-ROM drive.


