140
Configuring Wireless LAN Settings from a Computer
Wireless Services
Installing the Utility
1 Turn the computer on and insert the yellow COOLPIX CON-
NECT Utility/PictureProject installer CD into the CD-ROM drive.
• Windows: The Install Center program will start. If you are using Windows
Vista, follow the on-screen instructions.
• Macintosh: Double-click the COOLPIX CONNECT Utility/PictureProject installer
CD icon on the desktop, then double-click the [Welcome] icon.
k
If the Install Center Does Not Start Automatically (Windows only)
Open My Computer by selecting [My Computer] from the [Start] menu, and then dou-
ble-click the CD (PictureProject) icon.
2 Enter the administrator name and password (Macintosh only).
• Enter the administrator name and password, and then click [OK].
• If you are using Windows, proceed to step 3.
3 When the Select Region dialog is displayed, select a region and
click [Next].
The Select Region dialog is not displayed in the European release of PictureProject.
European users can proceed directly to step 4.
4 When the Select Language dialog is displayed, select a lan-
guage and click [Next].
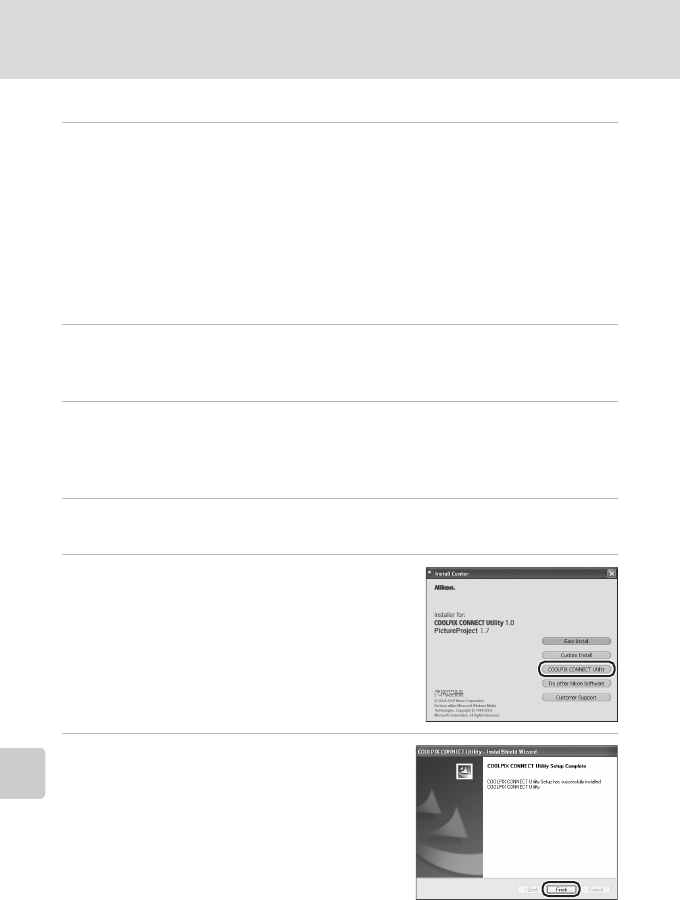
5 Click [COOLPIX CONNECT Utility].
The COOLPIX CONNECT Utility installer will start.
Follow the on-screen instructions to complete the
installation.
If the Select Language dialog is displayed, select a
language and click [Next].
6 Finish the installation.
Click [Finish] (Windows) or [Quit] (Macintosh)
and follow the on-screen instructions to exit the
Install Center program.


