23
Step 1 Turn the Camera On and Select L (Auto) Mode
Basic Photography and Playback: Auto Mode
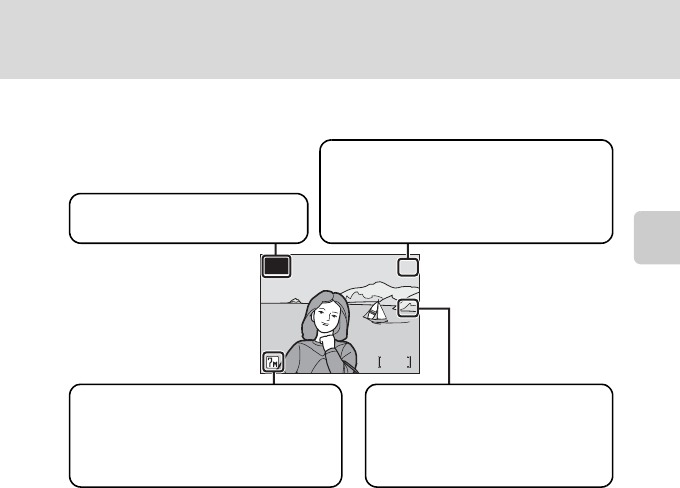
Indicators Displayed in L (Auto) Mode
l Available Functions in L (Auto) Mode
In L (auto) mode, macro close-up mode (c 33) and exposure compensation (c 34) can be
applied and pictures can be taken using the flash (c 30) and self-timer (c 32). Pressing m
in L (auto) mode displays the shooting menu. This menu allows you to specify the image
mode (c 91), white balance setting (c 93), and to apply continuous shooting (c 95), BSS
(c 97), ISO sensitivity (c 98), color options (c 98), and AF area (c 99) to suit shooting
conditions or your own preferences.
l Vibration Reduction
[Vibration reduction] (c 116), when [On] (default setting) is selected, can be applied to effec-
tively reduce blur, caused by slight hand movement known as camera shake, that commonly
occurs when shooting with zoom applied or at slow shutter speeds.
Vibration reduction can be used in all shooting modes.
l Auto Power Off in L (Auto) Mode (Standby Mode)
The monitor will dim to reduce the drain on the battery if no operations are performed for
about five seconds. The monitor will brighten when camera controls are used. At default set-
tings, the monitor will turn off altogether if no operations are performed for about a minute
during shooting and playback. The camera will turn off automatically if no operations are per-
formed for another three minutes (c 118).
6
6
M
M
L
W
W
Shooting mode
M
displayed in
L
(auto) mode
Image mode
Choose from seven image-mode
options depending on how you plan
to use the picture. The default set-
ting is E Normal (3,072 × 2,304).
Internal memory indicator
Pictures will be recorded to internal
memory. When memory card is inserted,
M is not displayed and pictures will be
recorded to memory card.
Vibration reduction icon
Vibration reduction can be set
up according to the shooting
conditions. The default setting is
[On].


