25
Before Using
• Set to Tape/Card Recording Mode.
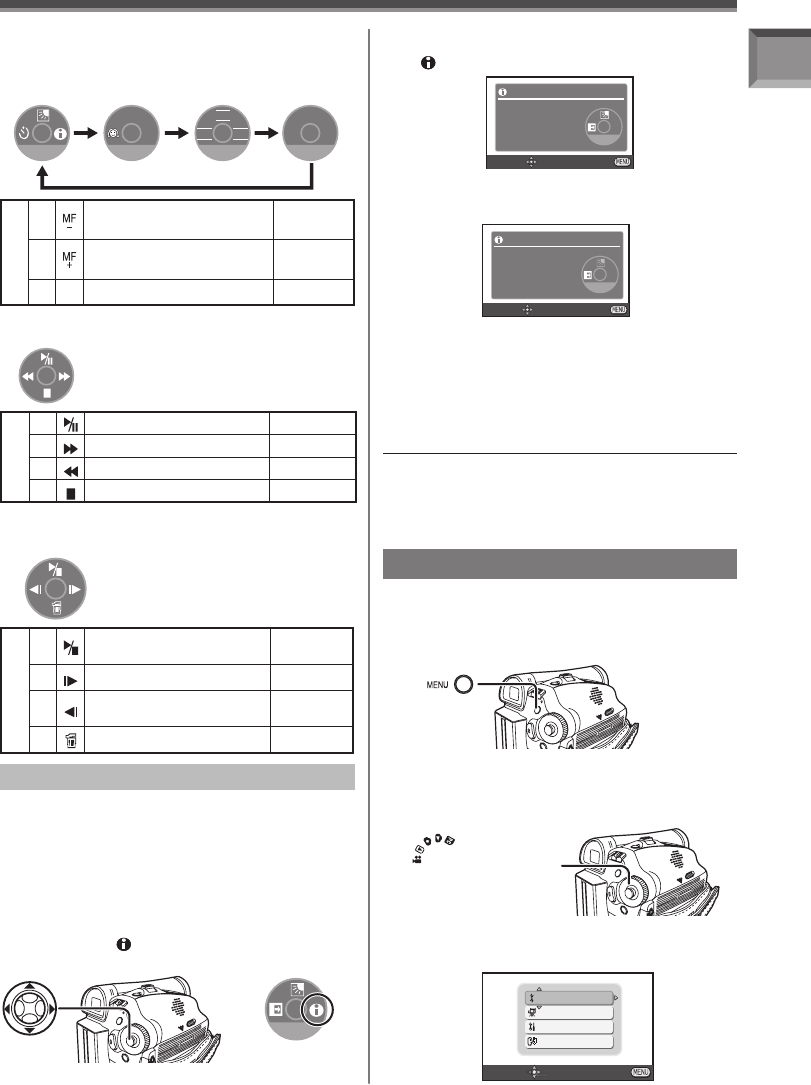
You can view function help information using
One-Touch Navigation.
1/4 NEXT
[One-Touch Navigation icon]
*Help Mode
1 Press the Joystick Control to display the
One-Touch Navigation icon on the lower
right of the screen.
2 Move the Joystick Control [▼] until the
page with [ ] indication is displayed.
e.g.
3 Move the Joystick Control [►] to select
[ ].
4 Move the Joystick Control [▲▼◄►] to
select the desired function.
e.g.
SET EXIT
BACKLIGHT COMPENSATION
PREVENTS
DARK
SUBJECTS
IN BACKLIGHT
1/4 NEXT
EXIT
e.g.
To end the Help Mode
Move the Joystick Control [►] to select [EXIT] or
press the [MENU] Button.
SET EXIT
USAGE
TO MOVE JOYSTICK
IN DIRECTION
OF DESIRED
FUNCTION
1/4 NEXT
EXIT
Notes:
• When the Help Mode is used, functions cannot be
set.
• The Help Mode only displays the information
available in [AUTO] Mode.
• An explanation of the selected icon is displayed
on the screen.
• Each time the Joystick Control is moved down,
the indication changes.
Tape Playback Mode
–
▲
Playback / Pause p. 45
►
Fast (Cue Playback) p. 46
◄
Rewind (Review Playback) p. 46
▼
Stop p. 45
Picture Playback Mode
(For PV-GS39/PV-GS59)
–
▲
Start the Slide Show
Stop the Slide Show
pp. 47~48
►
Playback the next picture p. 47
◄
Playback the previous
picture
p. 47
▼
Erase the picture p. 49
Card Recording Mode
(For PV-GS39/PV-GS59)
• When the [AUTO/MANUAL/FOCUS] Switch is
set to [FOCUS].
1/4 NEXT
2/4 NEXT
3/4 NEXT
IRIS
SHTR
WB
4/4 NEXT
MF
–
MF
+
4/4
◄
Manual Focus Adjustment
Mode
p. 44
►
Manual Focus Adjustment
Mode
p. 44
▼ Go to next page. –
Using the Menu Screen
To facilitate the selection of a desired function or
setup, this Camcorder displays various function
setups on Menus.
1 Press the [MENU] Button.
• The Menu corresponding to the Mode selected
by the Mode Dial is displayed.
• Do not switch the Mode Dial when the Menu is
displayed.
2 Move the Joystick Control [▲] or [▼] to
select the top menu.
BASIC
ADVANCED
SETUP
LANGUAGE
SETUP ENTER EXIT
