Editing Mode
53
Recording from a Tape onto a Card
(For PV-GS39/PV-GS59)
Still pictures can be recorded on the Memory Card
from scenes that have already been recorded on a
cassette.
1 Set the Mode Dial to Tape Playback Mode.
• The One-Touch Navigation icon is displayed
on the lower right of the screen.
Audio Dubbing
(PV-GS59 Only)
You can add music or narration to the recorded
Cassette.
• If the tape recorded in the [16bit] Mode is dubbed
with the Audio Dubbing function, the original sound
is erased. (If you wish to preserve the original
sound, use the [12bit] Mode when recording.)
• Audio Dubbing cannot be performed on a recording
made in LP Mode. (p. 29)
• Set to Tape Playback Mode.
1 Find a scene that you want to add sound
to, and press the [ ] Button on the
Remote Control.
To Play Back the Sound Recorded by
12bit Audio Dubbing
Set [ SETUP] >> [ 12bit AUDIO] >> [ST1],
[ST2] or [MIX].
ST1: It plays back only the original sound.
ST2: It plays back only the sound added by
Audio Dubbing.
MIX: It plays back both the original sound
and the sound added by Audio Dubbing
simultaneously.
Editing Mode
2 Insert a tape which already has recorded
contents and a card.
3 Move the Joystick Control [▲] to start
playback and set the Camcorder to Still
Playback Mode at the scene you wish
to record, and press the [PHOTO SHOT]
Button.
Before Recording with Audio Dubbing
• Set to Tape Recording Mode
• When you want to preserve the original sound
taken during recording, set [
ADVANCED]
>> [
AUDIO REC] >> [12bit] to take pictures.
(When set [16bit], the sounds taken during
recording are erased after recording with audio
dubbing.)
• Set [
BASIC] >> [ REC SPEED] >> [SP] to
take pictures.
2 Press the [AUDIO DUB] Button on the
Remote Control.
• The [ ] Indication appears.
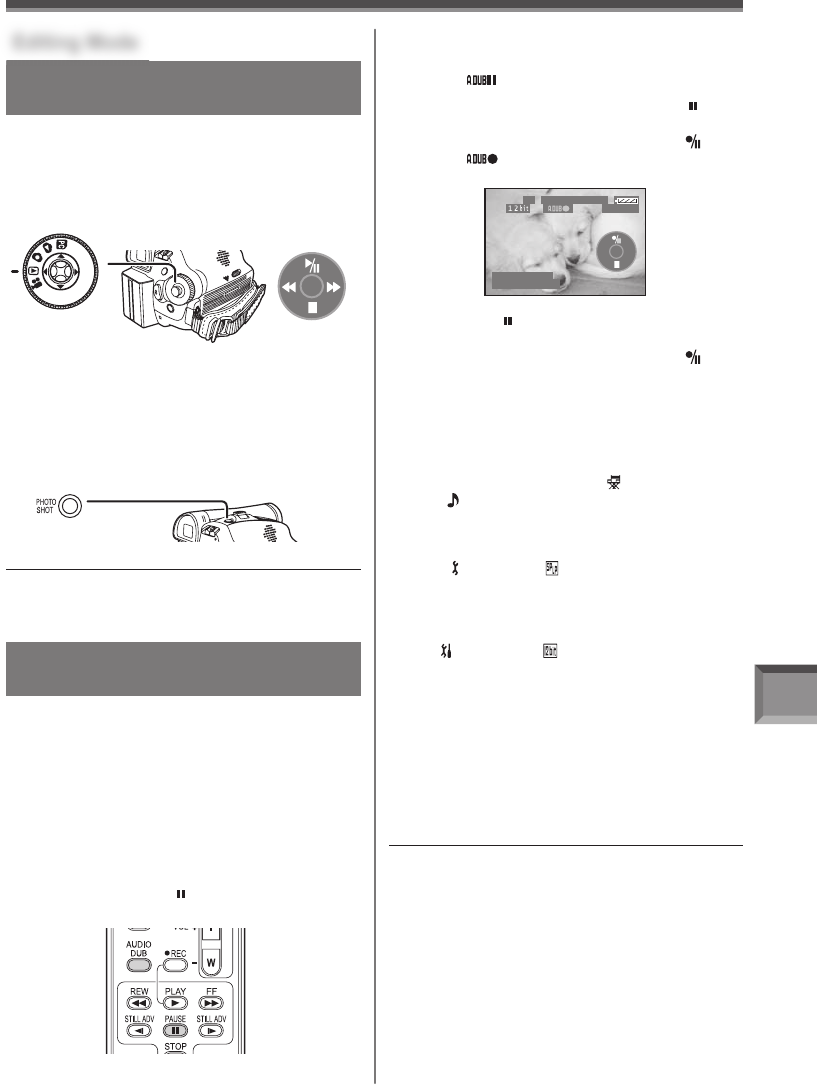
3 To start Audio Dubbing, press the [ ]
Button on the Remote Control. Or, move
the Joystick Control [▲] to select [ ].
• The [ ] Indication appears.
• Talk into the microphone.
Note:
• If you press the [PHOTO SHOT] Button without
pausing, blurred pictures may be recorded.
Notes:
• The blank section of a tape cannot be dubbed.
• Sounds sent through the DV terminal cannot be
dubbed.
• If a tape has a non-recorded portion when the tape
is dubbed, images and sounds may be disturbed
when this portion of the tape is played back.
• In the case of importing data recorded with Audio
Dubbing to a PC using the PC’s software, only the
original sound (ST1) may be imported, depending
on the software.
[One-Touch Navigation icon]
• During Audio Dubbing, it is automatically set to
[ST2].
• Audio will not be recorded.
4 Press the [ ] Button on the Remote
Control to stop audio dubbing. Or, move
the Joystick Control [▲] to select [ ]
again.
• The Camcorder is in the Still Playback Mode
again.
SP 3h59m59s29f
R 2:00
12:34:56AM
JAN 2 2006


