18 C2601M-C (3/07)
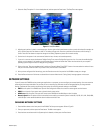
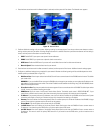
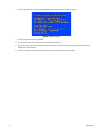
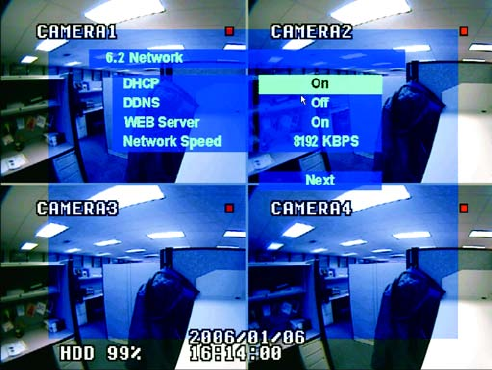
4. Press the down arrow button until the Network option is selected, and then press the Enter button. The Network menu appears.
Figure 12. Network Menu
5. Enable or disable the settings to fit your system. Adjusting a setting is a two-step process. Press the up or down arrow buttons to select a
setting, and then press the Enter button. A setting changes color when it is selected. Press the up or down arrow buttons until the setting is
correct, and then press the Enter button to save the change.
a. DHCP: Enable DHCP if your system uses dynamic Internet addresses.
b. DDNS: Enable DDNS if your system uses a dynamic domain name service.
c. WEB Server: Enable the WEB Server if your users will use the Web client to view live video over the Internet.
d. Network Speed: Select the desired baud rate for your network.
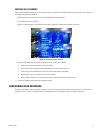
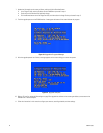
6. Press the down arrow button until the Next command is selected, and then press the Enter button. Additional network settings appear.
7. Configure any additional settings that are required for your network. Whether the following settings will be available depends on which
network options you selected (refer to Figure 13):
• Web Server Port: Enter the port number that the Web Client will use to communicate with the DX4000 over the Internet. The default
port number is 80.
WARNING: If you use the Web Client to access the DX4000 and you change the port number, you must update the IP address on the
web address to include the new port number. The revised IP address would resemble the following: http://192.168.0.40:8080, where
8080 is the revised port number.
• Client Service Port: Enter the port number that the remote agent will use to communicate with the DX4000. The default port number
is 6100. You may use a different working port number.
• DDNS Server: Verify the name of the Dynamic Domain Name Service. The default service name is DDNS.DVRLINK.NET. If your
network uses a different service, enter it here. Note that entering the name incorrectly will render the service inoperable.
• IP Address: If your network uses static IP addresses, enter it here. A default IP address for the DX4000 can be found on the System
Information menu. Refer to Entering an IP Address on page 19 for instructions for entering an IP address.
• Gateway: Enter the IP address for the Internet gateway server. On smaller systems, this will be the IP address of the DX4000. On larger
systems, there might be a separate machine that serves as the gateway.
• Subnet Mask: Enter the IP address of the subnet mask for the DX4000.
• 1st DNS Server: Enter the IP address of the primary Domain Name Service server that the DX4000 will use to convert names to
IP addresses. If you intend to use the DDNS server, you do not need to enter a DNS server.
• 2nd DNS Server: Enter the IP address of the backup Domain Name Service server that the DX4000 will use to convert names to
IP addresses. This server is used if the primary DNS server fails. If you intend to use the DDNS server, you do not need to enter a
DNS server.


