20 C2601M-C (3/07)
Upgrading or Changing Firmware on the DX4000
Firmware resides in the flash memory of the main board of the DX4000. To upgrade the firmware you must run an upgrade program from a
computer that is connected to the unit through a network. The process varies depending on the connection type: network or direct. Follow the
upgrade instructions for the type of network connection you use. Note that you might also need to upgrade the remote agent application if you
intend to work with the DX4000 from a remote computer.
LOCATING THE IP ADDRESS
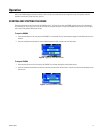
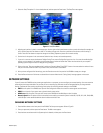
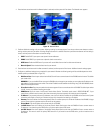
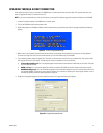
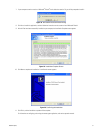
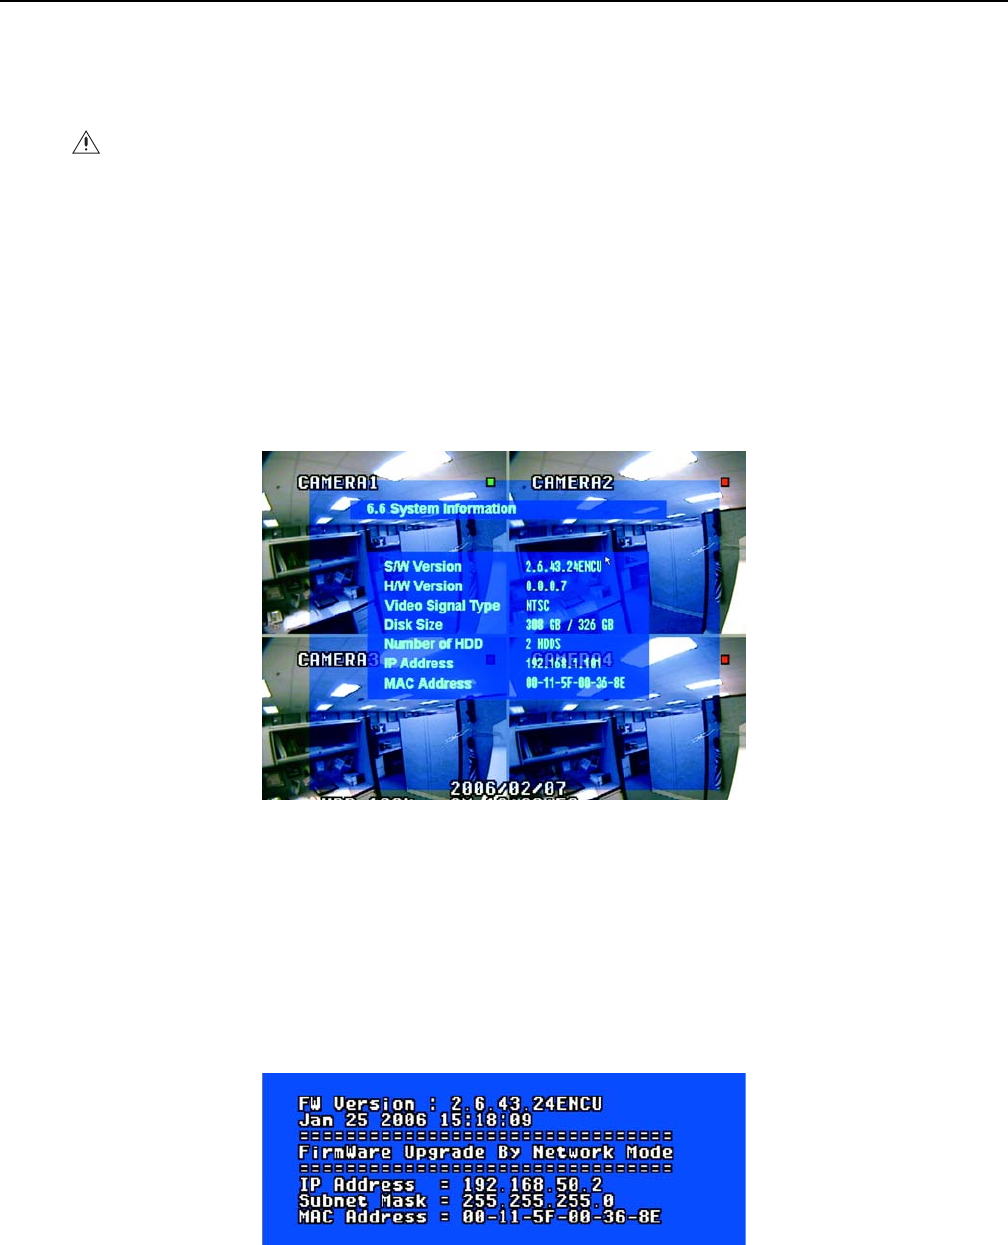
1. Open the Main menu of the DX4000, and then select System. The System screen appears.
2. Select System Information and press the Enter button.
3. Locate the IP Address field and make a note of the address.
4. Press the Return button until all menus are closed.
Figure 14. System Information Menu
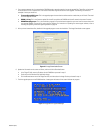
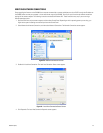
UPGRADING THROUGH A NETWORK CONNECTION
Follow these instructions if your DX4000 is connected to a computer through a network.
NOTE: If you have not already done so, follow the instructions at Locating the IP Address on page 20 to locate the IP address for the DX4000.
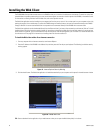
1. Turn off the DX4000 and disconnect the power cable.
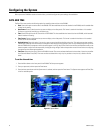
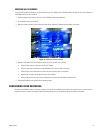
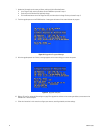
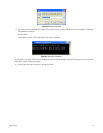
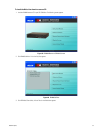
2. While holding down the Menu and Enter buttons simultaneously, reconnect the power cable. A message resembling the following appears.
Figure 15. Firmware Upgrade Message
3. Make a note of the IP address on this message.
WARNING: Upgrading or changing firmware resets all settings in the system to their original default settings. Before you upgrade or
change firmware, make a note of important settings so that you can reconfigure the DX4000. If you have changed passwords, they will be
reset to 1234 after you upgrade or change the firmware.