C2953M-A (5/09) 23
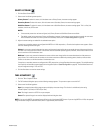
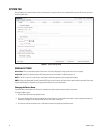
TIME SETTINGS
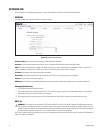
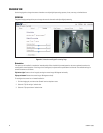
Select the time server and time zone for the camera, and turn on or off the overlay.
Time Server: The external server that uses Network Time Protocol (NTP) to synchronize the camera date and time settings.
Time Zone: The geographic area that is closest to the camera’s physical location.
Overlay: Select On to overlay the date and time on all video streams. Select Off to turn off the date and time overlay.
Current Date: A read-only field that displays the date and time of the camera.
Configuring the Camera Date and Time Settings
If the camera is connected to a DHCP network that has time server properties configured, the camera will automatically synchronize with the
time server. If the DHCP network’s time server properties are not configured or the network does not have a time server, the camera’s default
setting is January 1, 1970.
To set the camera’s date and time:
1. Type the IP address of the NTP server.
2. The default Time Zone setting is Coordinated Universal Time (UTC). To change the time zone, select the continent and the region that are
closest to the camera’s location from the Time Zone drop-down menus. If your location observes a form of daylight saving time, the system
will automatically change the time on the associated dates.
3. Set the overlay setting. Select On to overlay the date and time on the video stream, or select Off to turn off this setting.
4. Click the Save button to save the settings, or click the Reset button to clear all of the information you entered without saving it.
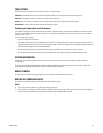
SYSTEM INFORMATION
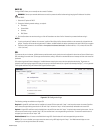
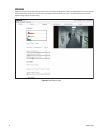
The camera’s firmware version, hardware version, model number, and serial number are read-only fields that are typically required for
troubleshooting.
To create a system log that can be used by Pelco Product Support for troubleshooting, click the Generate System Log button. Contact Pelco
Product Support at 1-800-289-9100 (USA and Canada) or +1-559-292-1981 (international).
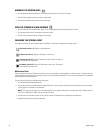
REBOOT CAMERA
To restart the camera without changing the programmed camera settings, click the Reboot Camera button.
RESTORE ALL CAMERA DEFAULTS
To restore the factory default settings, click the Restore All Camera Defaults button.
NOTES:
• This process cannot be undone; all user and custom settings will be lost.
• If the camera is not connected to a DHCP network, the IP address settings for the camera will be lost and the server will not recognize the
camera. DHCP On is the default setting for the camera IP address (refer to Network Tab on page 24).


