


61
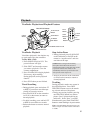
Playback
Playback Operation and How to Copy Tapes on the VCR
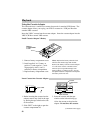
Viewing What the Camcorder is Seeing (or Recording)
Caution: The unauthorized recording
of copyrighted material may infringe
the rights of others.
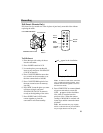
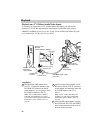
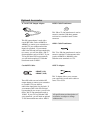
1. A.Camcorder connected directly to
TV: Turn on the TV and tune it to
the video input channel.
B. Camcorder connected to VCR that
is already connected to TV: Turn
on VCR and place it in the “line” or
“camera mode”. (If your VCR does
not have a “line” or “camera
mode”, consult the VCR owner’s
manual.) Operate the TV as you
normally do to see the signal
coming from the VCR.
2. Place the POWER switch in VCR to
turn on the camcorder. The power
indicator will light.
3. Press PLAY/PAUSE.
• If noise bars appear on the screen,
press TRACKING – or +.
• During playback, use the playback
features on page 57.
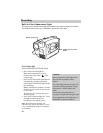
4. To copy what the camcorder is playing,
place a blank cassette in the VCR, and
press the VCR’s RECORD button.
Note: Make sure the memory-stop feature
is turned off (press COUNTER R/M) or the
camcorder will enter play pause when the
counter reaches M 0:00:00.
5. Press STOP when you are finished.
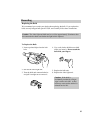
1. A.Camcorder connected directly to
TV: Turn on the TV, and tune it to
the video input channel.
B. Camcorder connected to VCR that
is already connected to TV: Turn
on VCR and place it in the “line” or
“camera mode”. (If your VCR does
not have a “line” or “camera
mode”, consult the VCR owner’s
manual.) Operate the TV as you
normally do to see the signal
coming from the VCR.
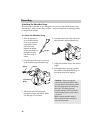
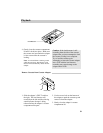
2. Place the POWER switch
in CAMERA.
Note: When the camcorder is used as a
camera, turn the TV’s volume down to
prevent a high-pitched squeal caused by
feedback.
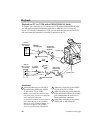
3. Press the thumb trigger to begin
recording. You can watch what the
camcorder is seeing (or recording) on
the TV screen.
Notes: The remote control will operate the camcorder.
During record pause, you can use the display feature to see the camcorder’s displays on the TV
screen. Details are on pages 48-49.