


62
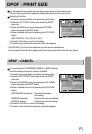
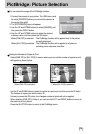
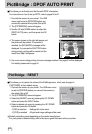
PictBridge : DPOF AUTO PRINT
This allows you to directly print the files with DPOF information.
For instructions on how to set up DPOF, refer to pages 55 to 57.
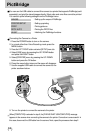
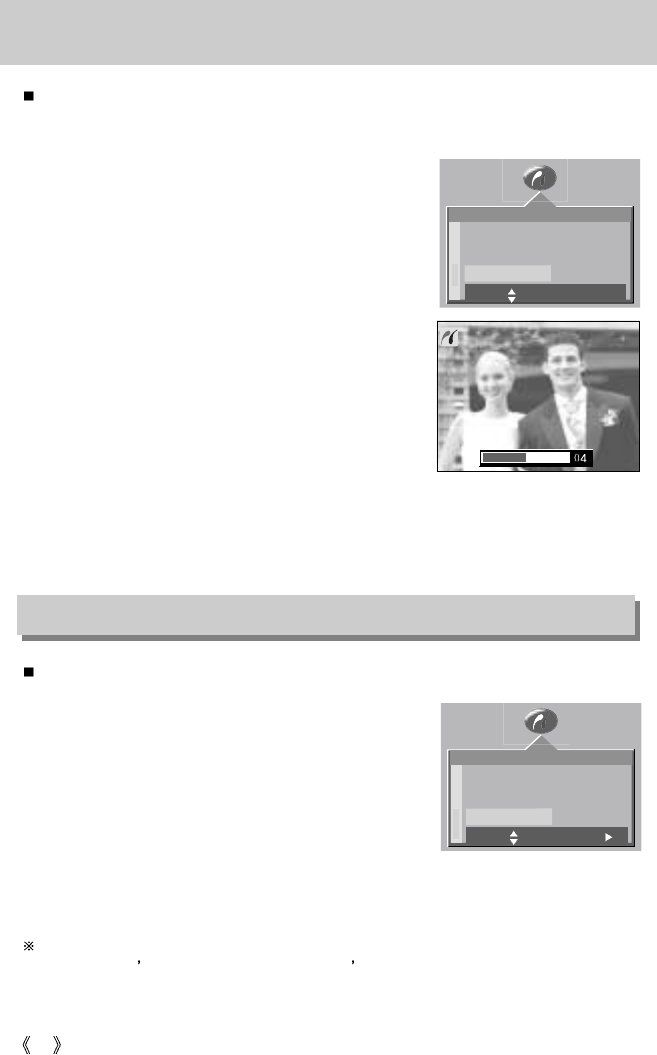
This allows you to restore the values of the PictBridge menu, which was changed in
CUSTOMIZE, to their default values.
1. Connect the camera to your printer. The USB menu must
be set to [PRINTER] before you connect the camera to
the printer.(See p.58)
2. The [PICTBRIDGE] menu will appear.
3. Select the [RESET] menu by pressing the UP/ DOWN
button and press the RIGHT button.
4. Select a desired sub menu by pressing the UP/ DOWN
button and press the OK button.
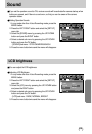
PictBridge : RESET
Default print setting varies depending on the printer manufacturer.
For your printer s default setting, refer to the user s guide that came with your printer.
1. Connect the camera to your printer. The USB
menu must be set to [PRINTER] before you
connect the camera to the printer.(See p.58)
2. The [PICTBRIDGE] menu will appear.
3. Use the UP and DOWN buttons to select the
[DPOF AUTO] menu, and then press the OK
button.
4. The screen shown on the right will appear and
the picture will be printed. If no picture is
selected, the [NO IMAGE!] message will be
displayed. If you press the SHUTTER button
during printing, printing will be cancel and the
menu from Step 2 will appear.
5. If an error occurs during printing, the error message number 5 on page 61 will be displayed.
For details, please refer to page 61.
PICTBRIDGE
SETUP
PRINT
DPOF AUTO
CUSTOM
MOVE: SET:OK
STOP:SHUTTER
PICTBRIDGE
PRINT
DPOF AUTO
RESET NO
MOVE: CHANGE:
- If [NO] is selected : Settings will not be reset.
- If [YES] is selected : All print and image settings will be reset.