Useful Features
40
Selecting the 16-bit Audio
Recording Mode
Available mode:
TAPE-CAMERA
This camcorder allows you to select between
12-bit and 16-bit audio recording modes. The
camcorder normally records audio in the 12-bit
audio recording mode. For higher-quality audio
recording, select the 16-bit audio recording
mode.
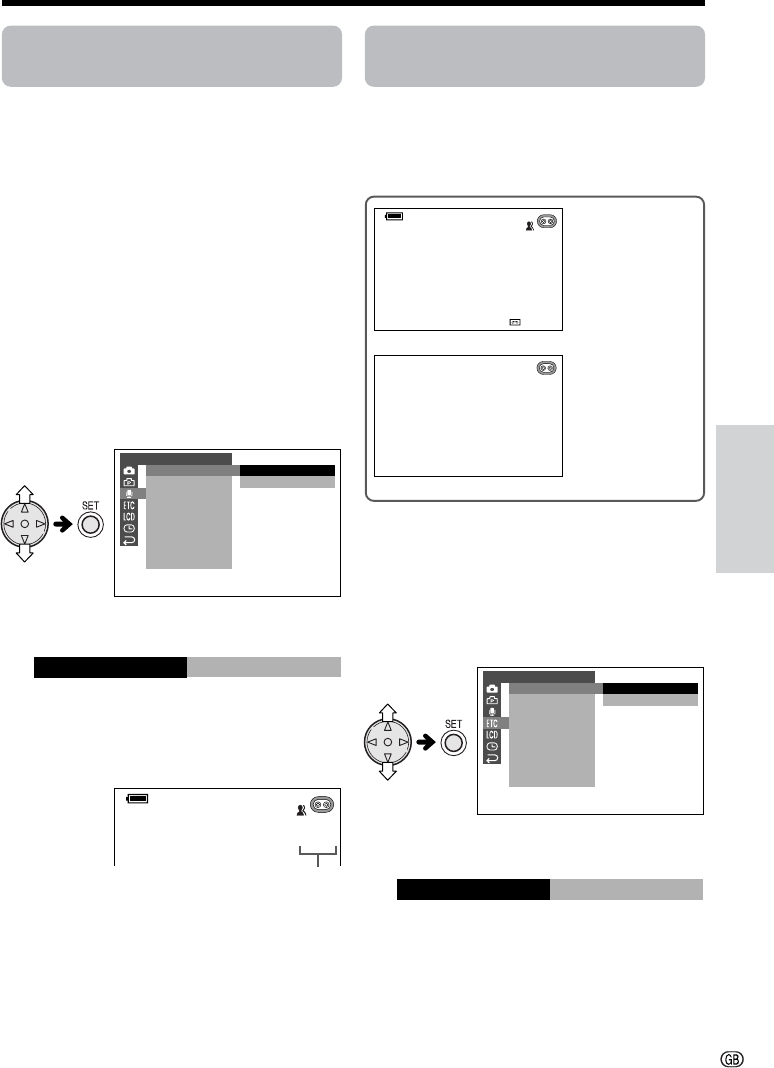
1 In TAPE-CAMERA mode, press the
MENU button until the menu screen
appears.
2 Press l or m on the operation button
to select U, then press the SET button.
3 Press l or m to select “AUDIO MODE”,
then press the SET button.
4 Press l or m to select “16bit”, then
press the SET button.
5 Press the MENU button to turn off the
menu screen.
• The 16-bit audio recording mode
indicator appears.
AUDIO
AUDIO MODE
ZOOM MIC
W
IND
RETURN
SET
1
1
2
6
bit
bit
16bit
AUD IO MODE
16bit
To return to 12-bit audio recording
mode
Select “12bit” in step 4 above.
Note:
• When using Audio Dubbing with 16-bit audio
recordings, both the dubbed and original sounds
will be recorded in mono (see page 62).
Turning off the On-screen
Indicators
Available modes:
All modes
You can turn the on-screen indicators on and
off as you like.
OTHERS
OSD
DEFAULT
SOUND
TIME CODE
TC OUT
DEMO
LANGUAGE
RETURN
MODE
ON
OFF
OFF
OSD
1 Press the MENU button until the menu
screen appears.
2 Press l or m on the operation button
to select I, then press the SET button.
3 Press l or m to select “OSD”, then
press the SET button.
4 Press l or m to select “OFF”, then
press the SET button.
5 Press the MENU button to turn off the
menu screen.
Note:
• When you press the GAMMA/BRIGHTER button or
FADE button after setting the OSD menu item to
“OFF”, it automatically returns to “ON”. Perform the
steps above to turn off the indicators again.
AUTO
30
min
16-bit audio recording
mode indicator
OSD menu “OFF”
• The indicators
do not display,
so you can
monitor the
screen without
disturbing the
view.
OSD menu “ON”
• The indicators
display, so you
can continuously
check record-
ing/playback
information.


