


82
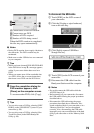
5 Touch [ COMPUTER] on the
LCD screen of your camcorder.
The [HDD Handycam Utility] window
is displayed on the computer screen.
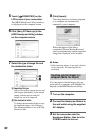
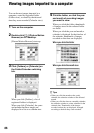
6 Click [Easy PC Back-up] in the
[HDD Handycam Utility] window
on the computer screen.
7 Select the type of image file and
the destination folder.
AImporting file type
Select if you want to import movies and
still images individually. In the default
setting, both the movies and still
images are set to be imported.
BThe destination folder
To change the destination folder to save
the imported images, click [Change].
The default destination is set as the [My
Pictures] folder.
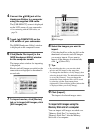
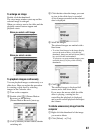
8 Click [Import].
The image that have not been imported
to a computer are automatically
imported to your computer.
When the import of the data is
completed, [Picture Motion Browser]
starts up automatically and the imported
images are displayed in the window.
b Notes
• While importing images, do not apply vibration
on the camcorder. The importing may be
terminated.
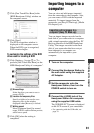
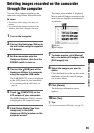
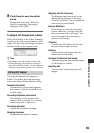
You can import selected images on your
camcorder to a computer with [Media File
Import] on the HDD Handycam Utility.
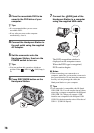
1 Turn on the computer.
2 Connect the Handycam Station to
the wall outlet using the supplied
AC Adaptor.
3 Set the camcorder onto the
Handycam Station, then turn the
POWER switch to turn on.
Importing selected images to a
computer (Media File Import)