


91
Performing with a computer
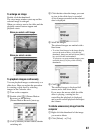
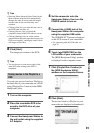
z Tips
• Selecting [Menu Sorted by Date Taken] in the
Menu structure drop-down list automatically
changes the order of movies and still images
into the order of date on which they were
recorded.
• Clicking [Font] lets you select the text color of
the DVD name and title, etc.
• Clicking [Preview] lets you check the
completion image of the DVD video to create.
• Clicking [Settings] lets you set the various
operations that take place upon the first play of a
DVD, movie quality, and display time for each
still image in slide show.
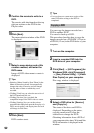
8 Click [Start].
The images are written to the DVD.
z Tips
• You can choose to create more copies of the
same DVD after writing to the DVD is
completed.
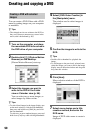
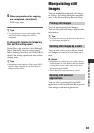
You can save movies listed in a Playlist on
the hard disk of your camcorder on a DVD
using [Playlist Disc Creation] in the HDD
Handycam Utility.
1 Turn on the computer.
2 Place the recordable DVD to be
saved in the DVD drive of your
computer.
3 Connect the Handycam Station to
the wall outlet using the supplied
AC Adaptor.
4 Set the camcorder onto the
Handycam Station, then turn the
POWER switch to turn on.
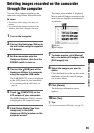
5 Connect the (USB) jack of the
Handycam Station to a computer
using the supplied USB cable.
The [USB SELECT] screen is displayed
on the LCD screen of your camcorder.
• For connecting with the USB cable, see
page 78.
6 Touch [ COMPUTER] on the
LCD screen of your camcorder.
The [HDD Handycam Utility] window
is displayed on the computer screen.
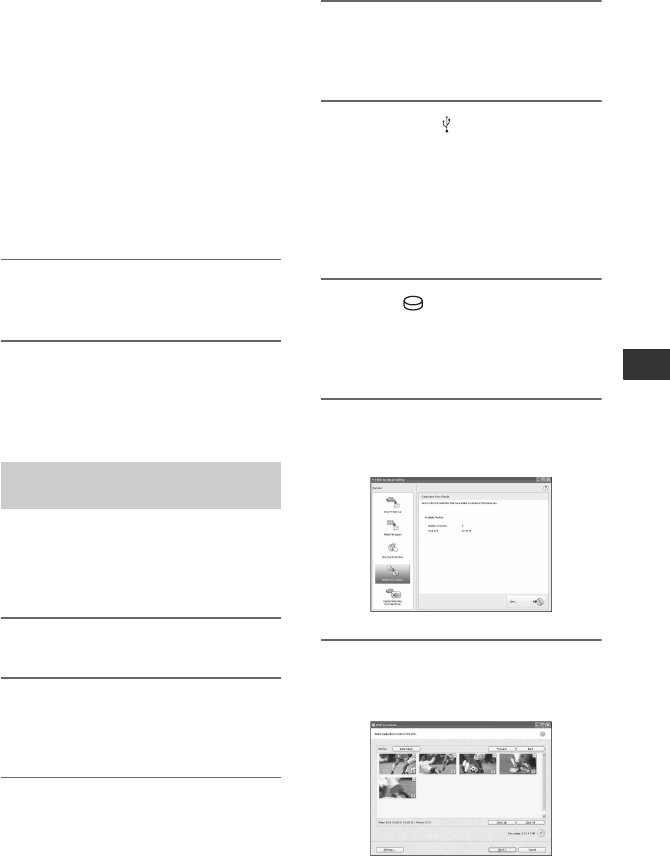
7 Click [Playlist Disc Creation] in
the [HDD Handycam Utility]
window on the computer screen.
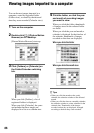
8 Click [Start].
The movies listed in a Playlist on your
camcorder are displayed as thumbnails.
Saving movies in the Playlist to a
DVD