47
Using the menu
For details on the operation
t
page 32
To cancel the protection
In single-image mode
Press z in step 3 or 4 of “To protect images in single-image mode.”
In index mode
1 Select the image for which you want to remove protection in step
5 of “To protect images in
index mode.”
2 Press z to turn the - indicator gray.
3 Repeat the operation above for all images to be unprotected.
4 Press MENU, select [OK] with B, and then press z.
To cancel protection of all images in the folder
Select [All In This Folder] in step 4 of “To protect images in index mode,” and press z.
Select [Off] with
B, then press z.
• Note that formatting the “Memory Stick Duo” or Album erases all data stored on the recording media,
even if images are protected, and these images cannot be recovered.
• It may take some time to protect an image.
Adds a (Print order) mark to images you want to print (page 79).
See page 75.
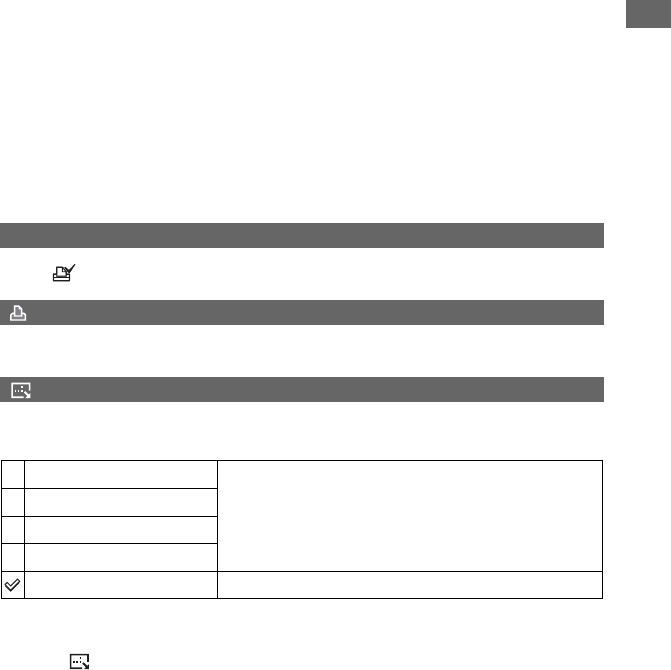
You can change the image size of a recorded image (Resize), and save it as a new file. The
original image is retained even after resizing.
1 Display the image you want to resize.
2 Press MENU to display the menu.
3 Select [ ] (Resize) with b/B on the control button, then press z.
4 Select the desired size with v/V, then press z.
The resized image is recorded in the recording folder as the newest file.
DPOF
(Print)
(Resize)
5M
The setting size is just a guideline.
t step 4 in “Read This First”
3M
1M
VGA
Cancel
Cancels resizing.


