


77
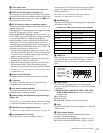
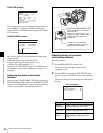
Status Display on the Viewfinder Screen
Chapter 5 Menu Displays and Detailed Settings
1) When an Anton Bauer Intelligent Battery System or the BP-GL65/
GL95/L60S battery pack is used, the setting of this item determines
the display as follows:
INT: The remaining battery capacity is shown as a percentage when
there is a change, and when the capacity is low.
AUTO: The remaining battery capacity is shown as a percentage,
except that when this is impossible the battery voltage appears.
VOLT: The battery voltage is shown.
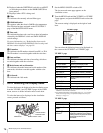
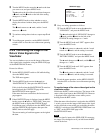
3
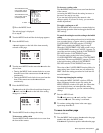
Turn the MENU knob to move the b mark to the item
you want to set, and press the MENU knob.
The
b mark on the left of the selected item changes to
a z mark, and the z mark on the left of the setting
changes to a ? mark.
4
Turn the MENU knob to select whether the selected
item should appear in the viewfinder display (the
“ON” setting), or not appear (the “OFF” setting), and
press the MENU knob.
The z mark returns to a
b mark, and the ? mark
returns to a z mark.
Note that pressing the CANCEL/PRST / ESCAPE
switch to CANCEL/PRST on this page has no effect.
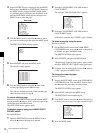
5
To set another item to “ON” or “OFF,” repeat steps 3
and 4.
6
To end the menu operation, set the MENU ON/OFF
switch to OFF or close the cover of the menu operating
section.
The menu disappears from the viewfinder screen, and
the display indicating the current status of the
camcorder appears along the top and bottom of the
screen.
5-2-3 Display Modes and Setting
Change Confirmation/Adjustment
Progress Messages
You can limit or suppress the messages that give details of
setting changes and adjustment progress and results by
setting a display mode.
The conditions under which messages are displayed and
their correspondence with the display mode are as follows:
1) This is also displayed for about 3 seconds when the SHUTTER selector is
set to ON.
2) For details, see “4-1 Adjusting the Black Balance and the White Balance”
on page 53.
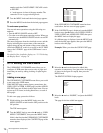
Changing the display mode
The currently set display mode appears on the VF DISP 1
page of the USER menu. To change it, proceed as follows:
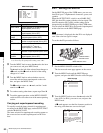
1
Follow steps 1 and 2 in “5-2-2 Selecting the Display
Items” (page 76), until the VF DISP 1 page of the
USER menu appears on the screen.
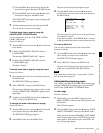
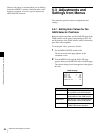
DISP DC IN Displayed when the power is
supplied from an external battery
connected to the DC IN
connector.
DISP 16:9/4:3 ID Displays the 16:9/4:3 mode
indicator.
DISP WRR RF LVL Displays the reception level of the
wireless microphone.
DISP E. MARK IND Displayed when an essence mark
has been recorded.
DISP TIME CODE Displays the time code.
DISP VIDEO RATE Displays the recording video
signal rate.
Item Description
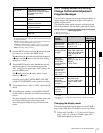
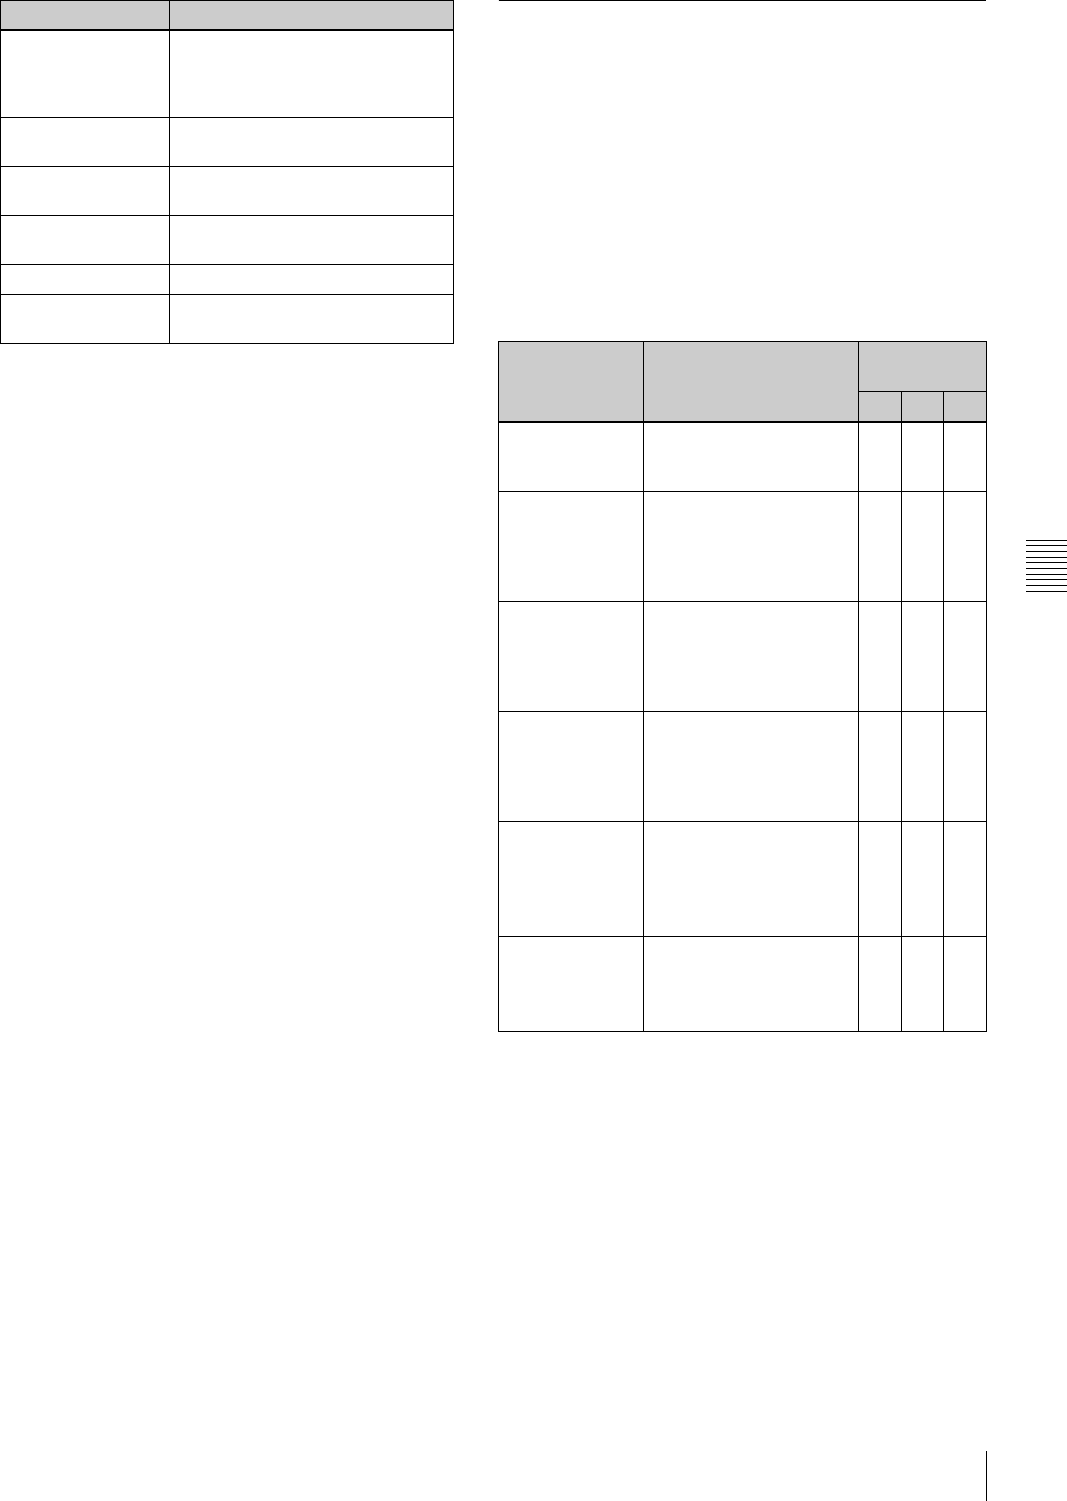
Setting change confirmation/adjustment progress messages
and display modes
Y: Message is displayed.
N: Message is not displayed.
Message
display
condition
Message Display
mode setting
1 2 3
When the filter
selection has
been changed
ND : n, CC : m
(where n = 1, 2, 3, 4,
m = A, B, C, D)
NNY
When the gain
setting has been
changed
GAIN : n (where n =
–3 dB, 0 dB, 3 dB, 6 dB,
9 dB,12 dB, 18 dB, 24 dB,
30 dB, 36 dB, 42 dB,
48 dB)
NNY
When the
setting of the
WHITE BAL
switch has been
changed
WHITE : n
(where n = A CH, B CH,
PRESET)
or ATW : RUN
NNY
When the
OUTPUT/DCC
selector has
been set to DCC
ON or OFF
DCC : ON (or OFF) N Y Y
When the
shutter speed
and mode
setting has been
changed
1)
SS : 1/100 (DVW-970) or
1/60 (DVW-970P)
(or 1/125, 1/250, 1/500,
1/1000, 1/2000, ECS,
SLS)
NYY
When the black
or white balance
has been
adjusted
2)
E.g. AWB : OK N Y Y