


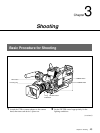


46 Chapter 3 Shooting
Chapter 3 Shooting
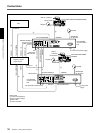
Shooting with the DSR-1/1P
The DXC-D35/D35P/D35WS/D35WSP docks with
the DSR-1/1P to configure a DVCAM Camcorder.
The following describes how to shoot using a
DVCAM camcorder.
Using the ClipLink Function
The ClipLink function can be used at all stages from
shooting to editing. This function makes editing
operations more efficient by automatically recording
index pictures (Mark IN point images) that provide a
searchable index of recorded scenes, along with other
data such as time code and scene numbers.
For concept of the ClipLink function, see the section “What
Is ClipLink”(page 102).
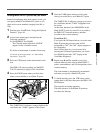
1 Dock the DSR-1/1P to the camera head and turn on
the power, then perform steps 2 to 10 from “Basic
Procedure for Shooting” (page 43).
2 Insert a cassette into the DSR-1/1P and set
ClipLink mode to ON by menu setting.
For details of this operation, see the operating
instructions for the DSR-1/1P.
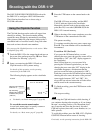
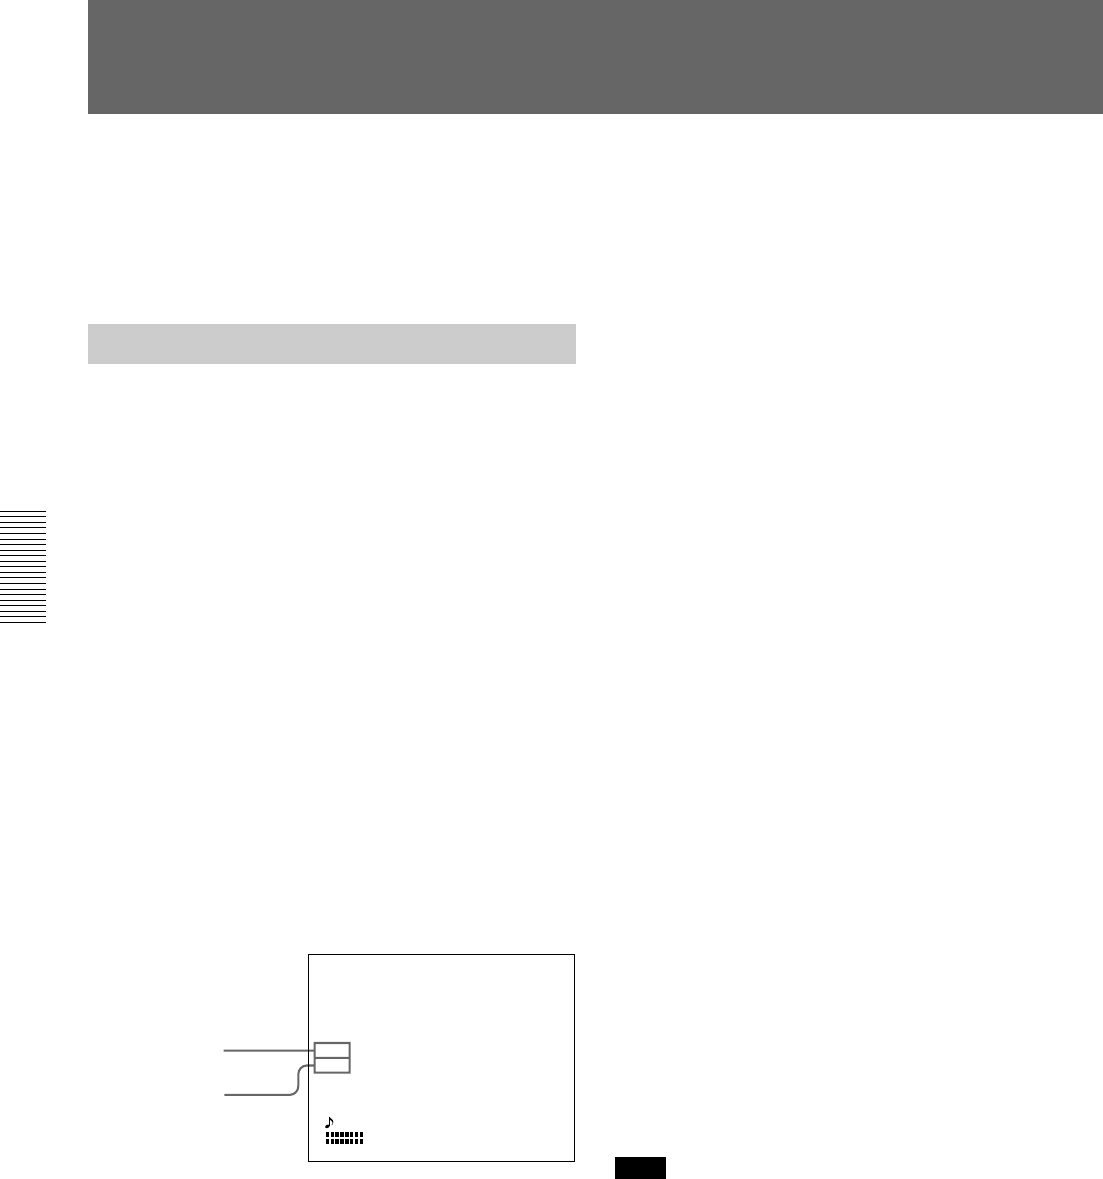
The following display appears on the viewfinder
screen.
TCG 12:34:56:00
W:A
CLIPM
198
F5.6
56ND
99 04 01
10:10
AM
a) For details, see “Basic menu page 6” (page 60).
To record the cassette name/number
Access basic menu page 6 to specify a name or
number for the inserted cassette.
For details, see “Basic menu page 6” (page 60).
ClipLink mode indication:
CLIP M or C
a)
Clip remaining:
Indicates the number of
available Index pictures
(198 max.)
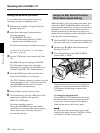
3 Press the VTR button on the camera head or the
lens.
The DSR-1/1P starts recording, and the REC/
TALLY indicator lights in the viewfinder.
Meanwhile, the time code at the recording start
point (Rec IN) is recorded (HH:MM:SS) in the
DSR-1/1P’s internal memory.
4 When a shooting of the scene completes, press the
VTR button on the camera head or the lens.
This pauses recording.
To continue recording the next scene, repeat steps
3 and 4. The scene number will be automatically
incremented.
To set/clear NG (No Good)
If you press the NG button before you start
shooting the next scene, the previous scene will be
designated as “NG” (the “NG” display appears in
the viewfinder).
Once NG has been set, you can cancel it by
pressing the NG button again before you start
shooting the next scene (the “NG” display in the
viewfinder disappears, which means that the
previous scene has been re-designated as “OK”).
Each time you press the NG button before starting
shooting the next scene, the status of the previous
scene toggles between “NG” and “OK”. It is
always the last selected status that will take effect
and be stored in the cassette memory.
5 To finish recording, press the STOP button on the
DSR-1/1P.
This stops recording.
Note
When using the ClipLink function while shooting, if
you continue shooting after stopping or if you change
the tape’s recording position, your subsequent shots
may overwrite and erase the previously recorded
ClipLink log data (time codes, scene number, etc.) or
index pictures.
To avoid this problem, press the DSR-1/1P’s ClipLink
CONTINUE button before restart of shooting.
For details, see the operating instructions for the DSR-1/1P.