2-3 (E)
HDCU-900 MM
2-3. Removing the Rear Panel
1. Turn off the main power and disconnect the plug from
the outlet.
m
. Wait for at least three minutes before starting
replacement, because there are electrically live
blocks inside the machine that could cause electric
shock.
. If you bend or pull out the optical fiber cable
forcibly, disconnection may result. Handle the cable
carefully.
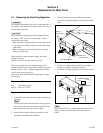
2. Remove the boards and the blank panel from the rear
panel. (Refer to Section 1 of the Installation and
Maintenance Manual.)
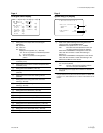
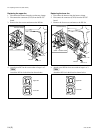
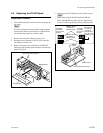
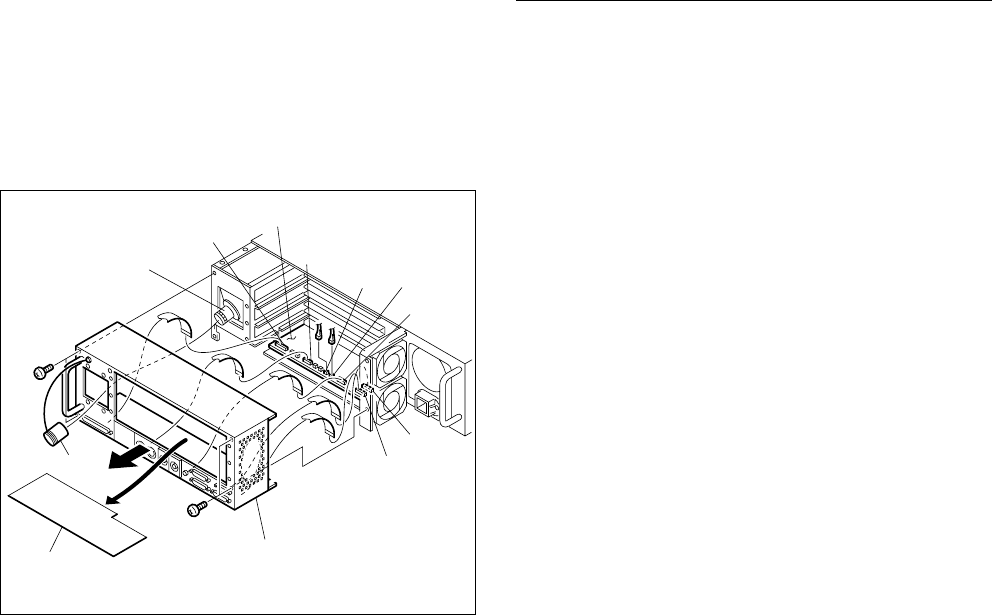
3. Remove the cap from the CAMERA connector.
4. Remove the four screws and slide the rear panel
assembly in the direction of the arrow.
5. Remove the isolating sheet.
n
The isolating sheet is not fixed.
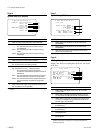
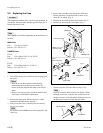
6. Disconnect the connectors (CN1, CN16, CN18, CN19,
CN20, CN21, CN22) of the PS-587 board, then
remove the rear panel assembly.
7. Reattach the rear panel in reverse order of the disas-
sembling procedure.
2-4. Replacing the DC Fan (Rear Panel)
c
If the fan is defective, the temperature inside the unit will
rise. Touching the inside of the unit in this state may cause
a burn.
Replace the parts after turning off the power and cooling
the inside.
The fans that are used in the unit of the rear panel are
recommended replacement parts.
The lifespan of these fans is about 30,000 hours, which
means that the fans can be used for about three and a half
years if the power is on all the time, so as a guideline the
fans should be replaced every three and a half years.
n
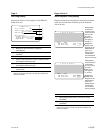
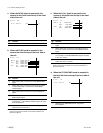
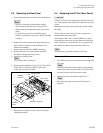
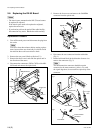
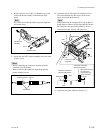
The rear panel is provided with the two DC fans.
Replacement Procedure
1. Turn off the main power and disconnect the plug from
the outlet.
n
Wait for at least three minutes before starting replace-
ment, because there are electrically live blocks inside
the machine that could cause electric shock.
2. Remove the rear panel. (Refer to Section 2-3.)
n
Only either the upper or the lower DC fan can be
replaced.
2-3. Removing the Rear Panel
2-4. Replacing the DC Fan (Rear Panel)
Rear panel assembly
Cap
Isolating
sheet
B3 x 5
B3 x 5
CN1
CN16
PS-587 board
CN18
CN19
CN22
CN21
CN20
CAMERA
connector


