


72
DCR-PC53E/PC55E 2-548-726-11(1)
1 Turn on the computer.
Quit all applications running with an
i.LINK.
2 Prepare the power source for
your camcorder, then slide the
POWER switch down to turn on
the PLAY/ EDIT lamp.
Use the supplied AC Adaptor as the
power source since it takes a few hours
to create a DVD.
3 Insert a recorded cassette into
your camcorder.
4 Connect your camcorder to a
computer via an i.LINK cable
(optional) (p. 71).
• When you connect your camcorder to
a computer, make sure you insert the
connector in the correct direction. If you
insert the connector forcibly, it may be
damaged, and causes a malfunction of your
camcorder.
• For details, see “First Step Guide”.
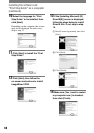
5 Touch [MENU]
(EDIT/PLAY) [BURN DVD]
.
“Click to DVD” starts up and the
on-screen instructions appear on your
computer.
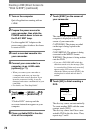
6 Place a writable DVD in the disc
drive of the computer.
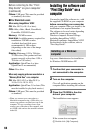
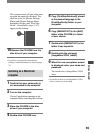
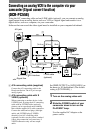
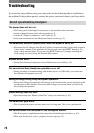
7 Touch [EXEC] on the screen of
your camcorder.
BURN DVD
START
0:00:00:00
CREATEDVD?
EXEC
CANCEL
60min
The status of the operation on your
computer is displayed on the LCD
screen of your camcorder.
CAPTURING: The picture recorded
on the tape is being copied to the
computer.
CONVERTING: The picture is being
converted to the MPEG2 format.
WRITING: The picture is being written
onto the DVD.
• If you use a DVD-RW/+RW which has
other data stored on it, the message [This
is a recorded disc. Delete and overwrite?]
appears on the LCD screen of your
camcorder. When you touch [EXEC], the
existing data is erased and new data is
written.
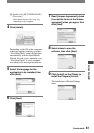
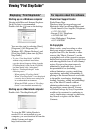
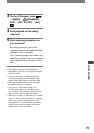
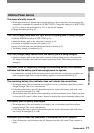
8 Touch [NO] to finish creating a
DVD.
BURN DVD
COMPLETED
0:00:00:00
Create another
copy?
Disctray opens.
YES NO
60min
The disc tray comes out automatically.
To create another DVD with the same
content, touch [YES].
The disc tray comes out. Place a new
writable DVD in the disc drive. Then,
repeat step 7 and 8.
Creating a DVD (Direct Access to
“Click to DVD”) (continued)