Operating the Camera
Capturing a Monitor Image
14
Note
If the camera is installed on a desk top, the sent still
image is upside down.
Recording a Still Image on an ATA
Memory Card or the Built-in
Memory of the Camera
If you select Memory save and click , the current
still image is captured and stored in the memory
specified on the Image memory setting page.
To use this function, you need to select the Use image
memory function option and the Manual mode on the
Image memory setting page.
For details, see “Recording Images in Memory — Image
memory setting Page” on page 35.
Note
If the camera is installed on a desk top, the recorded still
image is upside down.
Controlling Alarm Output
If you select Alarm out 1 or Alarm out 2 and click ,
you can control alarm out 1 or alarm out 2 of the I/O port
on the camera manually. Each click switches the relay
between short-circuit and open alternately.
To use this function, you need to select the Use alarm
out 1 (or 2) function option and the Manual mode on
the Alarm out 1 or Alarm out 2 setting page.
For details, see “Setting the Alarm Out 1 or 2 — Alarm
out 1 or 2 setting Page” on page 34.
For the connection of peripheral devices to the Alarm
out of the I/O port, see the supplied Installation Manual.
Capturing a Monitor
Image
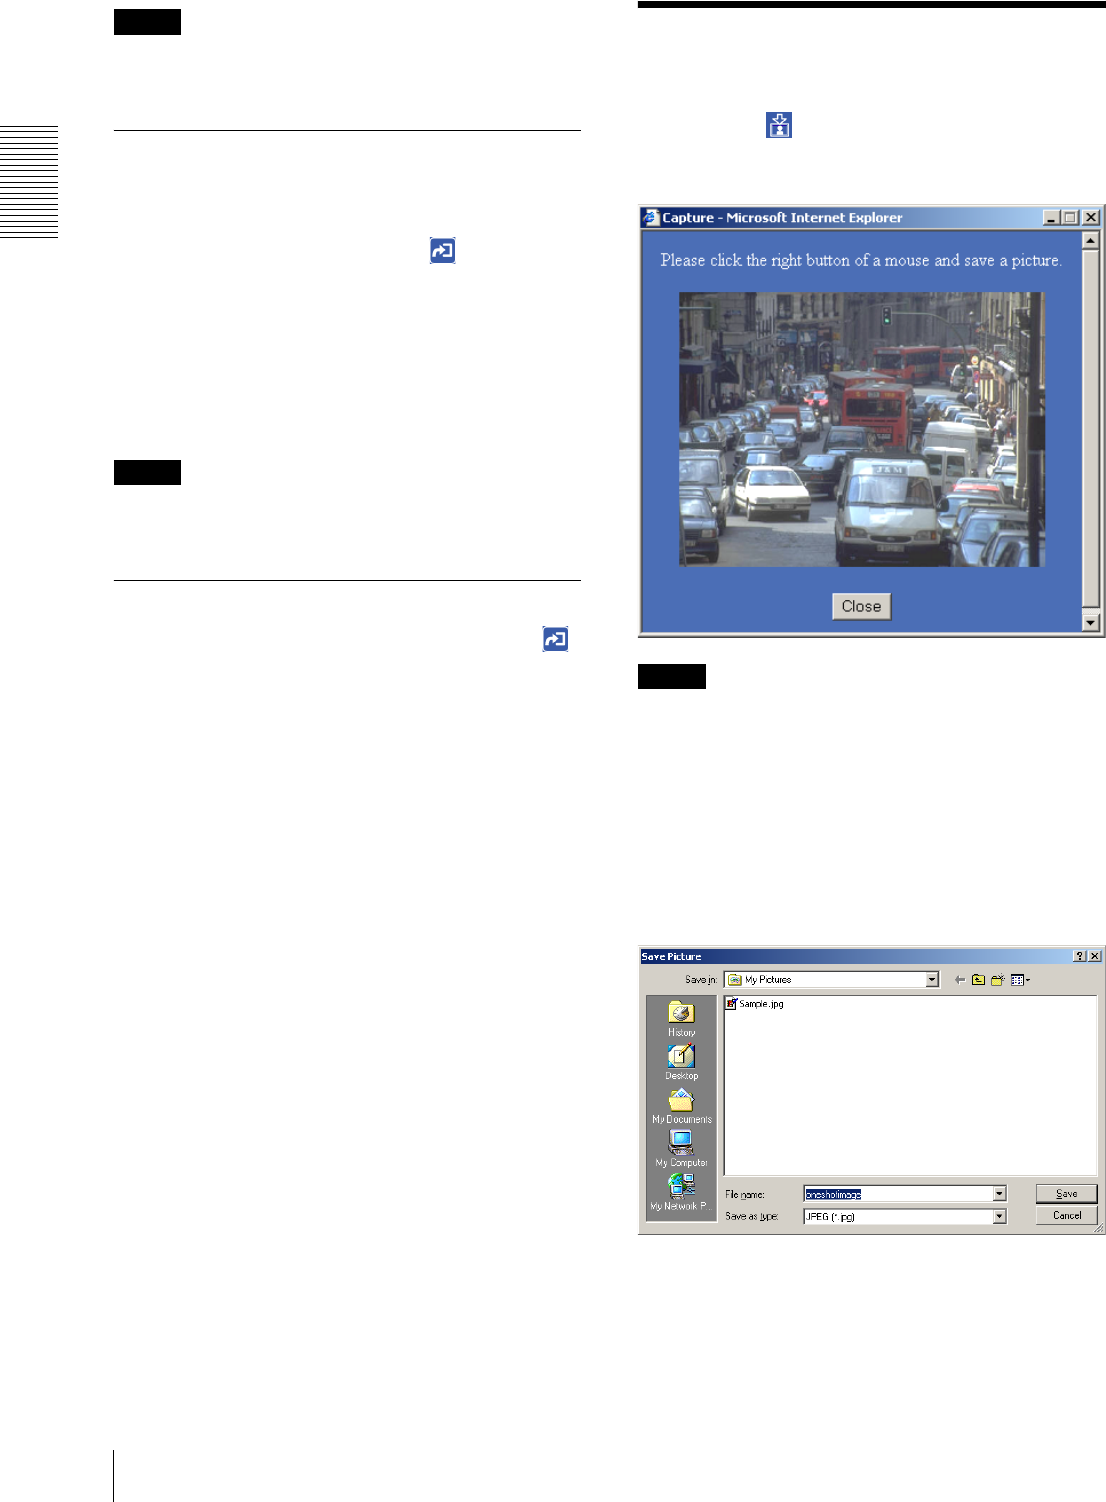
If you click the Capture button on the menu section,
the current still image is captured and displayed on the
monitor image section.
Note
If the camera is installed on a desk top, the captured still
image is upside down.
To save the captured image
Right-click on the monitor image and select Save As
from the menu. Then, the Save Picture dialog appears.
Type the file name and specify the destination to which
the image file is to be stored, and click Save. The image
is saved in the JPEG format.
