Camera Setup
To define a camera and associate it with a Channel Number.
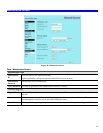
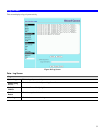
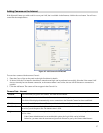
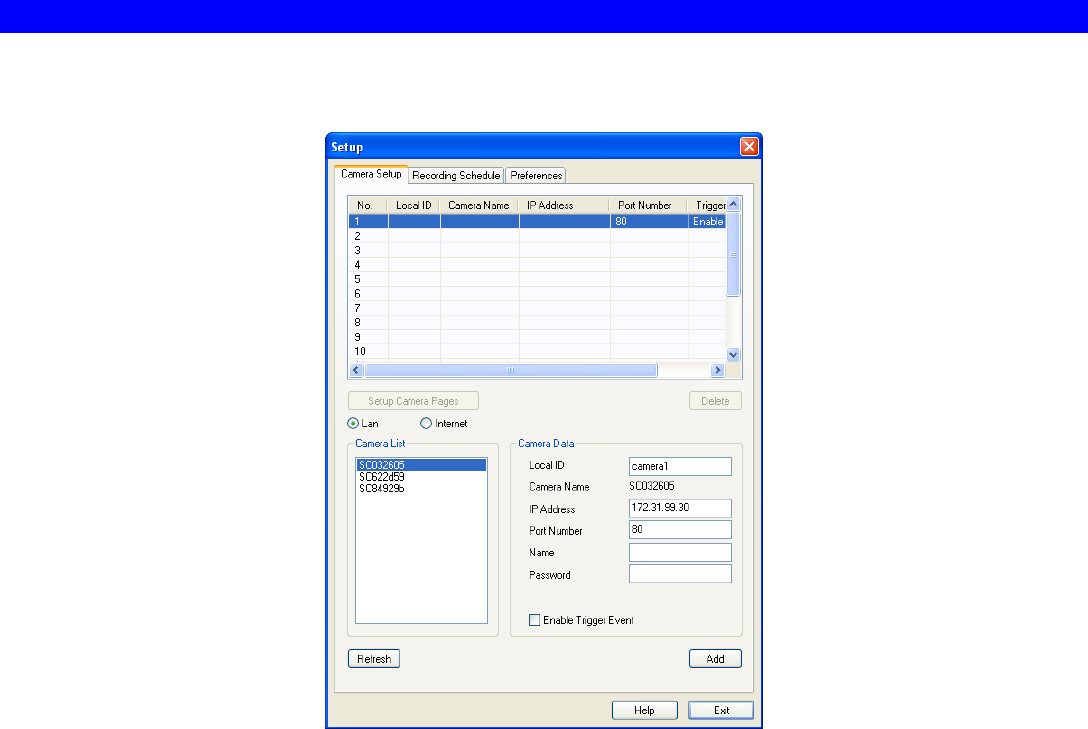
1. Click the Setup button on the main screen. You will see a screen like the example below.
Figure 44: Camera Setup Screen
2. Select the desired Channel number in the left (No.) column.
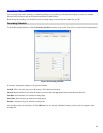
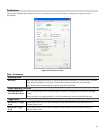
3. There are 2 radio buttons, for LAN or Internet. The default is LAN. See the following section for details of the Internet option.
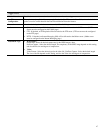
• The LAN panel, on the left, displays all Network Camera found on your LAN. This list can be updated by clicking the Refresh
button.
• The Camera Data panel, on the right, displays the data for the selected camera.
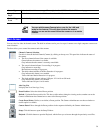
4. To associate a camera with the current Channel:
• Select a camera in the list on the left.
• Enter the value of Local ID.
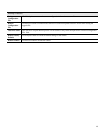
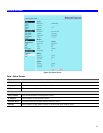
• Check that the Camera Data shown on the right is correct. See below for details.
• Click the Add button. The camera will now appear in the Channel List.
55


