


SVAT ELECTRONICS
now you can see
CLEARVU3 26
7.4 Connect To The Internet
If your Internet connection is DSL (a broadband connection that comes through your
phone line) you may need to congure PPPoE settings in your DVR. If you do not
know what type of broadband connection you have, contact your internet service
provider. Ask your ISP if your internet connection is cable or DSL.
If you have cable: Skip the DSL section below and continue with the Port Forwarding Section.
If you have DSL: You need your DSL user name and password. You may be able to
nd it in the documentation that came with your DSL modem. If not,
please call your Internet Service Provider to acquire it
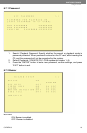
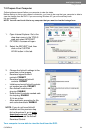
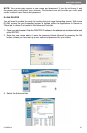
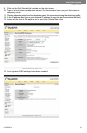
1. Click on the CONFIGURATION button in the DVR browser.
2. Under Remote IP Assignment, enter your DSL user name in the User Name box.
3. Enter your DSL password in the Password box.
4. Scroll to the bottom.
5. Click the “Reboot” button.
6. Power off the DVR and power it back on to conrm the changes. The changes
will not take effect until you restart the DVR.
7. Follow the steps listed in the Port Forwarding section
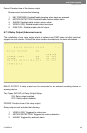
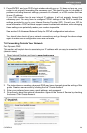
PORT FORWARDING
Port forwarding is a necessary step that opens a path on your home/business network to
allow you to view your DVR video feed from outside your network (over the internet).
There are hundreds of makes and brands of routers on the market and these instructions
have been made using a D-Link router (Model DI-524). If you have a router that is different
than shown, please visit www.portforward.com and go to the link marked GUIDES. Once on
this page, go to the link marked Port Forwarding Guides by Router. Find your router make
and model in the list of links and click on it. You will see a list of various applications. Find
a link for any DVR or IP camera and click on it. Follow the instructions but make sure you
forward the correct port number (the port number assigned to your DVR. The default port
number is 80. )
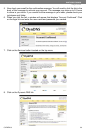
The steps for your router will be similar to the following.
These instructions have also been created without a rewall in place. If you have a rewall,
please consult a computer technician.
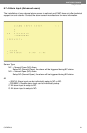
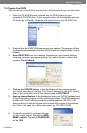
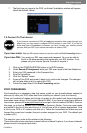
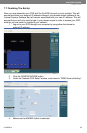
7. The rst time you logon to the DVR, an ActiveX Installation window will appear.
Install the ActiveX control.