


31472AB 45
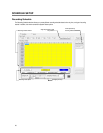
MOTION SETUP
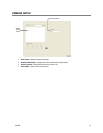
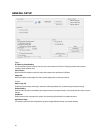
The recorder allows the user to adjust several different Motion Settings and create motion detection areas.
Create a Motion Area
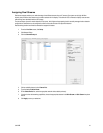
1. From the Display screen, click Setup.
2. Click Motion.
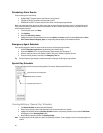
3. Select a camera from the Select Camera list.
4. Select the Detect Detail Motion Area check box.
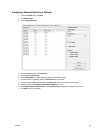
5. Click Clear.
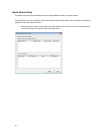
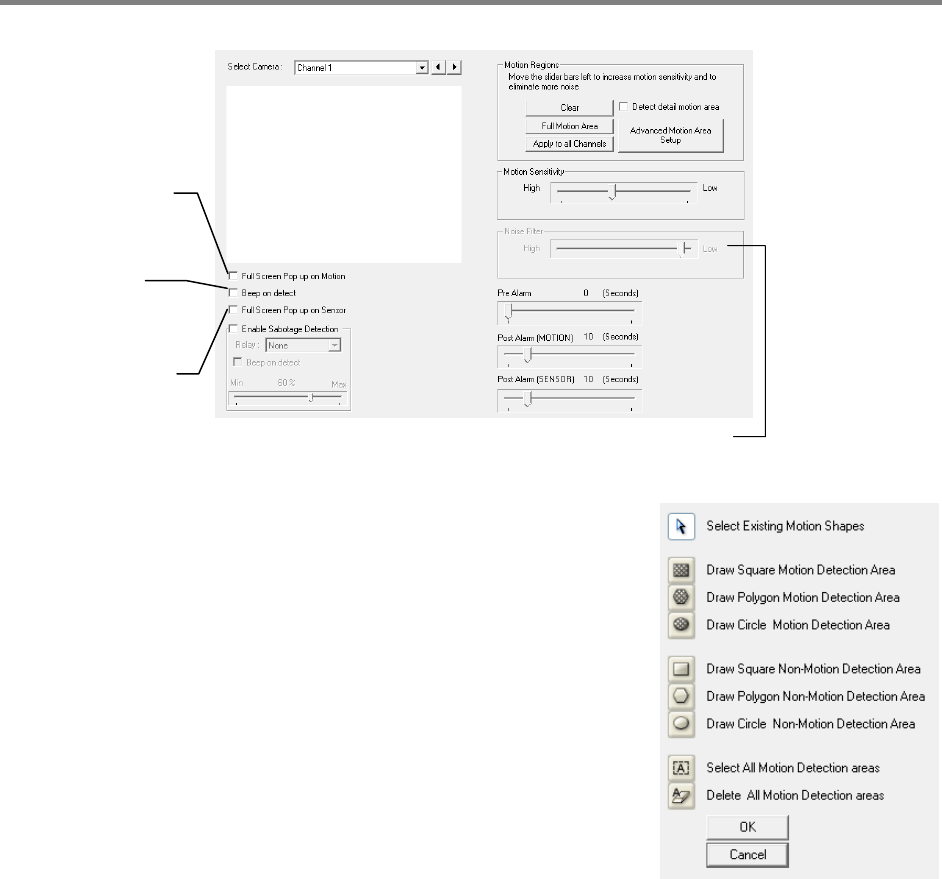
6. Click Advanced Motion Area Setup.
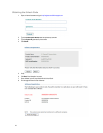
7. Click a Motion Detection Area shape button.
8. Drag the mouse over the camera image.
Note To create a polygon shape, click the mouse at each point and double-click to close
the shape.
9. Click OK.
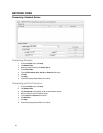
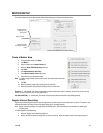
10. Move the sliders to adjust motion sensitivity and the noise filter.
11. Define the pre-alarm and post-alarm recording time for a motion event.
Pre Alarm – 0 - 120 Seconds [The number of seconds the recorder records before motion is detected—to ensure any motion occurring
between I-frames is captured, set to a value greater than 0]
Post Alarm (MOTION) – 0 - 120 Seconds [The number of seconds the recorder records after it stops detecting motion]
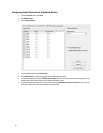
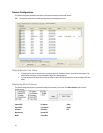
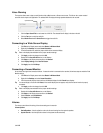
Regular Interval Recording
Regular Interval Recording allows users to record a single frame every fiew minutes or hours when there is no motion. This option is only
available when Motion recording or Sensor recording is selected in the recording schedule.
Note Regular Interval Recording is only supported by the MJPEG codec. See Frame Setup for more information on selecting the
recording codec.
To enable Regular Interval Recording:
1. Select the Regular Interval Recording check box.
2. Specify how often to capture an image when no motion is occurring. Users can capture as few as one image per second.
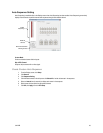
Display full screen
video pop up on
motion event
Beep on motion
event
Display full screen
video pop up on sensor
event
Reduces Analog Signal Noise from Motion Detection