22
Getting Ready
Playing Back/Deleting
Photographed Images
Connecting to the
PC
Other Useful
Information
Taking Photographs
Before starting
Load the battery and insert the SD card. See “Inserting and Removing the SD Card”
page 18, “Loading and Unloading the Battery” page 19 and “Charging the Bat-
tery”
page 20
Turning the power on
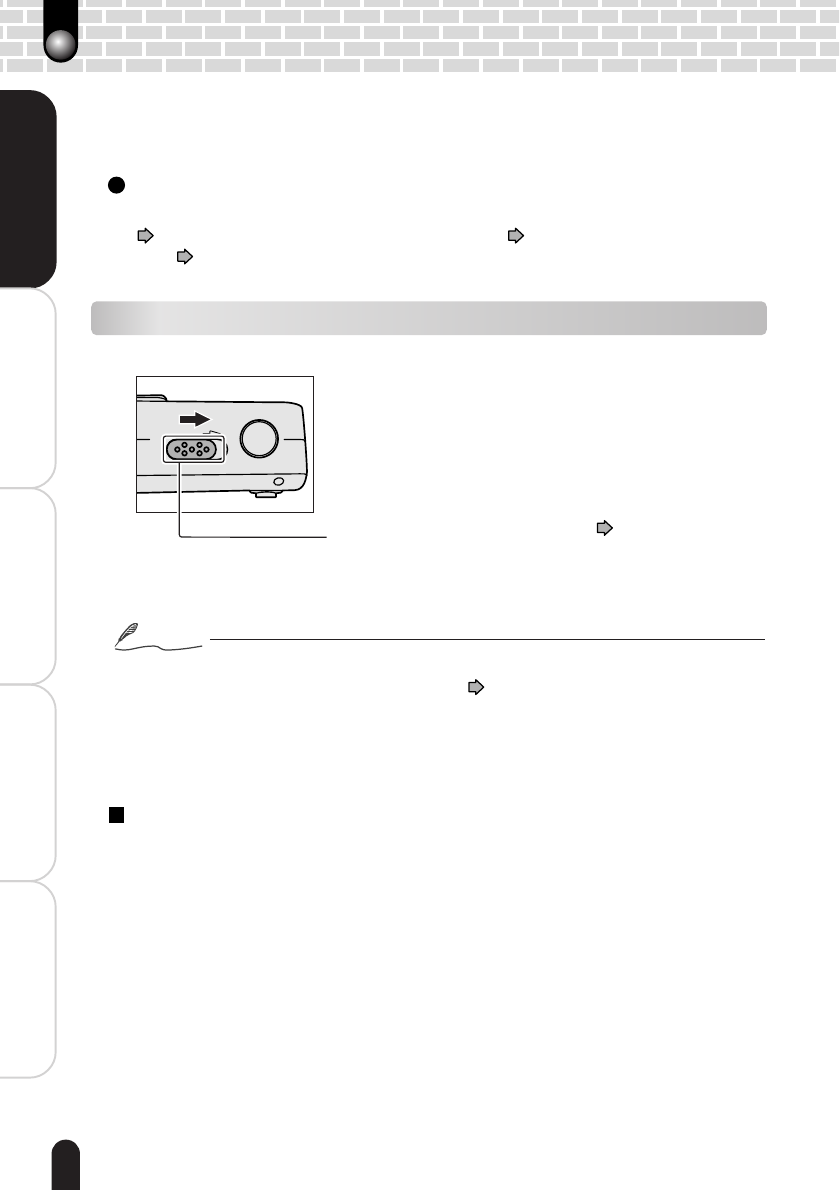
Slide the POWER switch in the arrow direction.
The indicator is lit orange and the camera is initiated.
The initial mode after the power is turned on differs
depending on the following situation:
With the lens cover opened : photography mode
With the lens cover closed : playback mode
With the PC connected : PC mode
page 52, 54
Notes
• If no operation is performed for the preset period of time with the power on, the power will
be automatically turned off. For Auto Power Off, see page 61.
• After the power is turned on, it may take several seconds to charge the flash. While the
flash is being charged, the indicator blinks orange. The camera is not yet ready for
photography during this period. Start photography after charging is completed.
To turn the power off
With the power is on, slide the POWER switch.
POWER
Turning the Power On/Off
When the power is turned on, the camera is initiated with a different mode depending on
whether the lens cover has been opened or closed.
POWER switch


