AVerMedia User’s Manual
EYES Pro/MP2016/MP3000/MP5000
59
Transmitting Cameras
Here you can select cameras allowed for remote monitoring.
2. Enable WebCam Server
Check here to enable WebCam Server for remote monitoring.
Port:
Set the port no. (default 80) for remote transmission.
Ask for password when remote clients login:
Check here if you need remote clients to provide passwords when
they login the WebCam server.
Web Root:
In this field, you need to browse for the path where the WebCam
home page is stored. When the remote client login the WebCam
server, it will link to the WebCam home page from this path.
The WebCam server doesn’t work under servers with
IIS (Internet Information Service) installed.
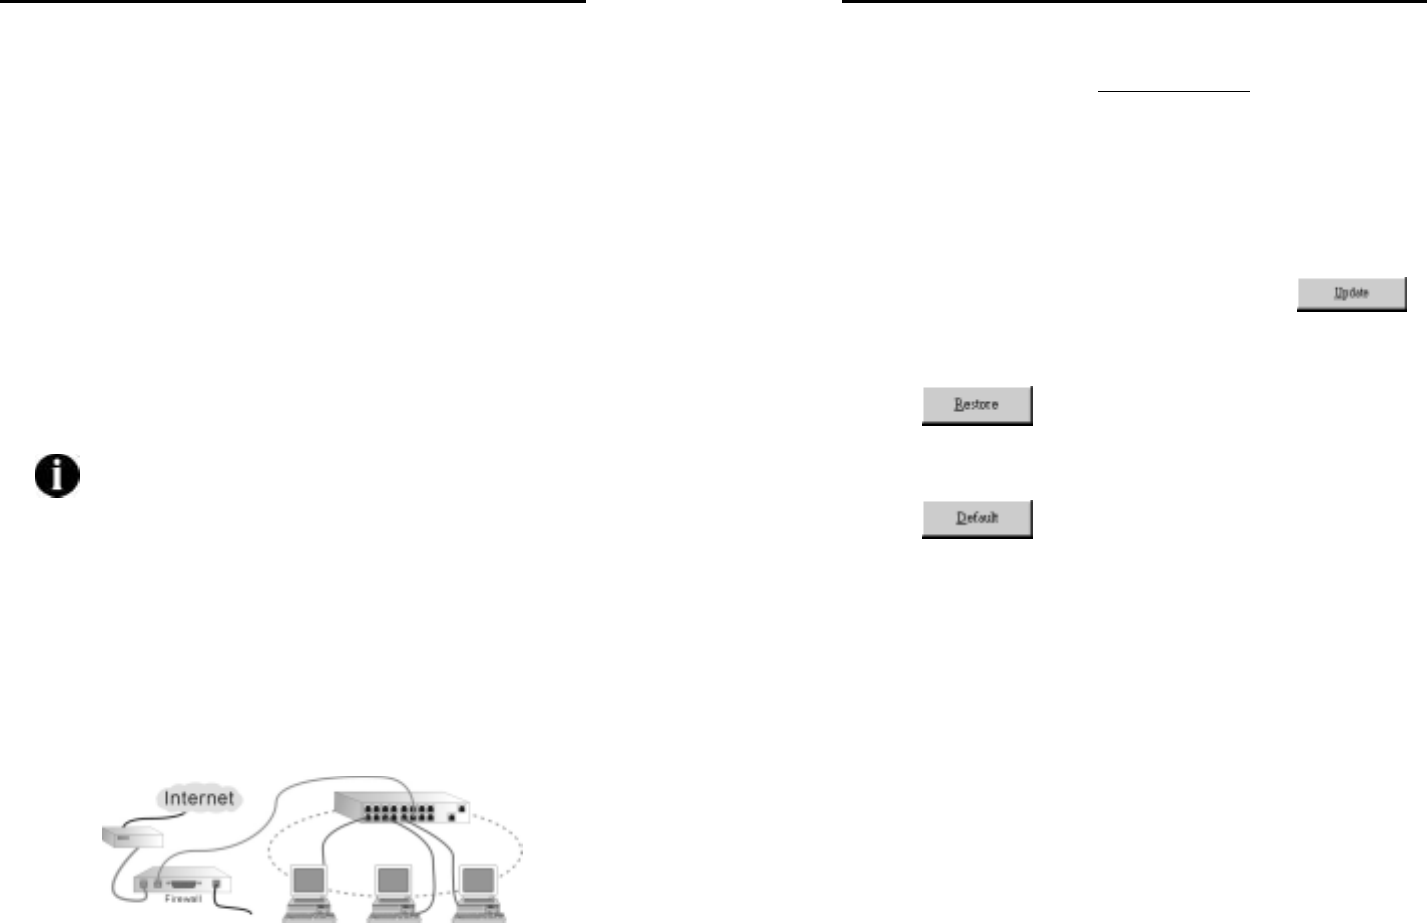
3. Enable Remote View server (Multicast server) via TCP/IP
If you want to transmit images for remote surveillance via TCP/IP,
first check the checkbox to enable this function. Determine a port
in Port box to connect client to a server with TCP port (default
9090). In addition, a firewall NAT function should be configured to
enable the mutual transmission.
The following is the detailed illustration to configure the connection:
AVerMedia User’s Manual
EYES Pro/MP2016/MP3000/MP5000
60
4. Dynamic DNS
In case a dynamic server is severed, please register a domain
name with the IP address: ddns.avers.com.tw on line. Refer to
Appendix B for the further information.
Domain Name & Password
Enter the domain name and password given in the process of
registering a domain name or obtain them by asking network
administrator.
5. Update
Whenever the above settings are modified, click
to
update.
6. Restore
Click
to abort all the changes you made so far and
restore your last settings.
7. Default
Click
to change all values to their default settings.


