


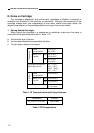
1-5
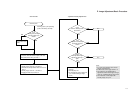
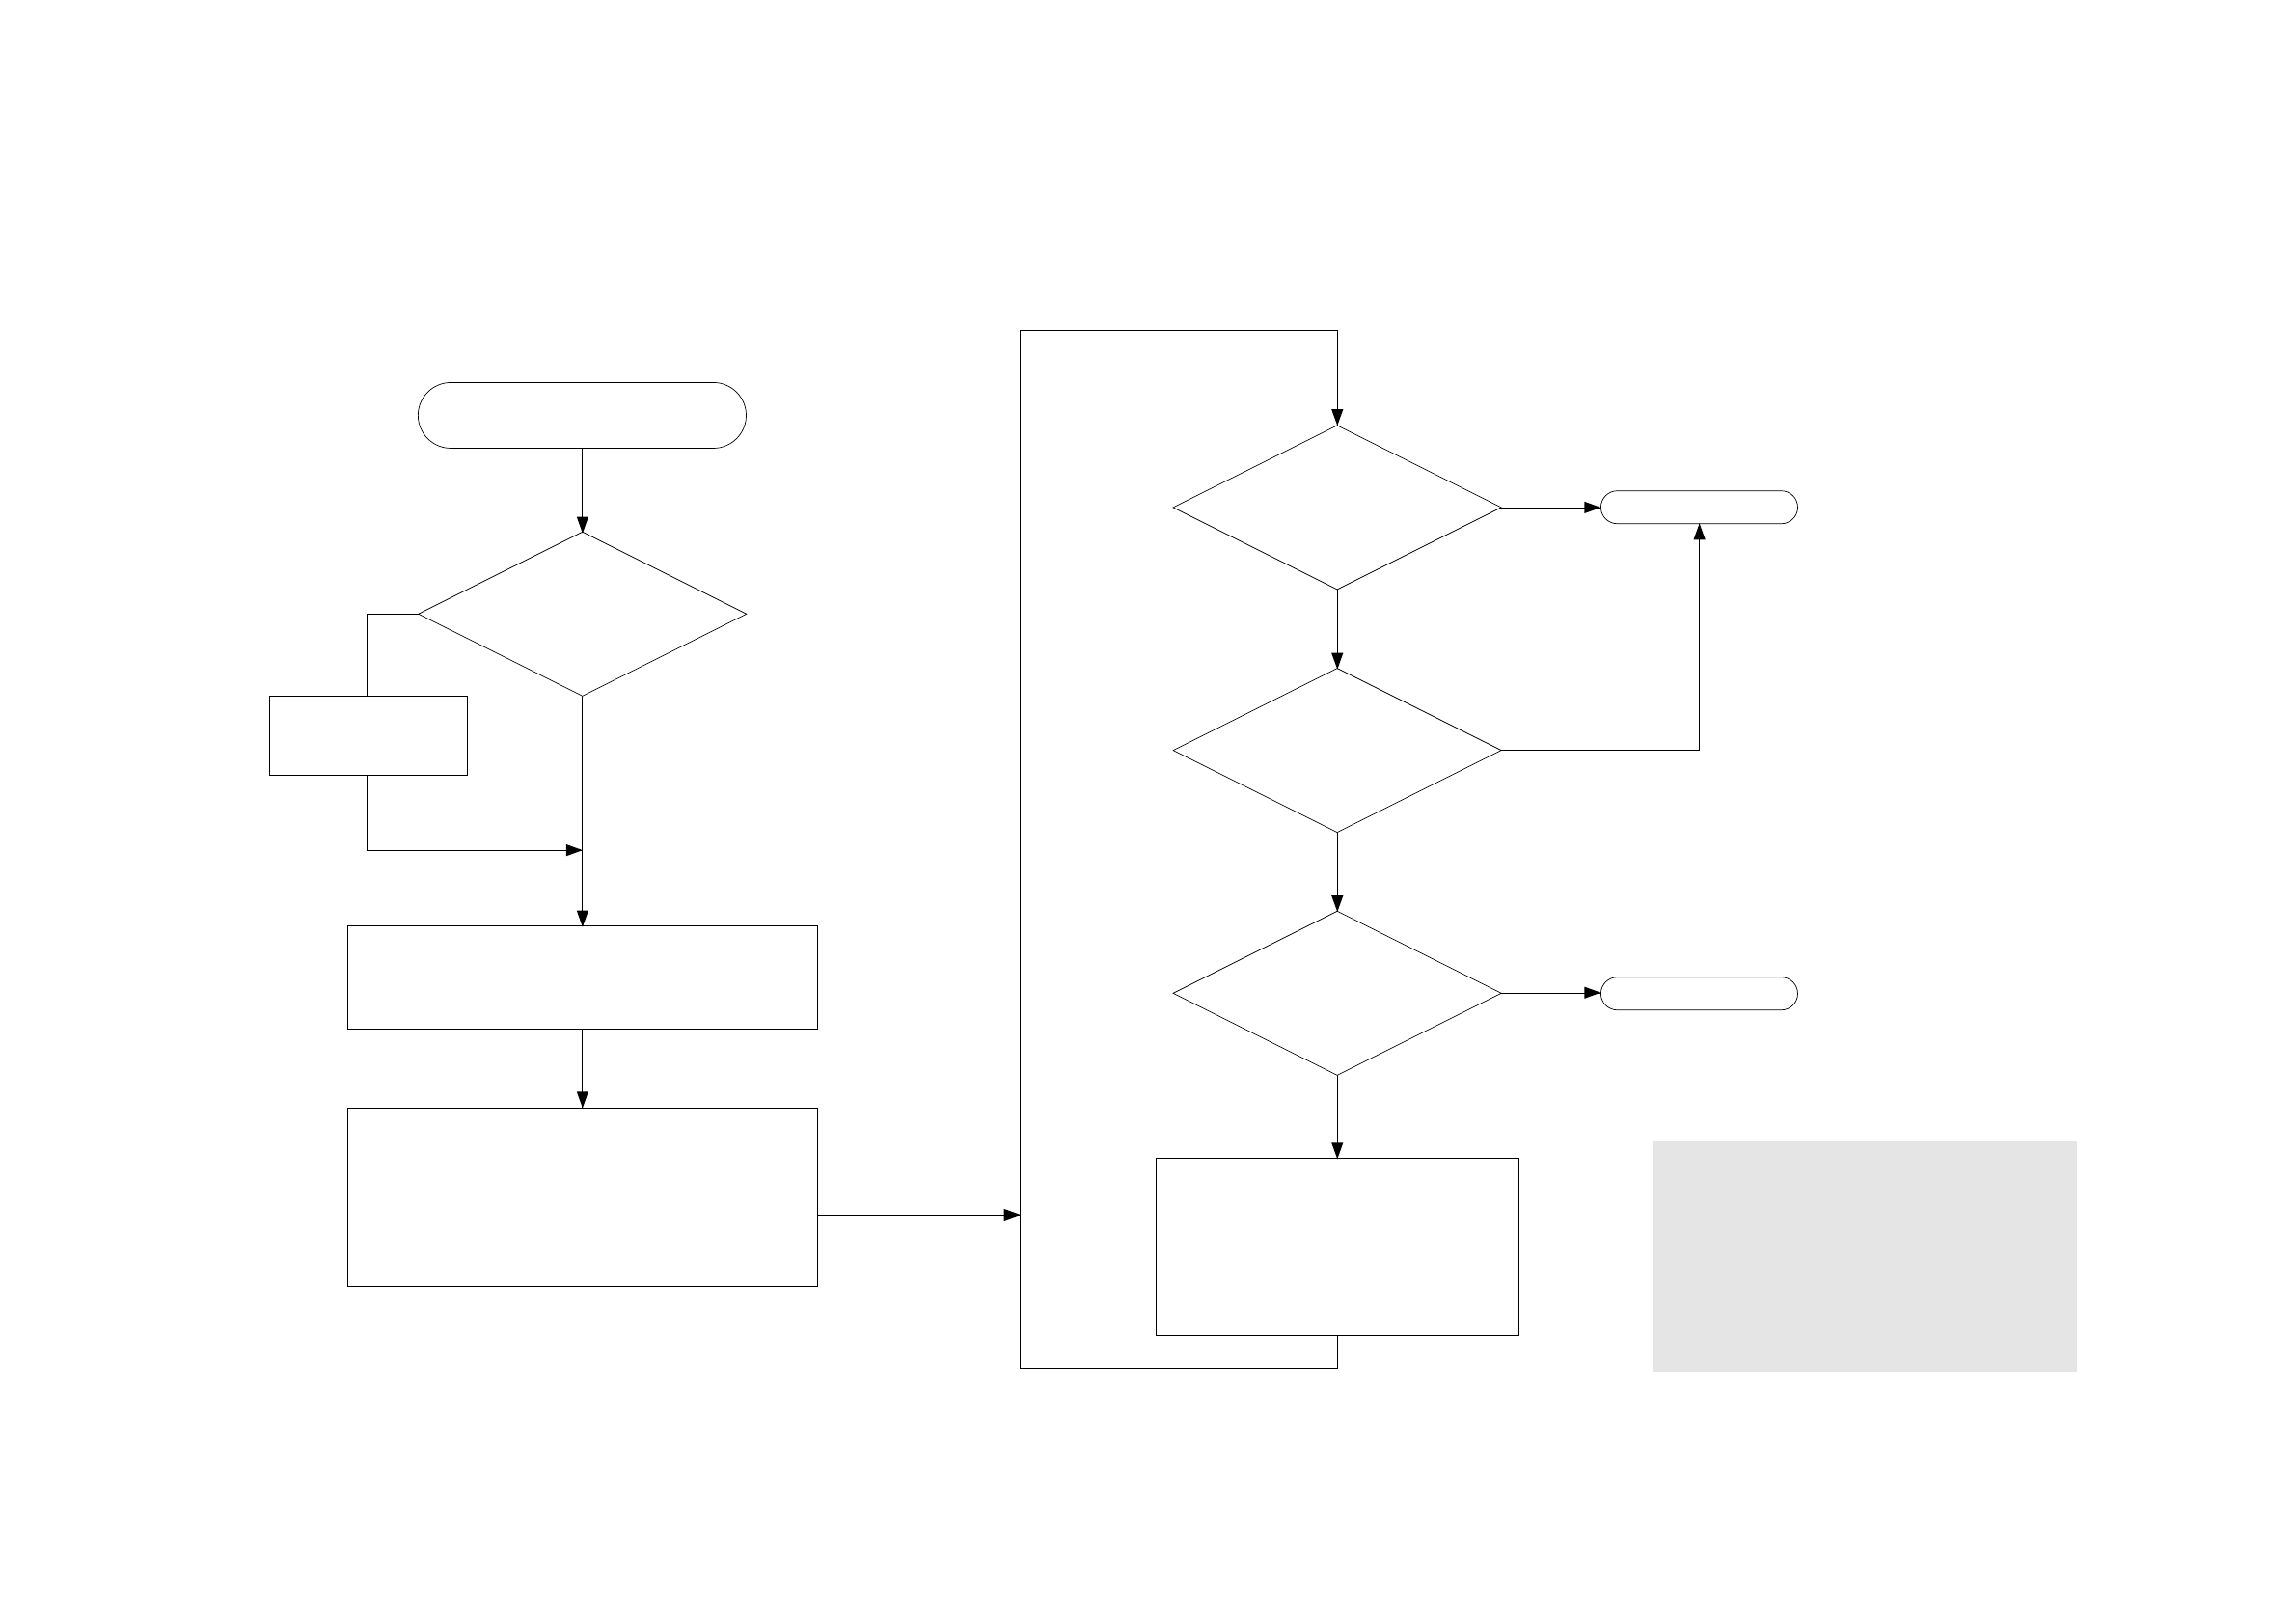
E. Image Adjustment Basic Procedure
Is the
setting of the density
correction switch at the
middle?
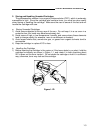
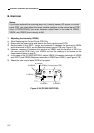
Scanning system, pick-up/feeding
system, and delivery assembly.
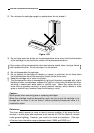
Select non-AE, and set the density control dial/lever
to 5.5; then, make two to three copies of the Test
Chart (NB-3, NA-2, NA-3); see Note 1.
Check the following:
1. Density of gray scale No. 9; see Note 2.
2. Difference in density between front and rear; see
Note 3.
3. Density of gray scale No. 1; see Note 3.
4. Fogging in white area; see Note 3.
Set the switch to the
middle.
Clean the parts.
Is the
problem corrected by
the density correction
switch?
Is
optimum
density obtained by
adjusting the intensity of
light?
(See
Is gray
scale No. 9 barely noted?
(See Note 2.)
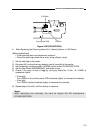
Check the following:
1. Cartridge.
2. Scanning lamp unit.
3. DC controller/DC power supply PCB
(see “Troubleshooting by Image
Fault”).
End.
End.
NO
YES
YES
NO
YES
NO
YES
<Pre-Checks> <Optimum Density Adjustment>
1. If a mono color cartridge is used, set the
density control dial to 4.5.
2. If NB3 is used, refer to gray scale No. 10.
3. The machine is not equipped with an
adjustment function for each type of image
fault; see “Troubleshooting by Image Fault.”
4. For instructions on how to adjust the
intensity of light, see p. 2-2.
Notes:
NO