8382
3
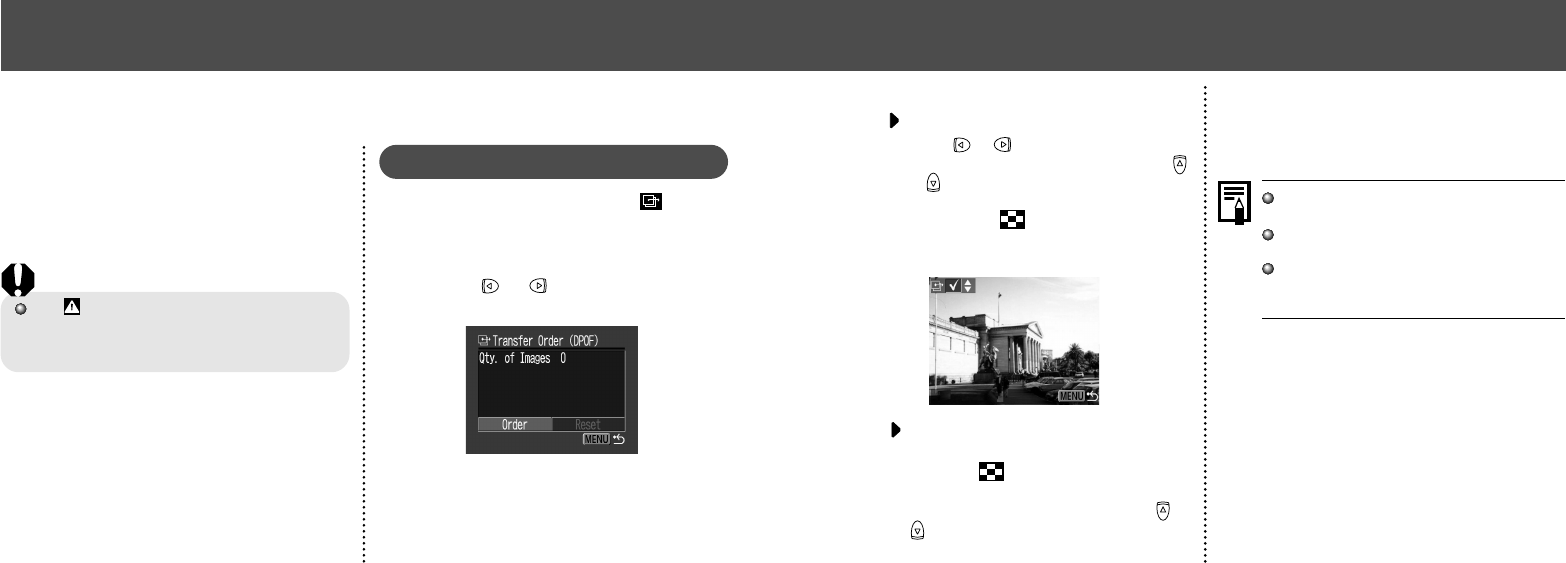
Select images for transferring.
For setting images one by one
• Press or button to select the image
and mark or remove from images using
or button. The check marks are displayed
when set.
• Pressing the button allows you to set
with the same method even if changed to
index replay (3-images).
For setting all images on the CF
card
• Press the button to switch to index
replay (3-images display).
• After pressing the SET button, press or
button to select [Mark all]. Press the SET
button again to set for printing all images
one at a time.
• Select [Clear all] to remove all settings.
4
Press the MENU button.
Images are transferred in order from oldest
to newest by the shooting date.
A maximum of 998 images can be marked
per CF card.
Transfer settings can also be assigned to
images with the supplied software programs
on a computer.
● Image Transfer Settings (DPOF Transfer Order) ●
Setting the Image Transfer
Using the camera, you can specify images you
wish to transfer and attach to e-mails. (Please
use the supplied software for actually transfer-
ring images.) These settings are compatible with
the Digital Print Order Format (DPOF) stan-
dards.
The mark will display on images that have
had transfer marks set by another DPOF-
compliant camera. These settings will be over-
written by any marks set by your camera.
Selecting Images for Transferring
1
In the [Play] menu, select (Trans-
fer Order) and press SET button.
See “Selecting Menus and Settings” (p. 36).
2
Press or button to select
[Order] and press the SET button.
• You can remove all the transfer marks at
once by selecting [Reset].
Image Transfer Settings (DPOF Transfer Order)


