67
Advanced
Features
66
r RECORDING MOVIES
MOVIE MODE
1
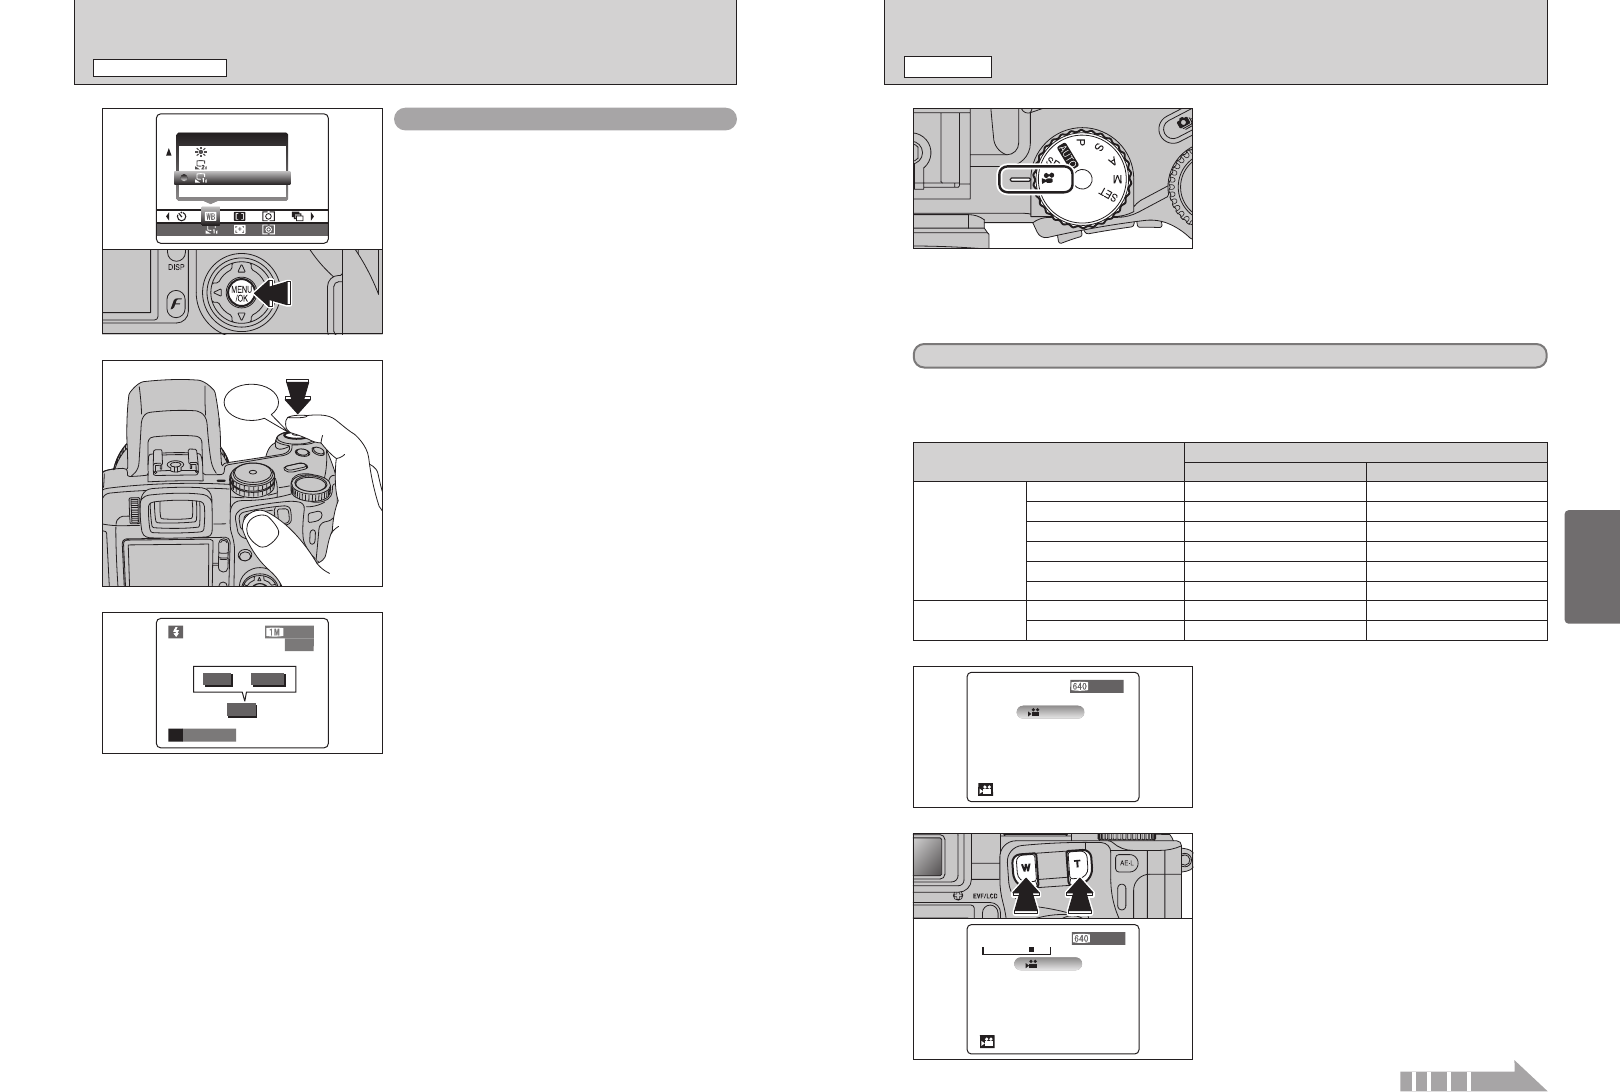
Set the Mode dial to “r”.
Use “r” Movie mode to record movies with sound.
h Specifications
Motion JPEG with monaural sound
Quality selection method
% (640 × 480 pixels)
$ (320 × 240 pixels)
h Frame rate
30 frames per second
●
!
Changing the quality (movie size) setting (➡P.32).
●
!
The available recording time for a video may decrease depending on the amount of free space on the media.
●
!
Because a movie is recorded onto the media as it is saved, it cannot be recorded correctly if the camera suddenly
loses power (if you open the battery cover or disconnect the AC power adapter).
●
!
Because sound is recorded concurrently with the images,
ensure that you do not cover the microphone with a finger,
etc. (➡P.9).
2
The available recording time and “œ”
appear on the screen.
■ Recording times for media
✽ These figures are the available recording times using a new media formatted on the camera. The actual recording
times will vary depending on the free space available on the media.
3
Press the Zoom button to zoom in or out before you
start recording. You must zoom beforehand as you
cannot zoom during recording.
h Optical zoom focal length
(35 mm camera equivalent)
Approx. 35 mm-210 mm
Max. zoom scale: 6×
h Focal range
Wide-angle: Approx. 50 cm (1.6 ft.) to infinity
Telephoto: Approx. 90 cm (3.0 ft.) to infinity
It may not be possible to playback your movies on other cameras.
Media capacity
DPC-16 (16 MB)
xD-Picture Card
Microdrive
Quality
%
(
30 frames per second
)
$
(
30 frames per second
)
13 sec. 26 sec.
DPC-32 (32 MB) 27 sec. 54 sec.
DPC-64 (64 MB) 55 sec. 109 sec.
DPC-128 (128 MB) 111 sec. 219 sec.
DPC-256 (256 MB) 223 sec. 7.3 min.
DPC-512 (512 MB) 7.4 min. 14.6 min.
MK-1 (340 MB) 5.0 min. 10.0 min.
MK-2 (1 GB) 15.3 min. 30.1 min.
●
!
After you take the picture, please check the “Color (White
Balance)” setting for the image.
i Set “IMAGE DISP.” to “PREVIEW” in the SET-UP screen
(➡P.83).
i Set the Power switch to “
w” (➡P.19).
When the white balance is incorrect
Adjust the white balance to match the external
flash.
In “A” in the Photography menu (➡P.59), select
“O, P” Custom white balance.
Press the “MENU/OK” button.
Click
Hold a sheet of white paper so that it fills the entire
screen.
When pressing the Shutter button, the flash fires
and the white balance is set.
When “
√” or “∫” appears, the white
balance was not measured at the correct exposure.
Set the exposure compensation again, using a
negative value (–) when “√” appears and a
positive value (+) when “∫” appears.
or
STILL PHOTOGRAPHY MENU
STILL PHOTOGRAPHY MENU
Continued
