69
3
68
This mode can be selected in the “5
•
7
•
9
•
4”
photography modes.
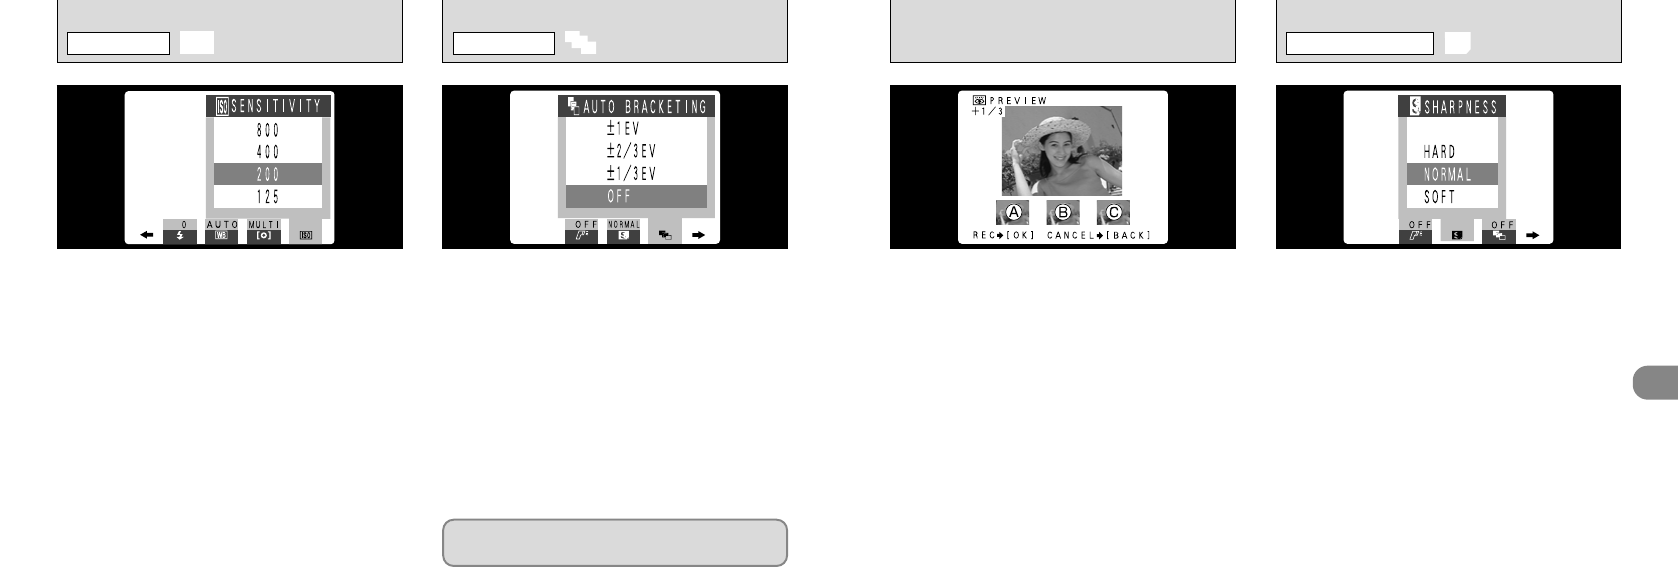
Use this feature to photograph the same image
with different exposure settings. Auto bracketing
automatically shoots 3 consecutive frames, one of
which is correctly exposed while the remaining two
are underexposed and overexposed respectively
by a set amount.
●
The three available settings are ±1/3, ±2/3
and ±1 EV.
●
!
Flash photography cannot be used.
●
!
This feature always takes 3 shots. However, if there
is insufficient space on the SmartMedia for 3 shots,
no picture will be taken.
This mode can be selected in the “5
•
7
•
9
•
4”
photography modes.
Use this setting when you want to take bright
pictures indoors without using a flash or when
you want to use a fast shutter speed. (to prevent
camera shake, etc.)
●
Settings :
125, 200, 400, 800
This mode can be selected in the “5
•
7
•
9
•
4”
photography modes.
Use this setting to soften or emphasize outlines
or to adjust the image quality.
●
Three levels of sharpness are available
HARD : Emphasizes the outlines.
Best for shots of subjects such as
buildings or text where you want
sharp images.
NORMAL : Best for ordinary photography.
Provides edge sharpness that is
ideal for ordinary shots.
SOFT : Softens the outlines.
Best for shots of subjects such as
people, where a softer image is
desirable.
When Preview display is set to “ON” (➡P.100), a
A is correctly exposed, B is overexposed and C
is underexposed. To record the images, press
the “MENU/OK” button. To proceed without
recording the images, press the “BACK” button.
●
!
The “STORING” message appears on the LCD
monitor while the images are being recorded onto
the SmartMedia.
●
!
It takes about 11 seconds to record the image data
(NORMAL : 2400
✕
1800 pixels).
r
SETTING THE SENSITIVITY
PHOTOGRAPHY MENU
Auto bracketing is disabled when continuous
shooting is selected (➡P.59).
S
AUTO BRACKETING
PHOTOGRAPHY MENU
`
SHARPNESS
PHOTOGRAPHY MENU


