


64 65
Advanced Features
3
PHOTOGRAPHY MENU
PHOTOGRAPHY MENU
✽ Displaying the menus (➡P.58)
250250250
F
3.2
F
3.2
F
3.2
250250250250250 F3 2F3 23 2F3 2F3 2
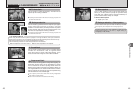
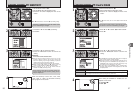
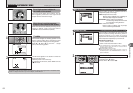
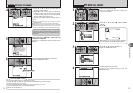
Press the shutter button down halfway. The AF
frame appears positioned on the high-contrast
subject near the center of the image.
When the camera has difficulty focusing on the
subject in “MULTI” mode, set the AF mode to
“CENTER” and use AF/AE Lock (➡P.26).
When there is no high-contrast
subject in the center of the screen
For a high-contrast subject in
the center of the screen
2
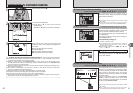
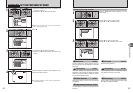
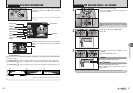
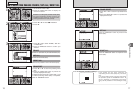
The AF frame appears in the location to which the
target point was moved.
Take the picture in the normal way.
To reposition the AF frame, select “AREA” from the
“H” AF mode.
1
Ë AREA
The camera changes the focusing position on the
screen. Use this setting when composing the shot
using a tripod and changing the focusing position.
Press “a”, “b”, “d” or “c” to move the “°” (target
point) to the focusing position.
121212
NNN
250
F
3.2
ISOISO
200
ISO
200
ISO
200
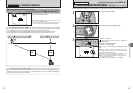
Regardless of the AF frame location, the exposure is always set using the area in the center of the
screen. To expose the shot for your main subject, use AF/AE lock.
Before moving
After moving
SELECT AF AREASELECT AF AREA
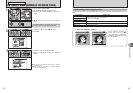
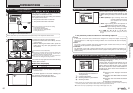
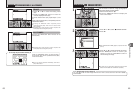
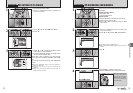
Use this setting to soften or emphasize outlines or
to adjust the quality of the image.
HARD: Emphasizes the outlines.
Best for shots of subjects such as buildings or
text where sharp images are desirable.
STANDARD: Best for ordinary photography.
Provides edge sharpness that is ideal
for most picture taking situations.
SOFT: Softens the outlines.
Best for shots of subjects such as people,
where a softer image is desirable.
SHARPNESSSHARPNESS
1
2
HARDHARD
STDSTD
SOFTSOFT
STDSTD
EVEV
:
:
1
3
G
SHARPNESS
Available Photography modes: N, M, <, >
Á
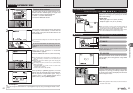
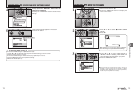
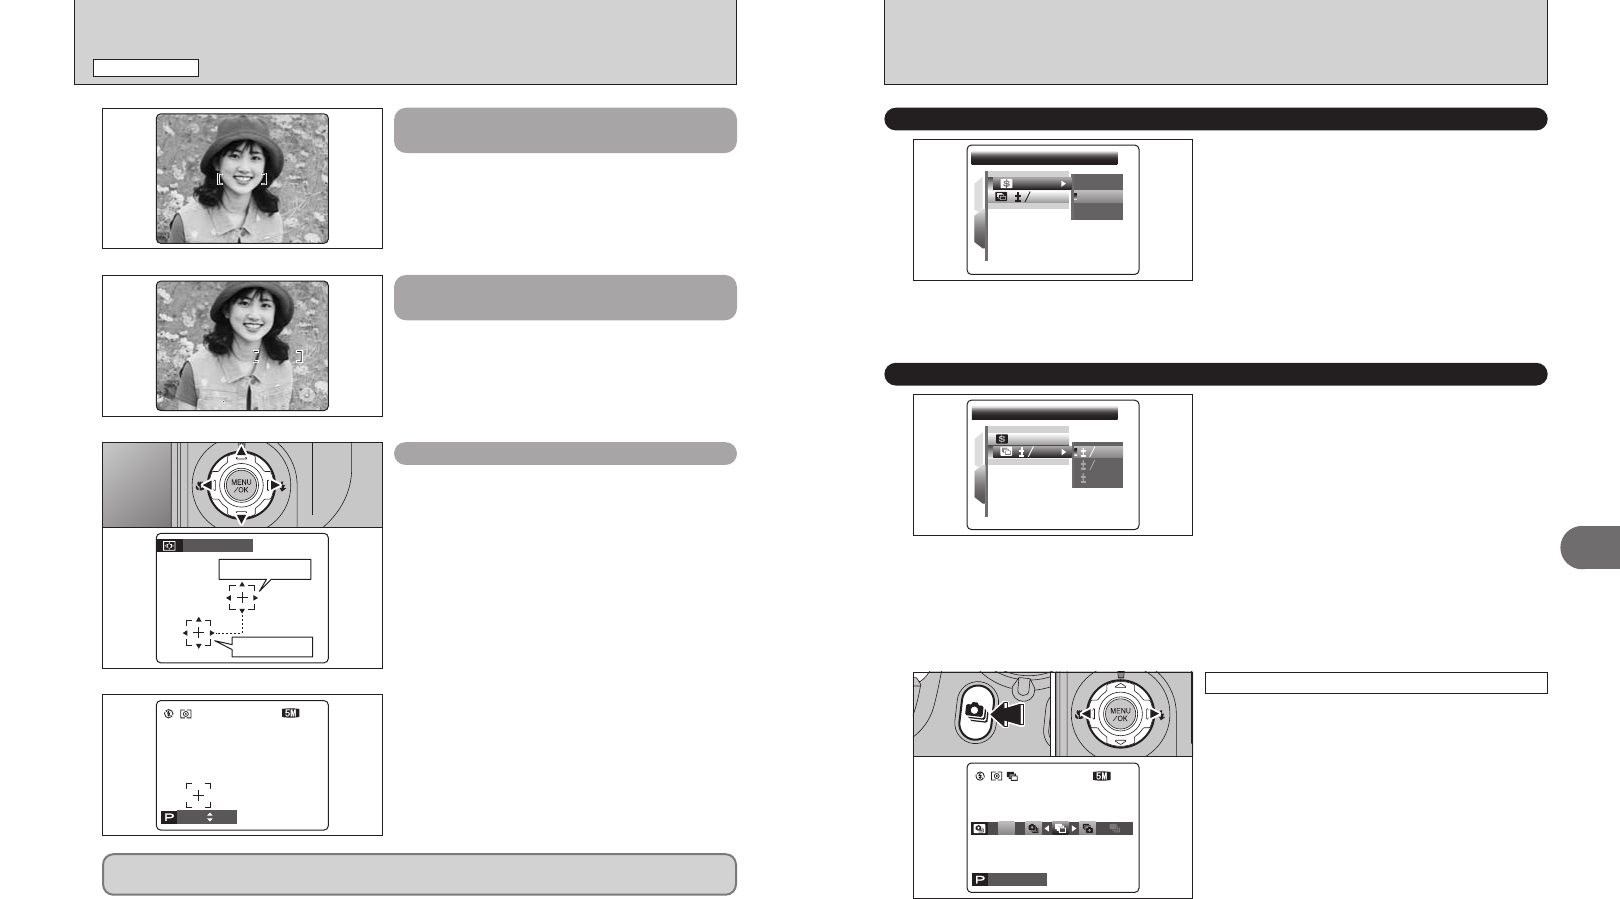
BRACKETING
Available Photography modes: N, M, <, >
Use this setting to photograph the same image with
different exposure settings. Bracketing shoots 3
continuous frames, one of which is correctly
exposed while the remaining two are underexposed
and overexposed respectively by a set amount.
hBracketing settings (3)
±1/3 EV, ±2/3 EV, ±1 EV
See P.130 for more information on EVs.
●
!
If the underexposed or overexposed frame is outside the
camera’s control range, the picture is not taken with the
specified setting increments.
●
!
Flash photography cannot be used.
●
!
This feature always takes 3 shots. However, if there is
insufficient space on the xD-Picture Card for 3 shots, no
picture will be taken.
BRACKETINGBRACKETING
1
2
: EV: E V
:STD: S T D
1
3
EVE V
1
3
EVEV
2
3
1 EV1 EV
1
OFFOFF
121212
NNN
250
F
3.2
ISOISO
200
ISO
200
ISO
200
2
01 02
After setting the exposure for bracketing:
1Hold down the “f” button.
2Press “d” or “c” to select “Á”.
Auto bracketing