Allgemeiner Teil / General GV44…, GV45…, GV46…
1 - 52 GRUNDIG Service-Technik
Press these buttons on the
remote control You will see this on your TV screen Explanations
6.2 Record Programming
ŁŁ
3. Selecting a broadcast
W
.
.
.
W
Press the
W
button until the cursor
?
is positioned next to the start time of
the desired broadcast.
4. Confirming the broadcast
O
Timer 1 is completely programmed.
The data of the broadcast is stored in
the first memory position (TIMER).
The recorder is in record stand-by
mode; the remaining playing time of the
cassette is briefly indicated.
If a "
*
" appears after the stop time, the
TV station is transmitting the VPS/PDC
signal which will control the recording.
In the case of recordings that are con-
trolled by the PDC signal, the Teletext
page for this broadcast offers you a
special feature.
You can decide if you wish to record
just one "episode" of a series, or you
can decide to record all of the "epi-
sodes"
When programming with this Teletext
page, the "Series Selection" menu
appears after selecting a broadcast that
is part of a series.
Use the
W
or
Q
button to select the
line "All Episodes" or "One Episode" and
confirm your choice by pressing the
O
button.
If the recorder is in record stand-by
mode, the data of the TIMER position
that is first chronologically is visible in
the display of the recorder.
Now all drive mechanism functions of
the recorder are inoperative.
GRUNDIG
TEXT-PROGRAMMING
■ 04 CH4 11. 19:00 19:50
*
■
■
■
■
■
■
■
Timer Prog. Date Start Stop
TIMER ACTIVE
Reserve time: 02:10
STOP Textprogramming:
12.30 Business Daily
13.00 Sesame Street 310
14.00 A Yank In The RAF film
15.50 Un Point C'est Tout
16.00 Great British Isles
16.30 Countdown
17.00 The Adventures Of Tintin
17.05 The Oprah Winfrey Show
18.00 The Wonder Years
18.30 Tonight With Jonathan Ross #
19.00 ■ Channel 4 News
19.50 Comment followed by
Weather
20.00 Brookside see 255
#Nicam stereo
late night programmes follow >
v : Select OK : Confirm programme
C4
WEDNESDAY
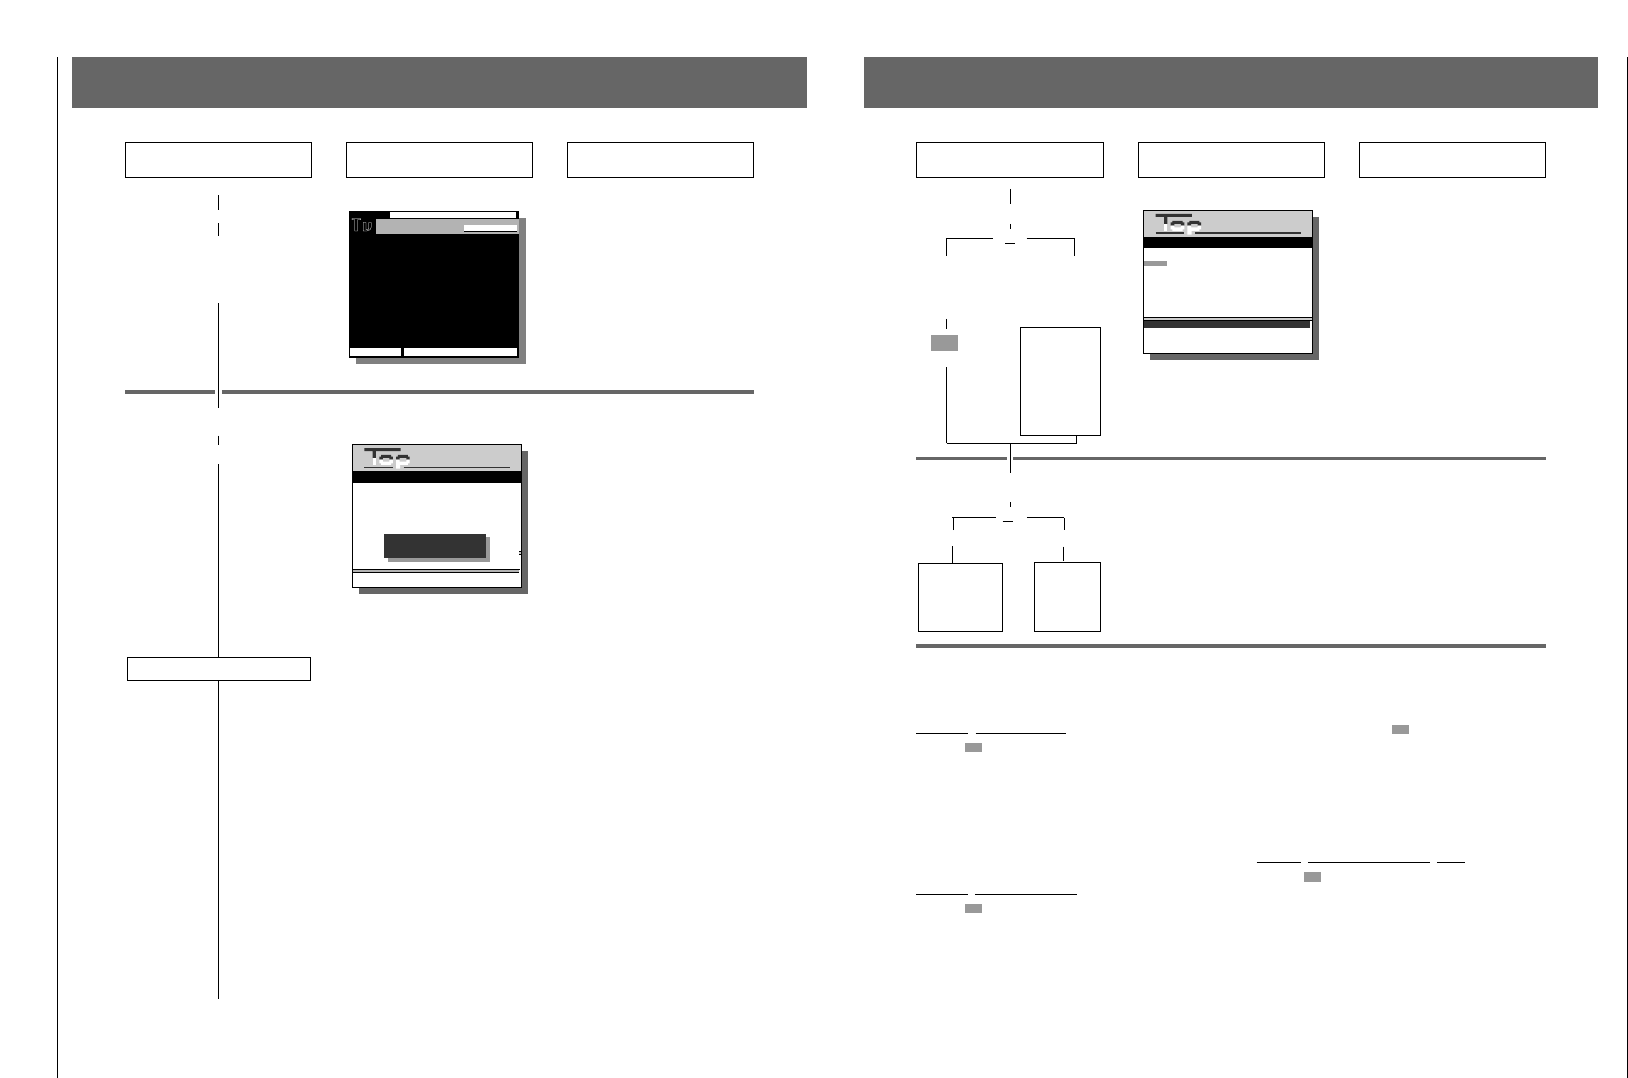
6.2 Record Programming for sets with Textprogramming
Press these buttons on the
remote control You will see this on your TV screen Explanations
6. Programming the next
broadcast
or
a) with VPT b) manually
Repeat the pro-
cedure startting
with point 1.
Modifications and completions of the recording
data
(necessary for point 5 of the programming example)
Correcting the TIMER data
Press the
“
(green) button and use the
W
or
Q
button
to select the desired Timer position.
Press the
E
or
R
button until the cursor
?
is positioned
at the data to be corrected.
Use the numbered buttons
1
...
0
to "overwrite" this data
and confirm the remaining Timer data with the
O
button.
Now you can programme the next broadcast.
Recording without VPS/PDC
Press the
“
(green) button and use the
W
or
Q
button
to select the desired Timer position.
Press the
R
button once; the cursor
?
is positioned after
the stop time.
Erase the VPS/PDC with the
“
(blue) button.
The cursor jumps to the first digit of the start time.
If the start time and the VPS/PDC time differ, enter the new
start time with the numbered buttons
1
...
0
and confirm
the remaining data with the
O
button.
Now you can programme the next broadcast.
Doubling the cassette recording time
Press the
“
(green) button and use the
W
or
Q
button
to select the desired Timer position.
Press the
E
button once; the cursor
?
is positioned after
the stop time.
Select the long-playing mode by pressing the
w
button
(additional indication: "L"), then press the
O
button.
ŁŁ
A blue cursor marks the Timer 1 posi-
tion, a black cursor
?
is positioned at
the first place of "Prog.".
5. Further operating steps
or
a) Programming b) Modifying/
the next erasing
broad- the data of
cast the timer
For this, refer
to the chapter
"modifications
and comple-
tions of the
recording data"
on this page.
“
(blue)
GRUNDIG
TEXT-PROGRAMMING
■ 04 CH4 11. 19:00 19:50
*
■
❚
- - - - . - - . - - - - . - -
*
■
■
■
■
■
■
Reserve time :02:10
Timer Prog. Date Start Stop
0-9 : Input Prog. - two figures
SAT : Signal source Sat. Receiver
INFO : Return to Info menu
Proceed as
described in
point 3.


