


Allgemeiner Teil / General GV44…, GV45…, GV46…
1 - 58 GRUNDIG Service-Technik
7. Special Functions The Recorder as a HiFi Tape Recorder
Audio r
ecording pause
Press the
K
button.
Continuing recording
Press the
K
button.
Terminating the audio recording
Press the
`
button.
HiFi playback
Press the
J
button to start playback.
Selecting the audio track
When playing back cassettes with stereo or two-channel
recordings, you can select the desired audio track.
Stereo (HiFi longitudinal track) = basic setting.
"ɳ" appears in the display of the recorder.
Pressing the
j
button on the remote control once or twice
select the following:
Audio track 1 – "
1
" appears in the display of the recorder;
Audio track 2 – "
2
" appears in the display of the recorder;
Mono/longitudinal track – no display;
Mixed mode (HiFi/helical track and mono/longitudinal track,
for checking the dubbing of cassettes) – "MIX" appears in the
display of the recorder.
Adjusting the HiFi audio track
When playing back a cassette recorded with another video
recorder it may be necessary to adjust the audio track quality.
To do so, press the
S
TRACKING
A
buttons on the remote
control until the playback quality suits your own personal
taste.
When playing back a long-play recording, the recorder
automatically switches to long-play mode.
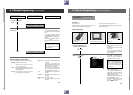
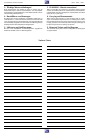
Headphone operation
Connectin
g headphones
Connect the headphones to the
y
socket.
Adjusting the headphone volume
Press the
“
y
button and adjust the volume with the
S
/
A
buttons.
Selecting the audio track for headphone operation
When playing back cassettes with two-channel recordings,
you can choose from audio track 1 or 2.
Press the
“
y
button and select the desired audio track with
the
j
button on the remote control.
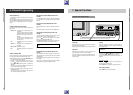
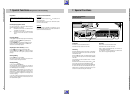
MIC L R
AUDIO IN VIDEO IN / CV
y
MAN DUBBING
INSERT
RECORD LEVEL
S
-
VHS
y
OK
CL
SET CHECK EW/EDON/OFF
TIMER
7. Special Functions
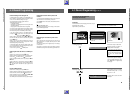
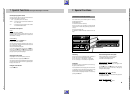
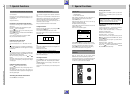
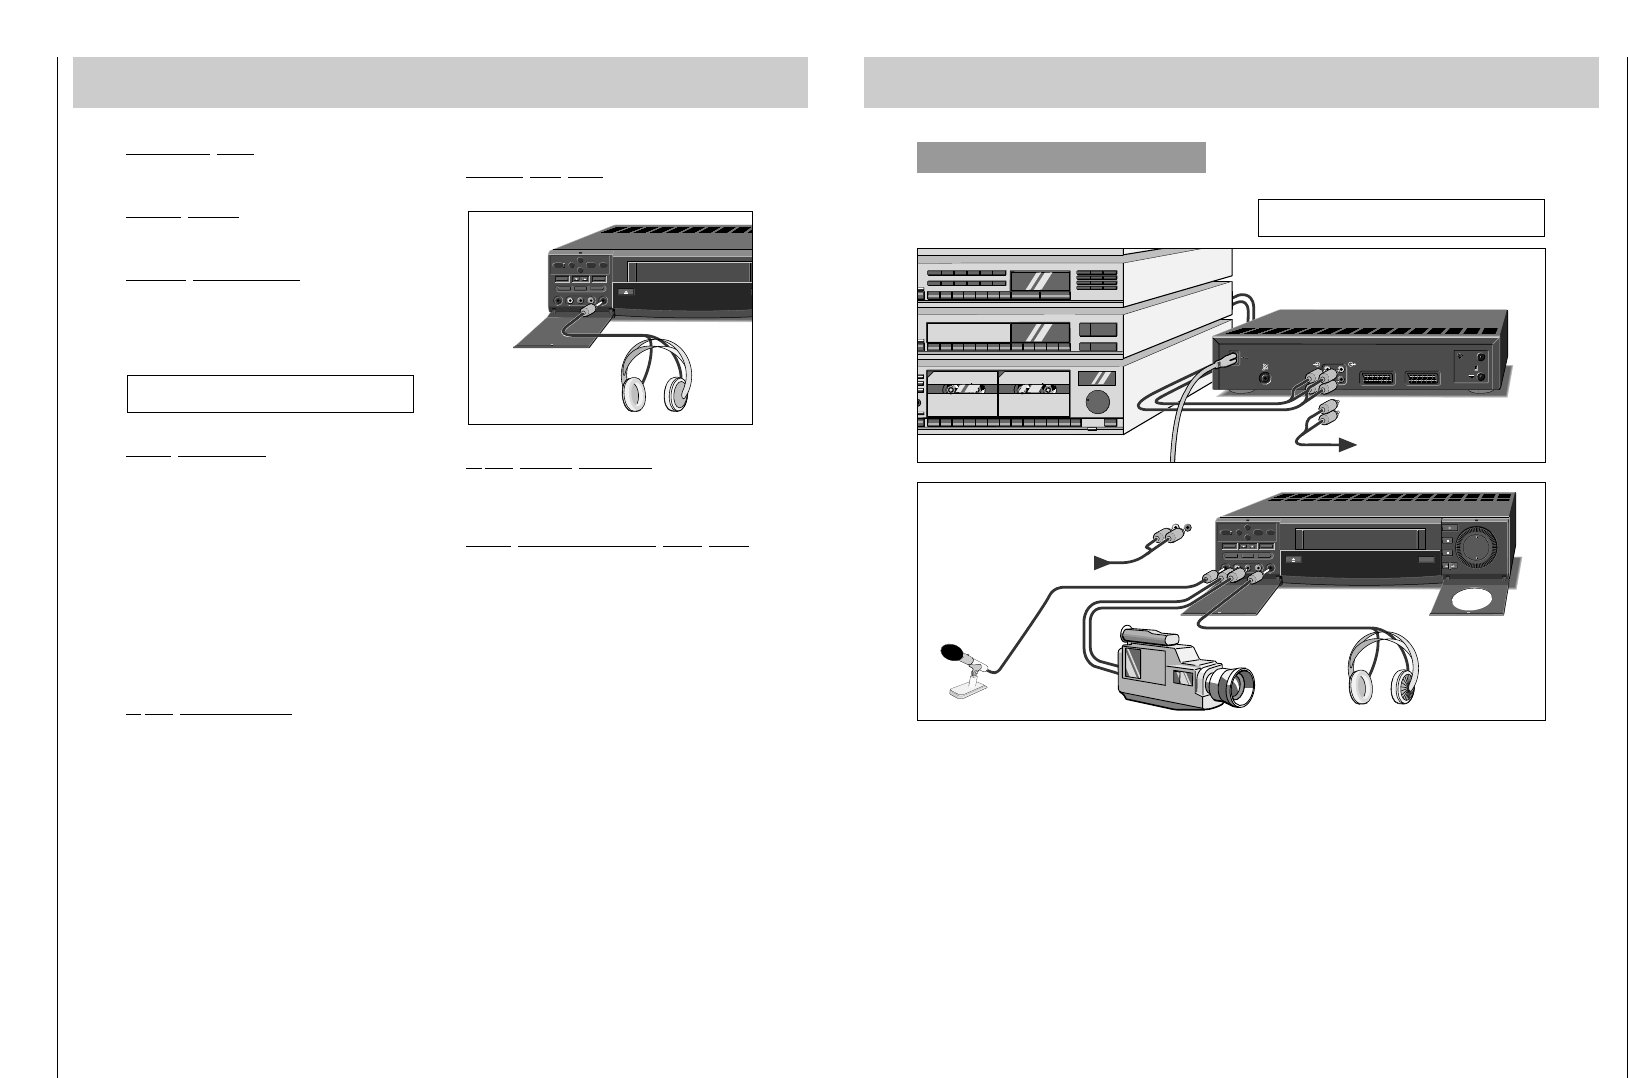
Adding Sound at a Later Date (Dubbing)
You can add sound at a later date for any of your recordings.
DECODER A2
H
L
H
L
ń
ń
EURO-AV A1
L
R
AUDIO
L
R
Ǽ
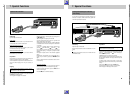
MIC L R
AUDIO IN VIDEO IN / CV
y
MAN DUBBING
INSERT
RECORD LEVEL
S
-
VHS
y
OK
CL
SET CHECK EW/EDON/OFF
TIMER
LR
AUDIO IN
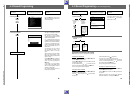
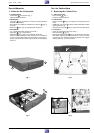
Connecting
Connect the HiFi system to the
ň
AUDIO sockets on the back
of the recorder.
R = right channel; L = left channel.
The sockets
Ň
are suitable for connecting an audiomixer
(input).
Open the left flap on the recorder.
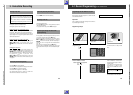
Connect a camcorder with a commercially available cinch
cable to the L AUDIO IN R sockets on the front of the recorder.
These sockets are suitable for connecting an audiomixer
(output).
Connect a mono-microphone to the MIC socket.
The original sound of the longitudinal track is completely
erased, the HiFi (helical) track remains.
to audiomixer input
from audiomixer output