


GV44…, GV45…, GV46… Allgemeiner Teil / General
GRUNDIG Service-Technik 1 - 55
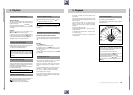
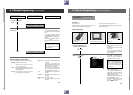
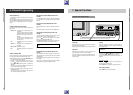
6.3 Record Programming
After programming ...
... the remaining playing time is briefly shown in the display
of the recorder.
Then the display indicates the programme position with the
station identification abbreviation as well as the start time and
the stop time of the TIMER position that is first chronolo-
gically.
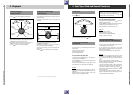
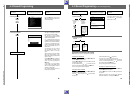
Possible indications on the recorder
If the display of the recorder shows instead of the remaining
playing time...
...
REST
and
FULL
a cassette with insufficient playing time
was loaded.
If the sum of all recording times is greater
than the total playing time of the cassette,
the recorder will record until the end of
the tape.
The recorder then automatically rewinds
the tape back to the beginning and
switches to stop.
...
FULL
all TIMER positions of the recorder are
occupied.
...
REST
and the playing time of the cassette was not
recognized.
...
REST
and
CASS
no cassette is loaded.
...
COLL
the TIMER recording times overlap each
other.
Entering a different date
Follow this procedure for entering a different date instead of
confirming the current date as explained under, point 3.
b) Enter the desired day (1 to 31) with the
W
or
Q
button
and confirm by pressing the
¢
OK
button.
c) In order to record weekly broadcasts at the same time,
press the
å
button and then enter the day of the date
with the
W
or
Q
button and confirm by pressing the
¢
OK
button.
The recorder will record the broadcast every week at the
same time until the tape end is reached.
d) In order to record daily broadcasts at the same time, press
the
å
button twice.
The recorder will record the broadcast every day at the
same time until the tape end is reached.
Checking the occupied TIMER positions of the
recorder
Press the
z
button to select the respective TIMER posi-
tion. The display of the recorder shows the desired TIMER
position.
Clearing an occupied TIMER position of the
recorder
Press the
z
button to select the respective TIMER posi-
tion.
Press the
ß
button to clear the data of the TIMER position.
Interrupting the record stand-by mode of the
recorder
If you have programmed TIMER positions but wish to use the
recorder while it is in record stand-by mode, then
press the
>
button and the cassette is automatically
ejected, or press the
©
(TIMER) button.
The TIMER data disappears from the display of the recorder,
the TIMER indication flashes, and the data is retained.
Now select the desired function.
Reactivating the record stand-by mode of the
recorder
Insert a cassette with sufficient playing time, wait until the
tape measurement is completed, and then press the
©
(TIMER) button.
The remaining playing time appears briefly in the display of
the recorder.
The recorder is in the record stand-by mode and the TIMER
recordings will be made at the programmed times.
The record stand-by mode of the recorder is now inter-
rupted.
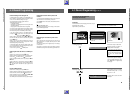
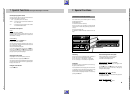
7. Special Functions
Operation with a Second Recorder
Copying
Select the programme position for a second recorder by
pressing the
a
button until "
A2
" appears in the display of
the recording recorder.
Start playback on the playback recorder by simultaneously
pressing the two
M
RECORD
;
buttons on the remote con-
trol, or press the
M ;
buttons on the recorder.
Copying is started and the TV screen serves as a monitor for
checking.
Recording title lines
If you press the
*
button before or during recording, the
title line is added to the recording.
Press the
*
button once again to suppress the title line.
Terminating recording
Press the
`
button to terminate recording.
When copying SECAM broadcasts you must also press
the
U
button.
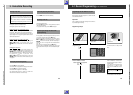
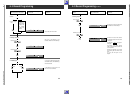
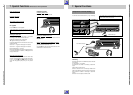
DECODER A2
L
H
L
H
ń
ń
EURO-AV A1
L
R
AUDIO
L
R
EURO-AV
EURO-AV
AUDIO
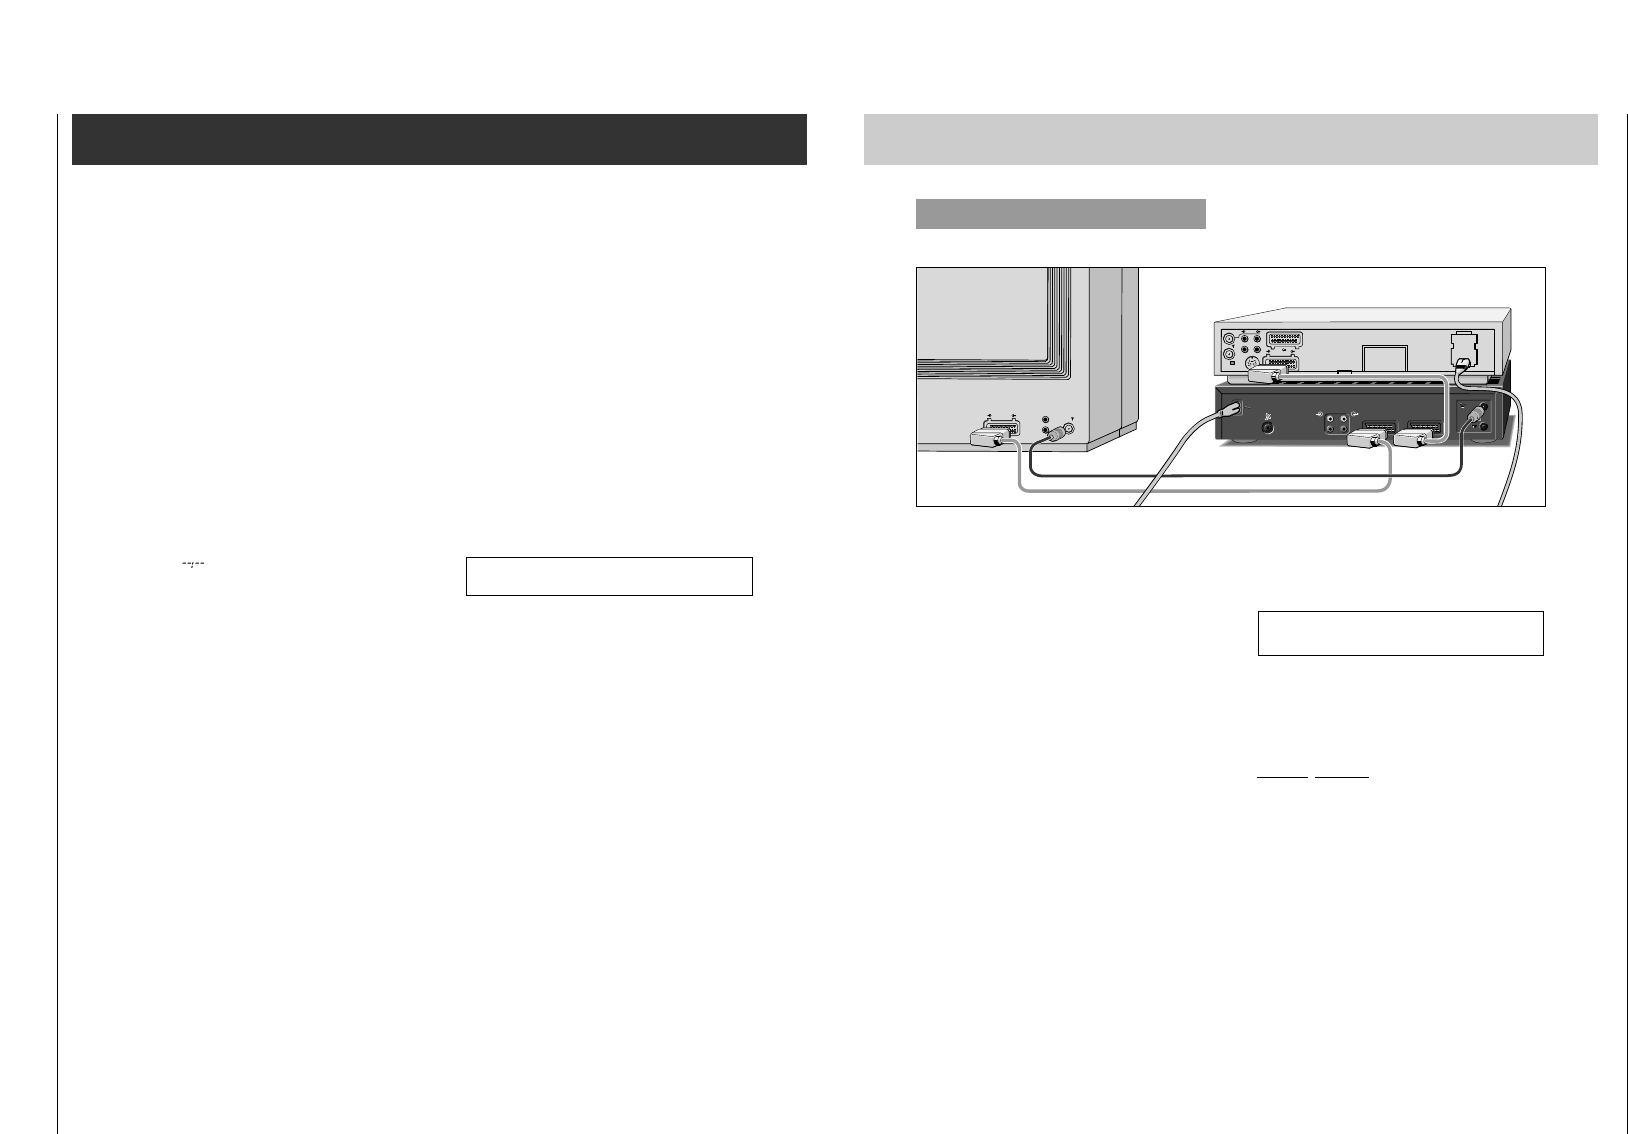
Connecting
Connect the AV 2 socket of your recorder with the correspon-
ding socket of the other recorder.
Connecting cables are available from your specialized dealer.
Preparation
Switch the TV set on (serves as a monitor for checking) and
select the programme position for video playback.
Insert the cassette to be copied into the playback recorder,
and insert a cassette with sufficient playing time into the re-
cording recorder.