


GV44…, GV45…, GV46… Allgemeiner Teil / General
GRUNDIG Service-Technik 1 - 59
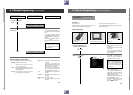
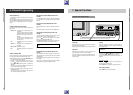
7. Special Functions Adding Sound at a Later Date (Dubbing)
Preparation
Insert a recorded cassette into the recorder.
Selecting the programme source
Turn the jog-knob right or left until the desired indication
appears in the display of the recorder:
HI
= Connect the sound source to the AUDIO sockets
on the back or the recorder, or
CV
= Connect the sound source to the AUDIO sockets
on the front side of the recorder or to the MIC
socket.
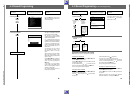
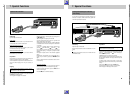
Preparing dubbing
In the playback mode, locate the tape position where dubbing
is to begin, then press the
K
button (playback-pause).
Display on the recorder: "ll".
Press the
¡
DUBBING
button (activates the dubbing-function).
Display on the recorder: "
DUB
and
HI
" or "
DUB
and
CV
".
The volume is automatically adjusted.
Adjusting the volume manually (if desired)
Press the
Ü
button; display on the recorder: "
MAN
".
Press the
Q
RECORD LEVEL
W
buttons to adjust the volume
until the first red mark (+1dB) lights up during the loudest
passages.
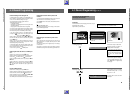
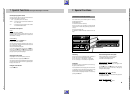
Starting dubbing
Press the
J
button to start dubbing.
The original sound remains on the HiFi track and the new
sound is recorded on the longitudinal track.
Stopping dubbing
To do so, press the
¡
DUBBING
button.
The video recorder switches to playback. You will hear the
sound recorded on the mono (longitudinal) track. The indica-
tion "
DUB
" disappears from the display.
When changing a dubbed cassette you must switch to the
mono (longitudinal) track in order to hear the new sound you
dubbed. To do so, press the
j
button on the remote con-
trol until the indication "
2
" disappears from the display of the
recorder (no display).
If you want to hear the original recording as well as the new
recording, press the
j
button on the remote control until
the indication "
MIX
" appears.
Unless otherwise stated, execute the following functions
with the buttons on the recorder.
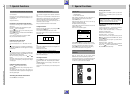
Operation with an audiomixer
Connectin
g
Connect the audiomixer input to the
Ň
LR sockets (on the
back of the recorder);
Connect the audiomixer output to the L AUDIO INR sockets
(on the front of the recorder).
Operation
When the recorder is connected to an audiomixer, you can
mix the original HiFi recording of the video cassette and the
sound from an external sound source.
7. Special Functions
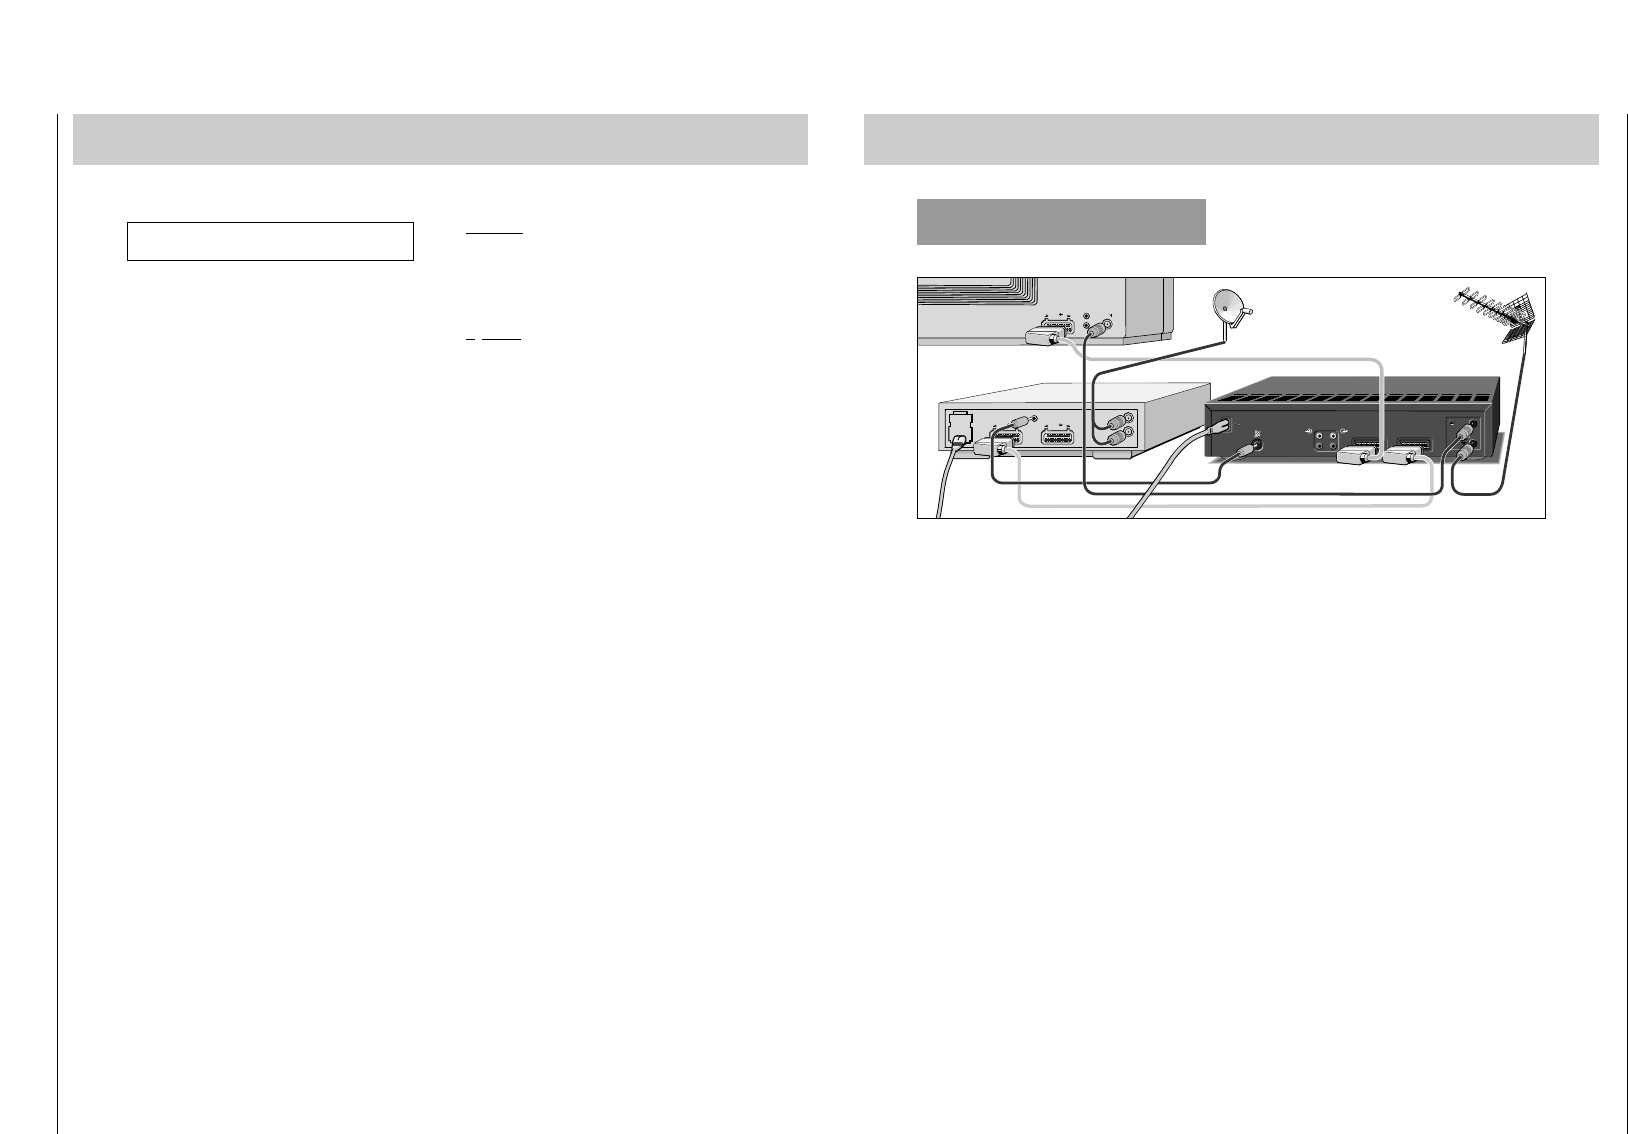
Operation with a GRUNDIG
Satellite Receiver
Operation
Switch on the TV set and the satellite receiver.
Reconnect the video recorder to the mains.
Refer to chapter "Immediate Recording" for information on
recording satellite broadcasts.
For information on record programming of satellite broad-
casts, refer to the programming examples.
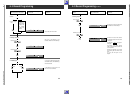
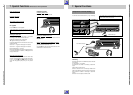
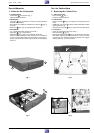
Preparation
Switch the TV set and the satellite receiver off.
Disconnect the video recorder from the mains.
Connecting
Connect the EURO-AV socket (to the recorder) of the satellite
receiver and the EURO-AV A2 socket of the video recorder
with a EURO-AV cable.
Connect the ˳ VCR socket of the satellite receiver and the
ʐ socket of the video recorder with a commercially available
cinch cable.
Insert the aerial plug of the house aerial into the
–
II
–
socket of
the video recorder.
Connect the əsocket of the video recorder and the
É
socket
of the TV set with a commercially available aerial cable.
Connect the EURO-AV socket of the TV set and the EURO-AV
A1 socket of the video recorder with a EURO-AV cable. If your
satellite receiver is provided with a decoder socket, you can
connect to this socket an existing PAY-TV decoder.
EURO-AV
EURO-AV EURO-AV
DECODER A2
L
H
L
H
ń
ń
EURO-AV A1
L
R
AUDIO
L
R