


SKU 68332 For technical questions, please call 1-800-444-3353 Page: 21
Once you have set up your DVR, it will run based on the programmed schedule.
You can view and change functions through the Menu List.
Following is a description of the menu options.
PIP (picture-in-picture) and DIGITAL ZOOM are only available
through the menu list as described below.
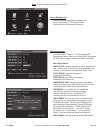
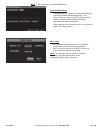
Navigating the Menu List
You can enter and navigate the Menu List with the Buttons on the DVR, the remote or the Mouse.
To navigate using the mouse:
• Right click to display the Menu List.
• Left click on the item to select it.
To navigate using the DVR buttons:
• Press SELECT to display the Menu List.
• Press UP or DOWN to move up and down the list.
• Press FAST FORWARD to move to the right
• Press SELECT to select an item on the list.
To navigate using the remote:
• Press SELECT to display the Menu List.
• Press UP, DOWN, RIGHT or LEFT to move through the list.
• Press SELECT to select an item on the list.
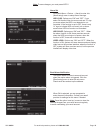
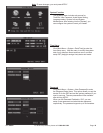
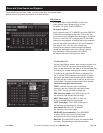
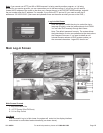
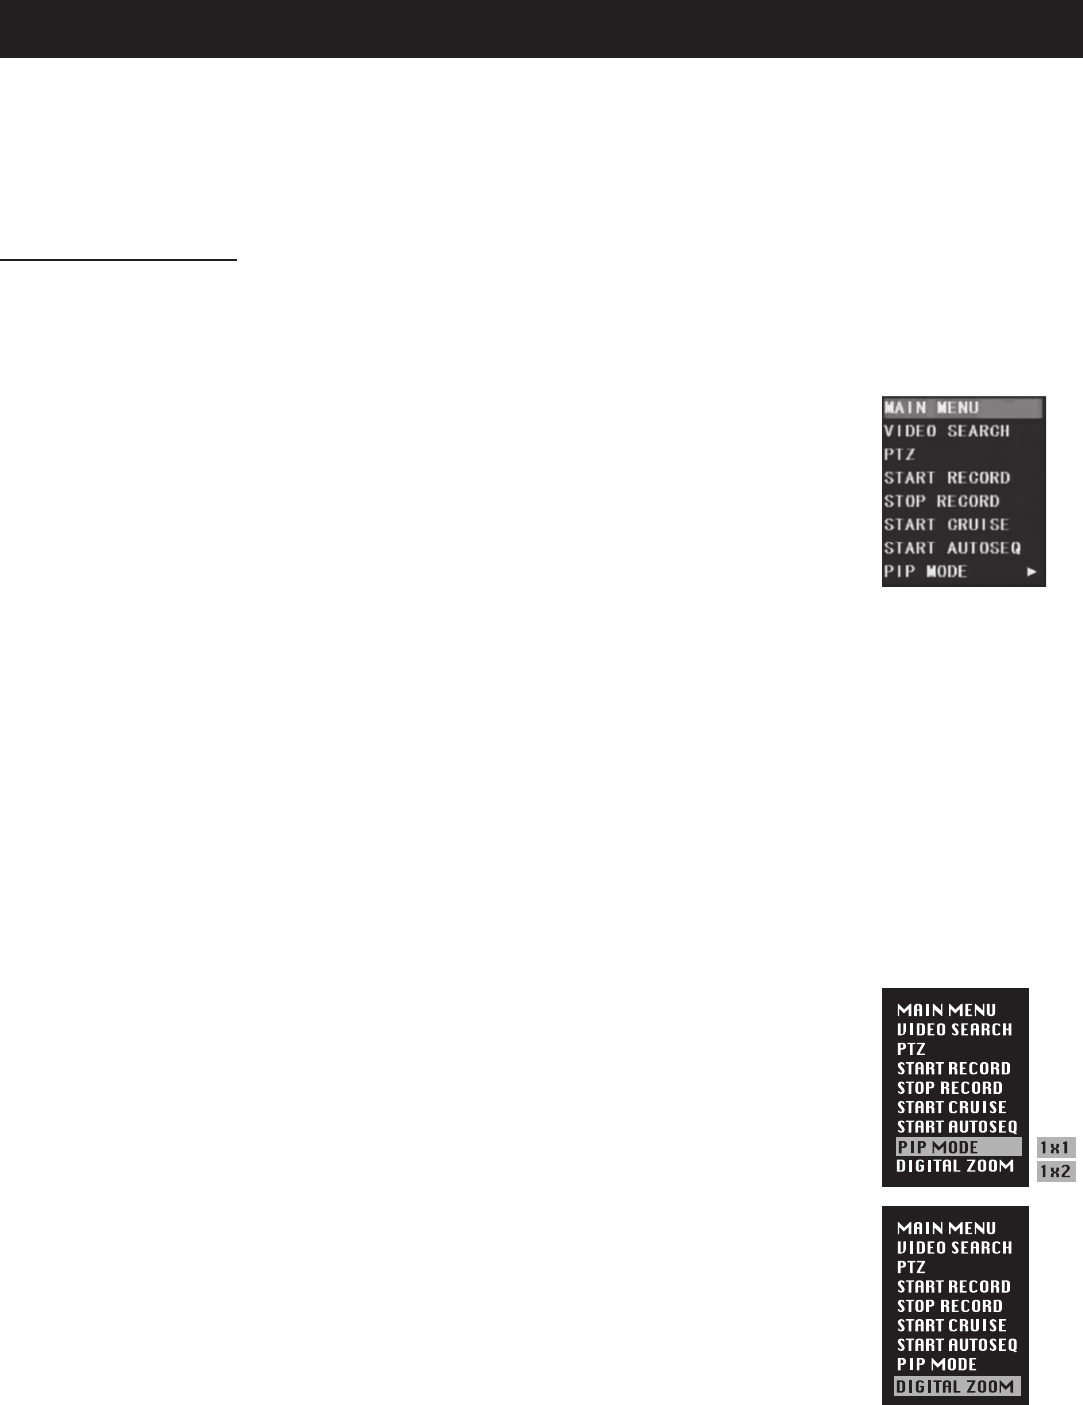
MAIN MENU - Select to edit and/or view your settings and system set up.
VIDEO SEARCH - Select to search, play and/or backup recordings.
PTZ - Select to control the pan/tilt/zoom function (cameras with this function are not included).
START RECORD - Select to manually begin recording. Note: if you have recording already
scheduled, you can override the motion detect setting, or the no record setting, by choosing this function.
STOP RECORD - Select to stop recording.
START CRUISE - Select to begin the PTZ cruise function set up in the
setup menu (cameras with this function are not included).
START AUTOSEQ - Select to begin an automatic cycling of the camera displays.
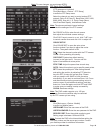
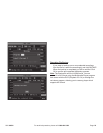
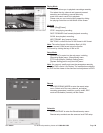
PIP MODE - Select to enter picture-in-picture mode. Choose 1x1 to open one
extra window, or 1x2 to open two windows. With the mouse, left click on any
window to cycle through the channels and display a different channel.
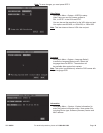
DIGITAL ZOOM - Select to zoom in on a single channel. Digital Zoom will only be visible on the
Menu List when one of the cameras is set to full screen, and can only be set up using the mouse.
Select Autoseq mode then re-display the Menu List to view the Digital Zoom function at the bottom
of the list if it is not already displayed. Select Digital Zoom. Using the mouse, left click, hold and
drag, to highlight the area to zoom in on. Release when you have highlighted the area that you
want. A picture-in-picture window will display, showing a box (the selected area). To move the box,
left click and hold the box, drag it to the desired location, then release. To change the selection,
right click to clear the selection then re-select. To exit Digital Zoom mode right click twice.
Basic Operation
Menu List