English
159
Changing Setting of Demonstration
This DVD video camera/recorder has versatile functions, including special effects.
Referring to the procedure on page 43, connect the DVD video camera/recorder, AC adapter/charger and
power cable to power the DVD video camera/recorder from AC outlet.
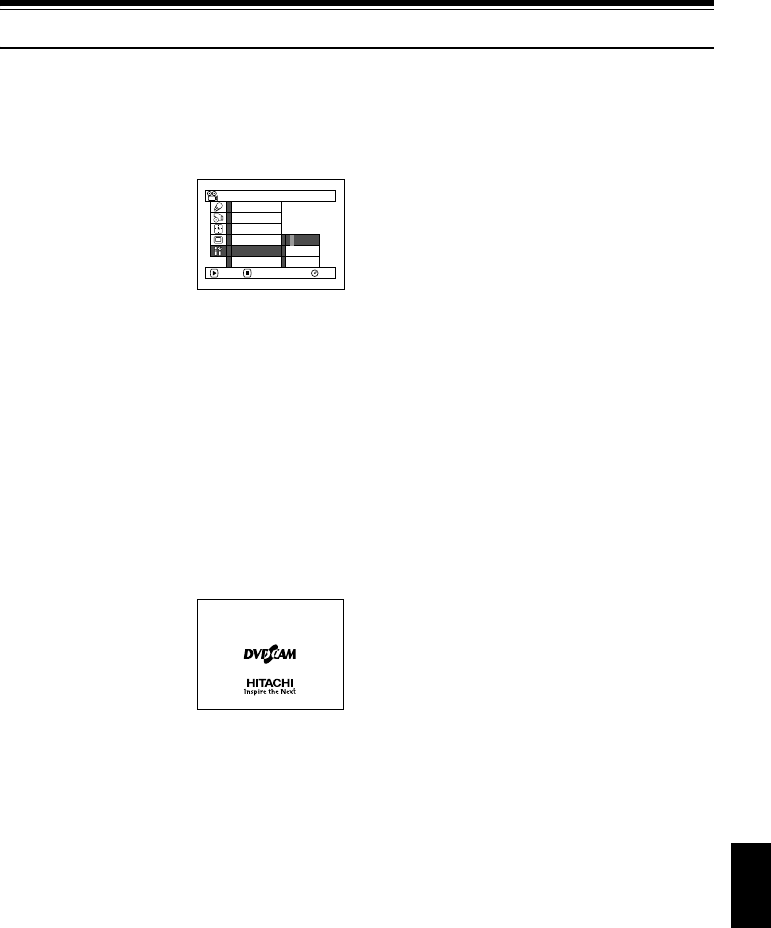
1 Press the MENU button.
2 Choose “Initial Setup”,
“Demo Mode”, and then
press the A button.
3 Use the joystick to
choose the desired
option, and then press
the A button.
Auto: To start demonstration approx. 3
minutes after turning the DVD video
camera/recorder on.
Off: To set demonstration to off.
Start: To start demonstration immediately.
Press the MENU button again: The menu screen
will disappear.
To stop the demonstration midway, press the C
button.
The demo mode will end when the DVD video
camera/recorder is turned off or the DISC
EJECT button is pressed down.
Note:
• You can press the DISC NAVIGATION button to stop
demonstration midway: The Disc Navigation screen will
appear.
• If you choose “Auto”, the demonstration will not start if a
disc is loaded with the power switch set to “
O VIDEO” or
“
N PHOTO”, or a card is loaded with the power switch
set to “
P PHOTO”.
• The demonstration function will not work when the DVD
video camera/recorder is connected to PC.
• While the demonstration is being given, the recording
indicator will blink.
RAM
Off
Start
ENTER RETURN
Demo Mode
Reset
Record LED
Power Save
Beep
Language
Auto
Initial Setup


