100
1<>2/
PLAYING BACK PROGRAM (PLAY)
You can play back only the selected program.
1 Press the DISC NAVIGATION button.
2 Press the MENU button.
3 Use the f/e/d/c/A buttons to
choose “Play” on the “Program” menu
screen, and then press the A button.
4 Select the program to be played back, and
then press the A button.
Playback will start from the first scene of the
selected program.
Note:
If “Repeat Play: On” is specified, the selected program
will be repeatedly played back (PLAYING BACK
SCENES REPEATEDLY (REPEAT PLAY), p. 115).
1<
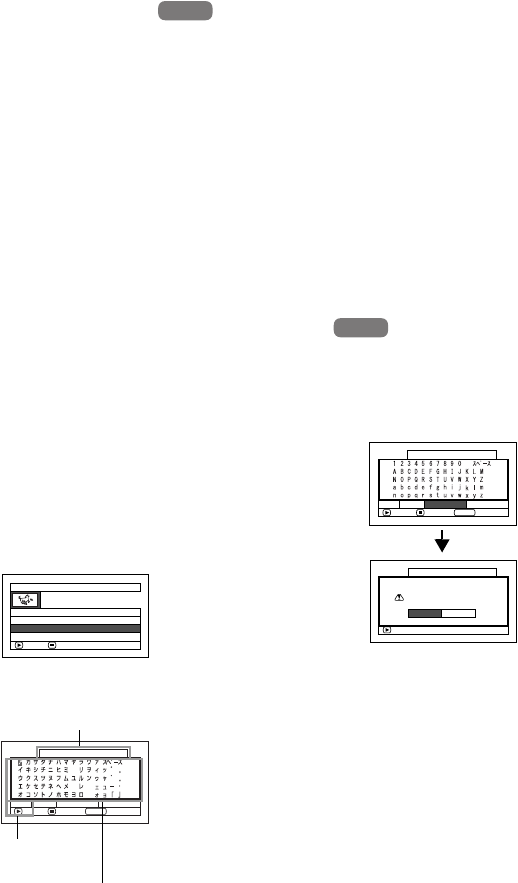
CHANGING TITLE OF PROGRAM (TITLE)
The recording date/time has initially been attached to any program.
You can change the recording date/time to any desired title.
1 Press the DISC NAVIGATION button.
2 Press the MENU button.
3 Choose “Title” on the “Program” menu
screen, and then press the A button.
4 Select the program
whose title you want to
change, and then press
the A button.
The screen for setting a title will appear.
5 Use the f/e/d/
c buttons to select a
letter, and then press
the A button: The
selected letter will be
entered.
Repeat this procedure,
inputting letters one by
one to create a title.
Up to 20 characters can
be input.
6 After entering the title,
choose “Enter” and
then press the A
button.
7 The screen for verifying
the change in title will
appear: Choose “YES”,
and then press the A
button.
Choose “NO” to cancel changing of the title.
After Yes or No setting, the Disc Navigation
screen of the selected program will appear.
HDD
HDD
HDD
HDD
Progra
m Title
ENTER RETURN
01
12/ 1/2007
02 12/10/2007
03
12/20/2007
INPUT DELETE SELECT
12/20/2007TITLE
1 ancel
PHOTO
Enter
C
Title input bar
Input mode
Palette for selecting
characters
ENTER DELETE SELECT
TITLE
2 Enter Cancel
at a Park
PHOTO
ENTER
Finish title setting?
TITLE at a Park
YES NO


