IDENTIFICATION AND OPERATION OF CONTROLS - 18 -
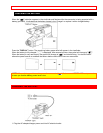
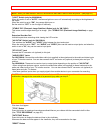
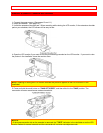
NOTE: When you fade scenes in and out, the sound will also fade in and out with the picture. (See page 32.)
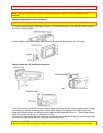
"LIGHT" Switch (only for VM-8500LA)
When this switch is set to "AUTO", the camera light turns on or off automatically according to the brightness of
the object.
When the switch is set to "ON", the camera light turns on.
Set the switch to "OFF" to turn the light off manually.
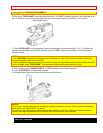
"STABLE PIX" (Electronic Image Stabilizer) Button (only for VM-7400A)
This button corrects slight shaking of an image. (See "STABLE PIX" (Electronic Image Stabilizer) on page
33.)
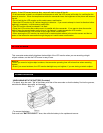
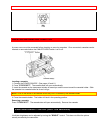
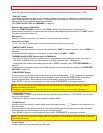
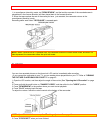
Extension Shoulder Pad
Unfold this pad when recording while viewing the LCD monitor.
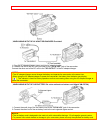
"AV OUT/IN" Switch (only for VM-8500LA)
This switches the "AUDIO" and "VIDEO" jacks between the input and output.
When the switch is set to "OUT", the "AUDIO" and "VIDEO" jacks can be used as output jacks, and when the
switch is set to "IN", they can be used as input jacks.
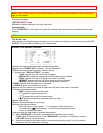
"RF DC OUT" Jack
Connect the RF converter unit (optional) to this jack.
"AUDIO/VIDEO" Jacks
For VM-7500LA: Connect the audio/video cable (not supplied) to these jacks and to the audio and video inputs
of your TV/monitor receiver. You can also connect the RF converter unit (optional) to these jacks and your TV
receiver.
For VM-8500LA: These can be used as input or output jacks depending on the position of "AV OUT/IN".
• When using these jacks as outputs, connect the audio/video cable (not supplied) to these hacks and to the
audio and video inputs of your TV/ monitor receiver. You can also connect the RF converter unit (optional) to
these jacks and your TV receiver.
• Use these jacks as inputs when you supply signals from another device to your camcorder for recording.
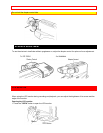
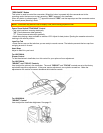
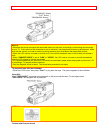
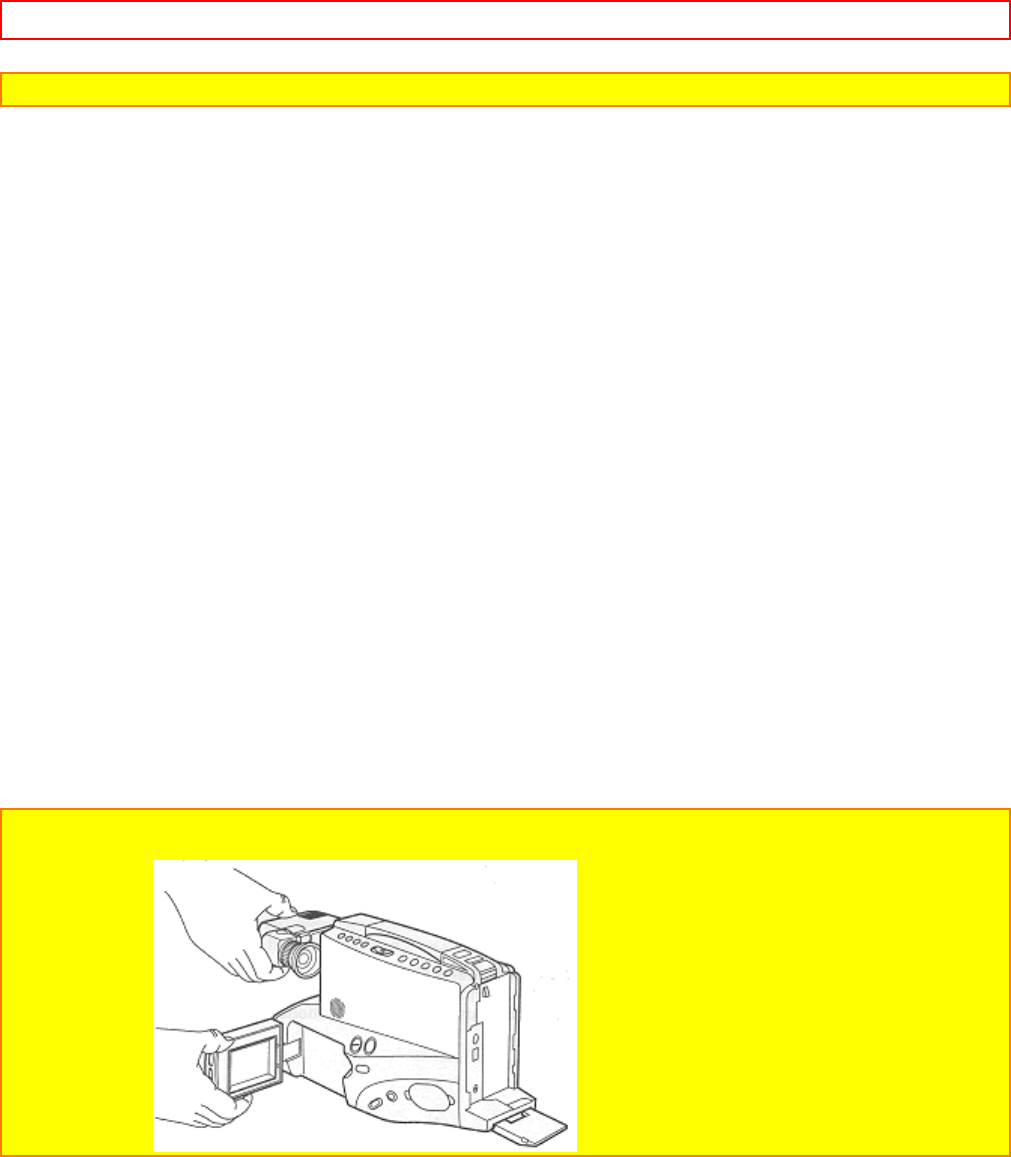
CAUTION: Do not hold the camcorder by the viewfinder or LCD when carrying, as this could cause a
malfunction, damage to the camcorder or a personal injury when you drop it.
Click here for diagram.
"TITLE" Button
Press this button to create and record personalized titles on your videos with the camcorder's built-in titler.
(See "TITLE RECORDING" on page 35.)
"DATE/TIME" Button
Press this button to display the date and time in the viewfinder.
Whenever the date and time appear in the viewfinder, they will be recorded on the tape.
"RESET" Button


