


MANAGING FILES
EN 47
ADVANCED OPERATIONS
MasterPage: Menu_Right
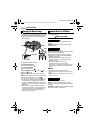
If your printer is compatible with PictBridge, still
images can be printed easily by connecting the
camera with the USB cable directly to the
printer. DPOF setting can also be used.
(੬ pg. 46)
NOTE:
After selecting [DIRECT PRINT] in the menu,
connect the USB cable.
To print by selecting a still image
1 Set the power switch to .
2 Press MODE to select .
3 Press MENU. The menu screen appears.
4 Select [DIRECT PRINT] with the multi-
controller (r/t), then press 49. A message
[PLEASE CONNECT PRINTER] appears.
5 Connect the camera to the printer with the
USB cable.
● After a while, the print menu appears.
6 Select [SELECTED PRINT] with the multi-
controller (r/t), then press 49.
7 Select the desired file with the multi-controller
(w/e), then press 49.
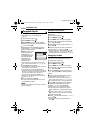
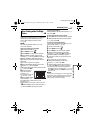
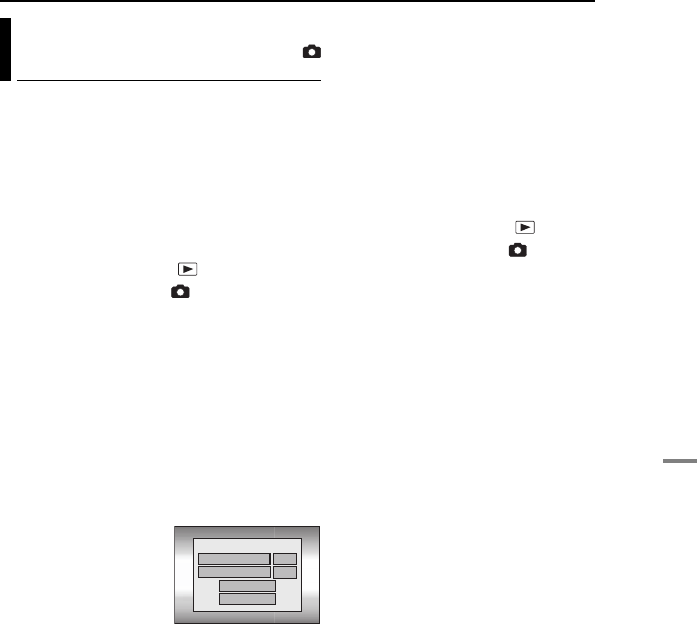
8 Set the number of
prints with the multi-
controller (w/e).
● The number of prints can
be set from 1 to 99.
9 Select [DATE] with the
multi-controller (r/t),
then select [ON] or [OFF] with the multi-
controller (w/e).
● Select [ON] to print the date or [OFF] not to print.
10 Select [PRINT] with the multi-controller (r/
t), then press
49. The image is printed.
To cancel print setting
Select [CANCEL] with the multi-controller (r/t),
then press 49.
To stop printing after printing starts
1 Press 49. The confirmation screen appears.
2 Select [EXECUTE] with the multi-controller
(r/t), then press 49.
To print using the DPOF setting
If the printer is compatible with DPOF, you can
use the DPOF setting. (੬ pg. 46)
1 Set the power switch to .
2 Press MODE to select .
3 Press MENU. The menu screen appears.
4 Select [DIRECT PRINT] with the multi-
controller (r/t), then press 49. A message
[PLEASE CONNECT PRINTER] appears.
5 Connect the camera to the printer with the
USB cable.
● After a while, the print menu appears.
6 Select [DPOF PRINT] with the multi-
controller (r/t), then press 49.
7 Select [PRINT] with the multi-controller (r/
t), then press 49. The images are printed.
● To confirm the DPOF setting, select [CHECK
SETTINGS] with the multi-controller (r/t), then
press 49. After that, press MENU to return to the
previous menu.
NOTE:
If the printer is not recognised, or to print again after
direct printing with a PictBridge printer, remove the
USB cable, select [DIRECT PRINT] in the menu
again, and then reconnect the cable.
Direct Printing with a PictBridge
Printer
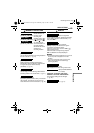
NUMBER OF PRINTS
01
DATE
OFF
PRINT
CANCEL
GZ-MC500PAL.book Page 47 Wednesday, April 13, 2005 7:44 PM