


26 EN
MasterPage: Heading0_Left
ADDITIONAL FEATURES FOR D.S.C.
You can make video clips from real-time camera image or
recorded video footage and store them in a memory card
as files which can be conveniently sent via E-Mail.
To make video clips from real-time camera image
1 Load a memory card. (੬ pg. 16)
2 Set the VIDEO/MEMORY Switch to “MEMORY”.
3 Set the Power Switch to “A” or “M” while pressing
down the Lock Button located on the switch.
4 Set “E-CLIP REC” to the desired image size.
(੬ pg. 29, 31)
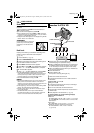
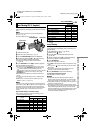
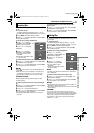
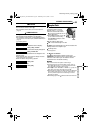
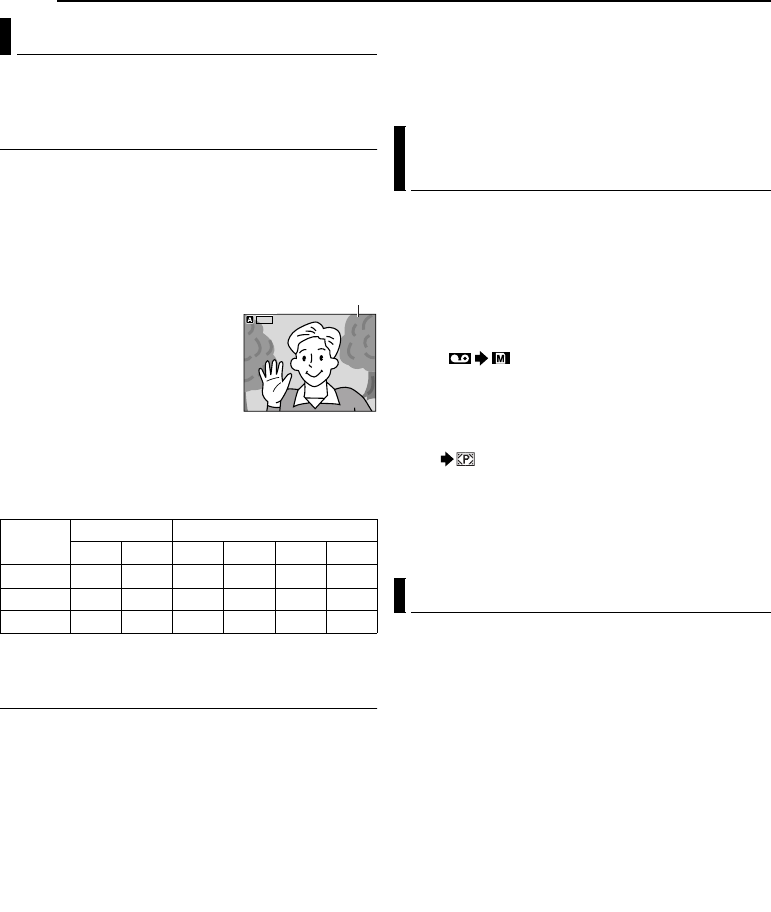
5 Press E-MAIL to engage the
E-Mail Clip Record-Standby mode.
● “E-CLIP” appears.
6 Press the Recording Start/Stop
Button to start recording.
7 Press the Recording Start/Stop
Button to stop recording.
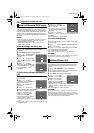
● “COMPLETED” is displayed, then
the camcorder re-enters the E-Mail Clip Record-Standby
mode.
8 Press E-MAIL to end E-Mail Clip Recording.
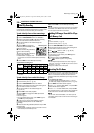
Approximate recording time
* Optional
** Provided
To make video clips from recorded video footage
1 Load a cassette. (੬ pg. 15)
2 Load a memory card. (੬ pg. 16)
3 Set the VIDEO/MEMORY Switch to “VIDEO”.
4 Set the Power Switch to “PLAY” while pressing down
the Lock Button located on the switch.
5 Set “E-CLIP REC” to the desired image size.
(੬ pg. 29, 31)
6 Press 4/9 to start video playback.
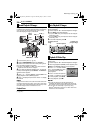
7 Press E-MAIL to engage the E-Mail Clip Record-
Standby mode.
● “E-CLIP” appears.
● To cancel E-Mail Clip Recording, press E-MAIL again or
press 8 to stop video playback.
8 At the point you want to start dubbing, press the
Recording Start/Stop Button to start E-Mail Clip
Recording.
9 Press the Recording Start/Stop Button to stop E-Mail
Clip Recording.
● “COMPLETED” is displayed, then the camcorder re-enters
the E-Mail Clip Record-Standby mode.
10 Press E-MAIL to end E-Mail Clip Recording.
NOTE:
The video clip files stored with this camcorder are compatible
with MPEG4. Some MPEG4 files stored with other devices
cannot be played back with this camcorder.
Still images can be dubbed from a tape to a memory
card.
1 Load a cassette. (੬ pg. 15)
2 Load a memory card. (੬ pg. 16)
3 Set the VIDEO/MEMORY Switch to “VIDEO”.
4 Set the Power Switch to “PLAY” while pressing down
the Lock Button located on the switch.
5 Set “ COPY” to “ON”. (੬ pg. 29, 32)
6 Press 4/9 to start playback.
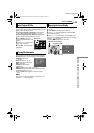
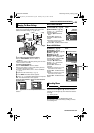
7 At the point you want to dub, press 4/9 again to
engage Still Playback.
8 To dub the image, press SNAPSHOT.
● The “ ” indication appears during dubbing.
NOTES:
● To use Playback Special effects with a video image you
wish to dub, perform up to step 8 using the remote control
(provided). (੬ pg. 22)
● Images are dubbed in 640 x 480 pixels.
By resetting the file name, a new folder will be made. The
new files you are going to make will be stored in the new
folder. It is convenient to separate the new files from
previously made files. (Available only for Image and video
clip files.)
1 To reset the file name...
...for images, display its playback screen. (੬ pg. 24)
...for video clips, display its playback screen. (੬ pg. 24)
2 Press MENU. The Menu Screen appears.
3 Press r or t to select “NO. RESET”, and press SET.
The NO. RESET screen appears.
4 Press r or t to select “EXECUTE”, and press SET.
The new folder (such as “101JVCGR”) will be made and
the file name of the next shot starts from DVC00001.
NOTE:
If the file name reaches DVC09999, a new folder (such as
“101JVCGR”) will be made and the file name will start again
from DVC00001.
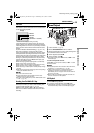
E-Mail Clip Recording
Image
Size
MultiMediaCard SD Memory Card
16MB* 32MB* 8MB** 16MB* 32MB* 64MB*
160 x 120 17 min. 34 min. 7 min. 15 min. 33 min. 68 min.
240x176 6min. 12min. 2min. 5min. 12min. 25min.
352 x 288 2 min. 4min. 30 sec. 1 min. 4min. 8min.
ILC
-
E P
240
0:00
STANDBY
STANDBY
ILC
-
EP
0
000:00
0h5m0
h
5
m
STANDBY
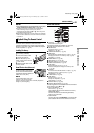
24
Remaining time
Dubbing Still Images Recorded On A Tape
To A Memory Card
Resetting The File Name
GR-DZ9_DZ7US_06DSC.fm Page 26 Wednesday, June 2, 2004 7:09 PM