28
Setting the IP Address for VN-C655 with V.Networks Setup Tool
Settings (Step 2 Setting the Network)
Set the IP address for VN-C655 by using the installed [V.Networks Setup Tool].
(With this [V.Networks Setup tool] only VN-C655, not other models, can be connected.)
Note
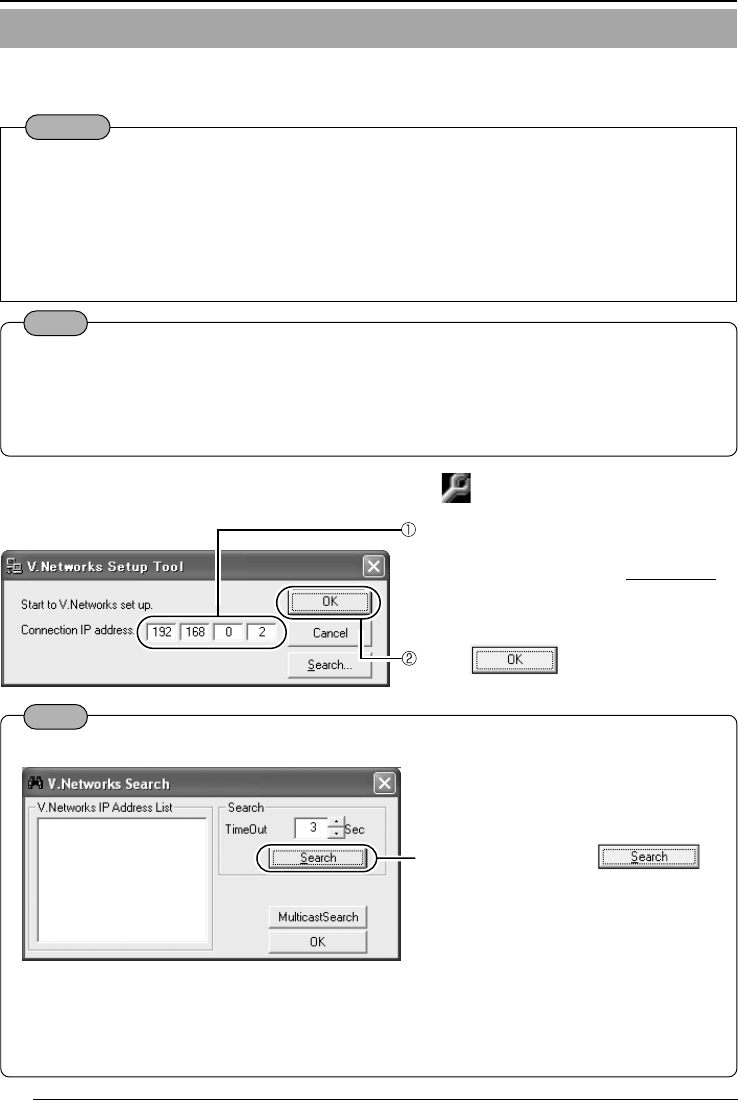
Click [Search] to see the IP address of the connected camera.
Enter the IP address of the camera to be
connected to [Connection IP Address].
The IP address is set to
192.168.0.2 at
the factory.
The [V.Networks Search] screen is dis-
played.
● [TimeOut] is for setting the time for searching (1 to 30 seconds).
If no IP address is displayed by searching, change the value to a longer one and then search again.
● If [V.Networks] on LAN has a different subnet from that of the PC, connection cannot be
established even if the IP address of the camera can be searched and found. Reconnect
the camera after changing the IP address of the PC accordingly.
Note
For connecting VN-C655 with the factory settings, either one of the environments described
below is required.
● Environment where no DHCP server exists.
● Environment where a DHCP server exists, which clearly defines the allotted IP address and
MAC address.
1.
Select [Start], [Programs], [V.NETWORKS] and then [vn-c655u Setup Tool] to start up
[V.Networks Setup Tool].
Click
.
Caution
● After the power for VN-C655 is turned on, there will be about 20 to 70 seconds until VN-
C655 becomes ready to be connected with the PC. This is not a defect.
● At the factory, DHCP is set enabled for VN-C655.
● About the DHCP function
JVC does not recommend operating VN-C655 with this function enabled because a differ-
ent IP address may be assigned upon the renewal of the leasing contract. The DHCP
function of VN-C655 is designed for simplifying the installation and setting procedures.
To start search, click
.
[V.Networks IP Address List] is dis-
played.
VN-C655(reed me)_p2-29 04.9.22, 8:19 PM28


